
Sales – FAQ
Some of the commonly asked questions about sales are answered here.
Transaction
You can check the previous sales rate at which the goods were sold, while recording sales transaction.
- After selecting the customer ledger and the stock item press Alt+S to view Stock Query
- This report displays the information of the selected party for the stock item along with the previous sales details.
For example, on 1/4/2020, Item A was sold to Party-X at the rate of Rs. 150, and subsequently Item A has been transacted (purchased/sold) with many customers/suppliers.
Now if you want to see the information on previously sold Quantity and Rate for Party-X from sales invoice, you can select Party-X and Item A, and press Alt+S to view Stock Query report. In the Stock Query report, you can get the details of previously sold Quantity and Rate.
You can do the following to enable bill-wise details.
- Set Enable Bill-wise entry to Yes in the Company Features Alteration
If you do not see this option, set Show more features to Yes.
- Set Maintain balances bill-by-bill is set to Yes in the ledger.
- Set Use default Bill-wise details for Bill Allocation to No in the F12 configuration screens of sales/purchase/debit note/credit note vouchers.
Now, TallyPrime will prompt for Bill-wise details in invoice entry screen.
The Bill-wise details can be displayed during invoicing in the following manner:
- Press Alt+G (Go To) > Create Voucher > press F8 (Sales).
Alternatively, Gateway of Tally > Vouchers > F8 (Sales). - Press Ctrl+H (Change Mode) > to select the required voucher mode (Item Invoice, in this case).
- Press F12 (Configure) > set Use default Bill-wise details for Bill Allocation to No.
In TallyPrime Release 5.0, you can easily sort your bills in a few steps. Whether you have made sales to a party and receiving payments against the sales or received advance payments and recording the sales made, you can view the pending bills now as per the Due Dates.
- Set the option Sorting Method for Pending Bills in Vouchers, as needed.
- While recoding a sales or receipt voucher, select Agst Ref to view the bills sorted as per the sorting method you have specified, and allocate the amount.
In case the entire amount is not settled, you can view your Outstanding Receivables and Outstanding Payables report anytime to view the pending amount and settle with your parties.
- Press F11 (Features) to view the Company Features Alteration
- Set the option Use Discount column in invoices to Yes.
If you do not see this option, set Show more features to Yes.
In a purchase voucher, if you provide an invoice number as the reference number, the reference number appears in the invoice-wise listing of the supplier’s balances. This is because the voucher number is used for sequential numbering, whereas the reference number is provided as per the invoices received from the creditors.
In the creditors outstandings report, the reference number is required for reporting, and not the voucher number. In the debtors outstandings report, the invoice number which you had entered, is required for reference. Due to this reason, TallyPrime picks up the voucher number in the debtors outstandings report.
If your sales voucher number starts from 1 (which is automatically set in TallyPrime) and your sales bill number starts from 5001, you can alter the sales voucher type and set the starting number as 5001. Reason being, we consider the sales bill number as reference in the oustandings report of the customers.
You can view the closing quantity of stock items in the List of Stock Items during voucher entry.
- Press F1 (Help) > Settings > Display > Show More.
- Set the option Display List of Stock Items without quantity in Vouchers to No, as shown below:
During voucher entry, the closing quantity of stock items will be displayed in the List of Stock Items, as shown below:

The Sales ledger field will not appear below the Party A/c name field when:
- The transaction is recorded with voucher class in the accounting invoice mode.
- The option Select common Ledger Account for Item Allocation is disabled in sales Voucher Configuration screen.

To view the Sales ledger field
- In the sales voucher, press F12 (Configure) > set the option Select common Ledger Account for Item Allocation to Yes.
- Press Ctrl+A to save the screen. Now, the Sales ledger field will appear during voucher entry.

You can disable the dispatch details and order details in the Voucher Configuration screen of the invoice.
- To disable these details in the voucher, press F12 (Configure) in sales voucher > set the option Provide Dispatch, Order, Export details to No.
- To avoid printing these details in the invoice:
- Press Ctrl+P in the sales voucher > press C (configure).
- Type or select Order and Dispatch Details > press Enter twice to view the options under this. If these options of dispatch and order details are set to Yes, you need to set them to No.
- Select Show Dispatch Details and press Enter to set it to No.
- Select Show Order Details and press Enter, to set it to No.
You can track a pending sales order by entering the sales order details in Order No(s) in Party Details screen of sales invoice.
This happens when you select a stock item, enter its quantity and then change the stock item to another stock item.
Before you change the selected stock item to a different one in a sales invoice, ensure that you delete the quantity, rate or discount details first.
In case this error is displayed in sales invoice where the stock item is not changed, contact support@tallysolutions.com with the data.
After changing the language to Arabic, follow the steps given below to display numbers in the Arabic language:
- Click Start > Control Panel > click Region and Language or Region.
- Click the Format tab, in format list, select Arabic (U.A.E.) or Arabic (United Arab Emirates).
- Click on Additional Settings, select Numbers tab > change Use native digits to National.
- Click Apply > click OK > and then run exe.
Go to Gateway of Tally > Vouchers > F8 (Sales) > press F12 (Configure). Set the option Provide Dispatch, Order, and Export details to No.
In TallyPrime, you can enable or disable warning on negative stock balance while recording a transaction. Follow the steps given below.
- In the sales transaction, press F12 (Configure).
- Warn on negative Stock Balance: Yes.
If you want to disable it, then set it to No. - Press Ctrl+A to save the setting.
Click here for more information regarding invoice configurations.
You can enter the Sales invoice number manually by setting the Method of Voucher Numbering to Manual in the Sales voucher type. Refer to Methods of Voucher Numbering for the detailed procedure.
Printing
To print two sales invoices in a single page, you need to configure the printer by following the steps shown:
- Select the required report/ledger to print.
- Press Ctrl+P to print > press C (Configure) > type or select Printer > and press Enter.
- Select the required printer > select the Paper Size.
- Under the Page Format, set Pages per Sheet to 2.
- Click OK.
Yes, it is possible to change the title of the Sales Invoice to Tax Invoice.
- Press Alt+G (Go To) > Alter Master > Voucher Types > select Sales and press Enter.
Alternatively, Gateway of Tally > Chart of Accounts > Voucher Types > select Sales and press Enter. - Enter Tax Invoice in the field Default title to print.
- Accept the screen. As always, you can press Ctrl+A to save.
It is possible to set the number of copies and mark it as original, duplicate and so on.
In the Printer Settings for Sales Invoice, if the number of copies is set to 1, the type of copy will not appear. To check this:
- Press Alt+P (Print) > select Configuration and press
- Type or select Set no. of copies for printing vouchers and press Enter.
- Check the number of copies set for the sales invoice.
You can configure to print multiple copies of sales invoice/voucher from the Print Configuration screen.
- In the Voucher Printing screen, press C (Configure).
- Type or select Number of copies and press Enter.
- Enter the required Number of copies and set the Type of Copy as All.
- Press Esc to return to the voucher printing screen, and print the invoice.
If you want to change the default number of copies and type of copy:
- Press Alt+P (Print) > select Configuration.
- Type or select Set no. of copies for printing vouchers > and enter the details as needed.
Yes, you can print complete contact details in an invoice. To know more, refer to Print Complete Contact Details
Open the Sales Voucher > press Ctrl+P (Print) > press C (Configure) > type or select Show Name and Address from Party master > press Enter to set it to Yes.
Now when you print the Invoice, the address selected in the Party master will get printed.
To print the dispatch details and order details in the invoice.
- Press Ctrl+P in the sales voucher > press C (configure).
- Type or select Order and Dispatch Details > press Enter twice to view the options under this. If these options of dispatch and order details are set to No, you need to set them to Yes.
- Select Show Dispatch Details and press Enter to set it to Yes.
- Similarly, select Show Order Details and press Enter, to set it to Yes.
- Type or select Use Simple Invoice format. If this is set to Yes, press Enter to set it to No.
- Press Esc to return to the Voucher Printing screen. Press P (Print) to print the invoice.
The asterix character appears in the date field of an invoice when the printer and the paper size are not defined. Follow these steps to ensure that a valid value is printed in the date field.
- Gateway of Tally > Vouchers > F8 (Sales) > press Ctrl+P.
- Press C (Configure) > type or select Printer > and press Enter.
- Specify the paper size as Custom if you are using Win95/98 Operating System.
- Set the Width as 850/900 and Height as 1200 and accept the settings.
- Click Yes to print the same.
However, in the case of Win 2000 and above, you will have to create a new form with the above settings and continue.
When you are printing the POS Invoice, the print preview of the party name may appear truncated. In this case, to print the full or complete name of the party from the POS invoice
- Select a POS invoice voucher > press Ctrl+P.
- Press C (Configure) > type or select Printer.
- Select the POS printer.
- In the Printer Configuration screen, select the Advanced option.

- Under the Graphic Resolution option, select either “160*144” or “80*72”.
- Select OK and check the Print Preview. The party name gets printed in full in POS invoice.
It is not possible to print the Cost Centre details in Sales invoice.
As the Cost Centres created in TallyPrime are only for our own records and the allocations made to cost centres are meant to know about the performance of each cost centre it may be divisions, departments, different expenses, etc. Hence it is not necessary to disclose the cost centre details in the Sales Invoice.
It can be done when the print format is set to Dot Matrix Format or Quick/Draft format, and the option Print to a File is enabled.
To print the contents directly to the printer
- Press Ctrl+P in the invoice.
- Press C (Configure) > type or select Print Format > select Dot Matrix or Quick/Draft Format.
- Type or select Printer > set Print to File to No > and select the required printer.
You can now take a printout of the required information from TallyPrime.
Point of Sales (POS)
POS invoice is used for point of sale transactions. In transactions of such nature, the payment from customers is received on the spot at the time of billing. This is the reason why tracking of bill-wise details is not required in a POS invoice.
To track transactions where the customer makes payments on credit basis, sales invoice can be used. In a sales invoice, provision has been given to track bill details of the customer.
The POS Invoicing feature in TallyPrime provides the facility to generate retail invoices for Items inclusive of tax, which are automatically back calculated from the sales values without appearing in the Invoice.
You can create a Voucher class under a POS Invoice Voucher type with the required Sales and Tax ledgers at the inclusive rates (calculation of Sales and Tax percentages on sales turnover).
The accurate calculation of Tax is provided in TallyPrime. Hence, you can calculate the applicable taxes on sales.
No, the POS invoicing functionality in the TallyPrime interface currently does not support cash registers.
Currently, POS Invoicing in TallyPrime does not have an interface capability with Pole displays and other external hardware devices.
Sales Order
We can implement the default Tally’s Godown concept along with Voucher Type if any, for Stock Transfers (Processes).
Currently, the work around for the above is to have Godown names as Processes and Voucher type also; to get a better report in Movement Analysis – Transfer Analysis. Use batch numbers to specify order numbers.
To view the report along with order number (batch number) of each process (godown):
- Press Atl+G (Go to) > type or select Godown Summary > select the godown and press Enter.
Alternatively, Gateway of Tally > Display More Reports > Inventory Books > Godown > select the godown. - Press Alt+N (Auto Column) > Godowns > Set Show Total column to Yes or No as needed. Press Alt+F5 to view with order nos.
Columnar reports can be generated for Purchase Order Book and Sales Order Book. You can add columns to the reports based on your requirements by altering the Columnar Register.
Purchase Order Columnar Report
- Press Alt+G (Go To) > type or select Purchase Order Book.
Alternatively, Gateway of Tally > Display More Reports > Inventory Books > Purchase Orders Book.

- Press F8 (Columnar). Set the options as needed.
- Press Enter to accept. The columnar Purchase Order Book appear as shown below.
Sales Order Columnar Report
- Press Alt+G (Go To) > type or select Sales Orders Book.
Alternatively, Gateway of Tally > Display More Reports > Inventory Books > Sales Orders Book.
- Press F8 (Columnar). Set the options as needed.
- Press Enter to accept. The columnar Sales Orders Book appear as shown below.
You can record a sales order even if you exceed the credit limit set for a party.
On exceeding the credit limit while recording a sales order, a warning message appears as shown below:
You can press Enter to proceed and save your sales order, even if you have exceeded the credit limit.
Note: To get this warning message in the invoice, you need to setup the party ledger as given below:
In the party ledger, press F12 (Configure) > set Provide Credit Limits to Yes.
Set the option Check for credit days during voucher entry to Yes.
Enter the amount in the Specify credit limit field.
To re-open the pre-closed quantity.
- Go to the Order Details screen and press Alt+F5 (Detailed).
- Select the required voucher through which the Order was Pre-Closed.
- Press Enter. The voucher alteration screen appears.
- Go to the Stock Item Allocations screen and press Spacebar to remove the Pre-Close Quantity as shown:

- Accept the After reopening the pre-closed quantity, the Order Details screen appears as shown below:
Delivery Note
Every sales voucher/invoice need not have a corresponding delivery note. A sales voucher/invoice itself can be treated as a delivery note. In such a case the Tracking Number is set to Not Applicable.
A delivery note is an inventory document/challan sent with the goods to be delivered to the customer. In such a case the sales invoice is issued on a later date referring the delivery note/challan issued.
Yes, it is possible to cancel the delivery challan even if sales order has already been recorded.
Record a sales order:
Record a delivery note by selecting the order number from the sales order recorded above.
- Select the tracking number and order number.
- Complete the transaction.

Record the delivery note for goods returned by entering the quantity with a negative sign.
- Select the tracking number and order number.
- Complete the transaction.
Now check the sales bill pending report. The quantity entered in negative will appear.

You can also pass a Rejection In voucher for the goods returned after the delivery note is issued.
To skip the sales ledger allocation while recording delivery/receipt notes,
- Gateway of Tally > Vouchers > F10 (Other Vouchers) > select Delivery Note.
- Press F12 (Configure).
- Set the following parameters to No
- Select common Ledger Account for Item Allocation.
- Provide Accounting Allocations in Order/Delivery Note.
Note: The above option is applicable to generation of Sales/Purchase Orders too.
Used Cases
TallyPrime by default accepts inputs from all standard barcode scanners. Before starting the barcode scanning process, ensure that:
- A standard barcode scanner is available.
- Install barcode scanner software in the system running TallyPrime.
- Ensure that the masters for stock items to be scanned are created in TallyPrime.
To use Barcode scanners for billing/invoicing,
- Place the cursor on the Alias field of the Stock Item Creation/Alteration
- Scan the barcode of the item using the barcode scanner. The item/product code (barcode) will be copied to the Alias
- Save the item master.
- Place the cursor at the Particulars/Name in Item column while billing/invoicing.
- Scan the barcodes available. The Item Name will get automatically copied.
Sales Executives may be of two types – In Stores (executives selling at the counter) and On field (executives reaching out to the customers at various regions). You can view the details in the Group Summary.
In Store Environment: To view executive-wise breakup of sales at the counter,
- Create sales executives as cost centres.
- Assign the sale value to the respective sales executive in the Cost Centre Allocations screen of a sales voucher/invoice.
- View cost centre reports (ledger break-up and group break-up).
On field executives: To view the executive-wise breakup of sales by salespersons, who reach out to the market to handle specific customers or regions,
- Create masters for salesmen as sub-groups under Sundry Debtors.
- Create the customers handled by each salesman under the respective salesman sub-group master.
- Record sales transaction.
In Store Environment
- Create sales executives as cost centres as shown below:

- Assign voucher/invoice amount to the sales executive.
Given below is the image of cost centre allocation screen where the sale amount is assigned to a sales executive:

Note: Ensure that the option Cost centres are applicable is set to Yes in the sales ledger. If this option is not enabled, then the Cost Centre Allocations sub-screen will not appear.
View Cost Centre reports
Cost centre reports in TallyPrime gives you complete executive-wise break up of sales for a given period. Such reports can be viewed on the basis of a ledger or the whole group as such.
Cost centre Ledger-wise breakup
Press Alt+G (Go To) > type or select Cost Centre Breakup of Ledger > select the sales ledger.
Alternatively, Gateway of Tally > Display More Reports > Statements of Accounts > Cost Centres > Ledger Break-up > select the sales ledger.
Cost centre Group-wise breakup
Press Alt+G (Go To) > type or select Cost Centre Breakup of Group > select the sales group.
Alternatively, Gateway of Tally > Display More Reports > Statements of Accounts > Cost Centres > Group Break-up > select the sales group.
On field executives
- Create sales executives as cost centres as shown below:
- Create customer ledger under Salesmen sub-group.

- Record a sales voucher for the goods sold by the salesman.
Group Summary or Group Outstanding Reports
Group summary or Group Outstanding reports will give you the sales activities of each salesman.
- Press Alt+G (Go To) > type or select Group Outstandings > select Sundry Debtors.
Alternatively, Gateway of Tally > Display More Reports > Statements of Accounts > Outstandings > Group > select Sundry Debtors.

- Select any sub-group, and press Enter to view customers under that salesman.

Apart from sales figures, you can also view reports to understand the payments received against sale made by the person. - Gateway of Tally > Display More Reports > Accounts Books > Group Summary > Sundry Debtors > Select a sub-group and press Enter
The Alt+G (Go To) option in the top menu allows you to quickly access any report, create voucher or create/alter any master in TallyPrime. When you open a screen using Go To, it appears on top of the current screen, and closing it will take you back to the previously opened screen.
Say, while recording a sales transaction, you need to record another transaction.
- Press Alt+G (Go To) and select Create Voucher.
Meanwhile, you can keep the previous voucher on hold.
- Press F10 (Other Vouchers) to change the Voucher Type, if required, say a purchase voucher.


- Enter the details and press Ctrl+A to save the transaction.
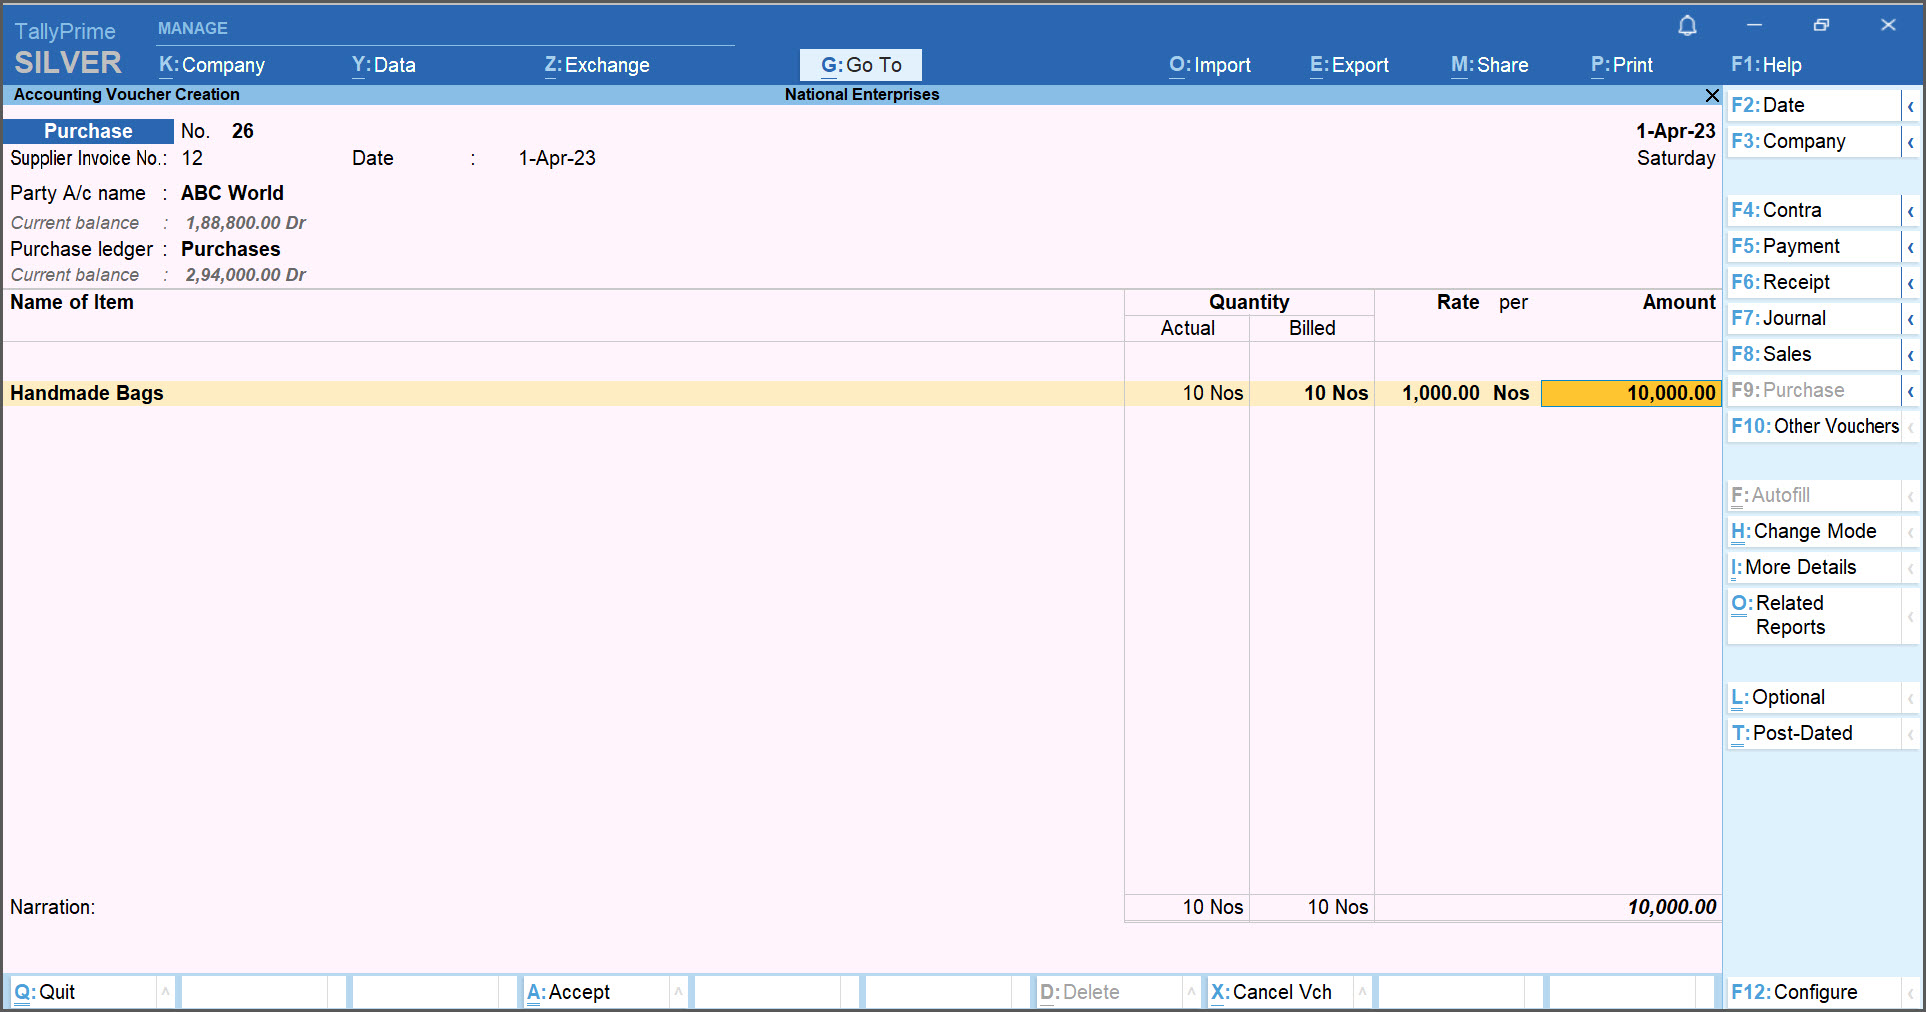
Once you have save the voucher, the previous screen reappears, allowing you to continue recording your sales entry from the point you had left.
To generate reports for commissions of sales agents:
- Create Cost Category as Commission and Agents as Cost centre.
- Create Commission ledger under Indirect Expenses, and enable the cost centre option.
- Create Cost Category as Commission and Agents as Cost Centres.
- Press F11 (Features) > set Enable Cost Centres to Yes > press Ctrl+A to save.
- Gateway of Tally > Create > type or select Cost Category > press Enter.
Alternatively, press Alt+G (Go To) > Create Master > type or select Cost Category > press Enter.
When only the Primary Cost Category is available, you will be prompted to create new Cost Category or alter the existing Primary Cost Category. Select Create or press C to create a new cost category.
- Gateway of Tally > Create > type or select Cost Centre > press Enter.
Alternatively, press Alt+G (Go To) > Create Master > type or select Cost Centre > press Enter.
In case the feature is inactive, you will be prompted to activate the Cost Centres feature. Select Yes or press Y to proceed.
- Create Commission ledger under Indirect Expenses, and enable the cost centre option.
- Gateway of Tally > Create > Ledger > and press Enter.
Alternatively, press Alt+G (Go To) > Create Master > Ledger > press Enter.
- While passing the sales invoice, allocate the commission to the Agents by selecting appropriate cost category and cost centre.
- Gateway of Tally > Create > Ledger > and press Enter.
- Check the Category Summary or Ledger Break-up report.
- Press Alt+G (Go To) > type or select Cost Category Summary > and press Enter.
Alternatively, Gateway of Tally > Display More Reports > Statements of Accounts > Cost Centres > Category Summary.

- Press Alt+G (Go To) > type or select Cost Category Summary > and press Enter.
Defining a price list facilitates a sales transaction by selecting the defined price for an item automatically.
- Press F11 (Features) > set Enable multiple Price Levels to Yes.
- Gateway of Tally > Create.
- Type or select Price levels> and press Enter.
- Provide the names for the price levels.
- Type or select Price List (Stock Group).
- Select All Items as the Stock Group Name.
- Select the Price Level> specify the Applicable From
- Specify the price based on quantity > specify the discount for items (if any) > press Ctrl+A to Save.
This happens if the bill-wise details in sales invoice is not altered manually against the advance received amount.
- Suppose you have received advance payment from a sundry debtor as on 16.4.2020.
- A sales invoice is recorded on 24.4.2020 and adjusted against the advance receipt amount.
- In Bill-wise details if the against reference is selected for advance without altering the sales bill amount.
- In Ledger Outstandings report, overdue by days will consider the date of advance received and not the date of sales bill.
- To calculate overdue by days as per the sales invoice date, you need to mention the advance amount manually, and then allocate the balance amount to new reference as shown below.
- If the amount is allocated correctly in bill-wise details of a sales invoice, then overdue by days will show the correct figure as per the screen shown below:

The Sales Profitability report in TallyPrime displays the estimated profitability on sales for a specific day. It does not show the actual profit of an item.
Explanation
On a particular day when sale is made, the closing rate of the item sold is taken for valuation of the cost of sale. It does not take the respective transaction consumption of an item as a cost of sale. Due to this reason, the consumption of an item will not match with the cost of sales in the sales register.
Ultimately, the gross profit of an item will not match with the gross profit of sale.
In the Average cost method,
Total Inward Value (in a year)
Cost of sale = Item Qty X ——————————————- {upto respective sale}
Total Inward Qty (in a year)
In a Monthly average cost method,
Opening balance + Total Inward Value (in a month)
Cost of sale = Item Qty X ———————————————————————-
Opening Qty + Total Inward Qty (in a month)
In FIFO, LIFO, Last Purchase Cost and Standard Cost
Cost of sale = Item Qty X Item closing rate on sale day.
[Above formula is used for deriving the cost of sale in Sales profitability]
In case of FIFO and LIFO, If item Closing Rate on sale day is NIL then
Total Inward Value (in a year)
Cost of sale = Item Qty X ——————————————- {upto respective sale}
Total Inward Qty (in a year)
Example
In the example provided below, you will see how the sales profitability is determined for different valuation methods.
Sales Profitability (Average Cost Method)
Cost of Sale for sale No.1
Total Inward Value (for the year) upto sale date = 43125
Total Inward Qty (for the year) upto sale date = 325 nos
Item Qty = 150 nos
Cost of Sale = 150 nos. x (43125 / 325) {Rounding off will be on two decimal points}
= 19903.50
Cost of Sale for sale No.2
Total Inward value (for the year) upto sale date = 63750
Total Inaward Qty (for the year) upto sale date = 450 nos.
Item Qty = 50 nos.
Cost of Sale = 50 nos. x (63750 / 450) {Rounding off will be on two decimal points}
= 7083.50
Sales Profitability (Monthly Average Cost Method)
Cost of Sale for sale No.1
Opening balance Value for April month = NIL
Total Inward Value (for the April month) = 43125
Opening Qty for April Month = NIL
Total Inward Qty (for the April Month) = 325 nos.
Item Qty = 150 nos.
Cost of Sale = 150 nos. x (43125 / 325) {Rounding off will be on two decimal points}
= 19903.50
Cost of Sale for sale No.2
Opening balance Value for May month = 23221.15
Total Inward Value (for the May month) = 20625
Opening Qty for May Month = 175 nos.
Total Inward Qty (for the May Month) = 125 nos.
Item Qty = 50 nos.
Cost of Sale = 50 nos. x (23221.15+20625 / 175+125) {Rounding off will be on two decimal points}
= 7307.50
Sales Profitability (FIFO Method)
Cost of Sale for sale No.1
Closing Rate of an item on day of sale = 142.14
Item Qty = 150 nos.
Cost of Sale = 150 nos. x 142.14
= 21321
Cost of Sale for sale No.2
Closing Rate of an item on day of sale = 157
Item Qty = 50 nos.
Cost of Sale = 50 nos. x 157
= 7850.
Sales Profitability (LIFO Method)
Cost of Sale for sale No.1
Closing Rate of an item on day of sale = 122.14
Item Qty = 150 nos.
Cost of Sale = 150 nos. x 122.14
= 18321
Cost of Sale for sale No.2
Closing Rate of an item on day of sale = 135
Item Qty = 50 nos.
Cost of Sale = 50 nos. x 135
= 6750
Sales Profitability (Last Purchase Cost Method)

Cost of Sale for sale No.1
Closing Rate of an item on day of sale = 150
Item Qty = 150 nos.
Cost of Sale = 150 nos. x 150
= 22500
Cost of Sale for sale No.2
Closing Rate of an item on day of sale = 165
Item Qty = 50 nos.
Cost of Sale = 50 nos. x 165
= 8250
Sales Profitability (Standard Cost)
Standard Cost as on 10-05-2020 – Rs. 165
Cost of Sale for sale No.1
Closing Rate of an item on day of sale = 165
Item Qty = 150 nos.
Cost of Sale = 150 nos. x 150
= 22500
Cost of Sale for sale No.2
Closing Rate of an item on day of sale = 165
Item Qty = 50 nos.
Cost of Sale = 50 nos. x 165
= 8,250
You can cancel a sales invoice in the following ways:
Cancel a Voucher
Method 1:
- Day Book > press Up or Down arrow to place the cursor on the voucher > press Alt+X.
- Press Y to cancel the voucher.
The voucher where the cursor was placed will be cancelled
Method 2:
- In the Voucher Alteration screen, press Alt+X.
- Press Y to cancel the voucher.
Cancel Multiple Vouchers
- Day Book > press spacebar > press Up or Down arrow > press spacebar.
Continue this step to select multiple vouchers that you want to cancel. - In the Cancel selected prompt window > press Y to cancel the vouchers.


