
Approve User Access to Connected Banking in TallyPrime
In case of multiple users under a license site, as an admin, you need to enable Connected Banking for the non-admin users. Once you approve the users using your Tally.NET credentials, they can use the Connected Banking services.
If you are a non-admin, then the approval request goes to the admin. The admin can then approve user access to Connected Banking either in TallyPrime or on the Tally Solutions customer portal.
- Press Alt+Z (Exchange) > All Banking Options > Login & Logout.
The Log In to Connected Banking screen appears. - Enter your Tally.NET ID.
If the Tally.NET ID does not exist, is inactive, or the Connected Banking is not enabled for the user, then a message appears.

- Press Y to proceed.
- Press A to Approve as Admin.

- Enter the Tally.NET ID and Password of the Account Administrator or owner for approval.

Once approved, either you or the user can link the mobile number to the Tally.NET ID and change the password, if it does not comply with the new password policy.
Approve User Access to Connected Banking on the Portal
When you create a new user in TallyPrime, you can approve the user right in TallyPrime or on the Tally Solutions Customer Portal.
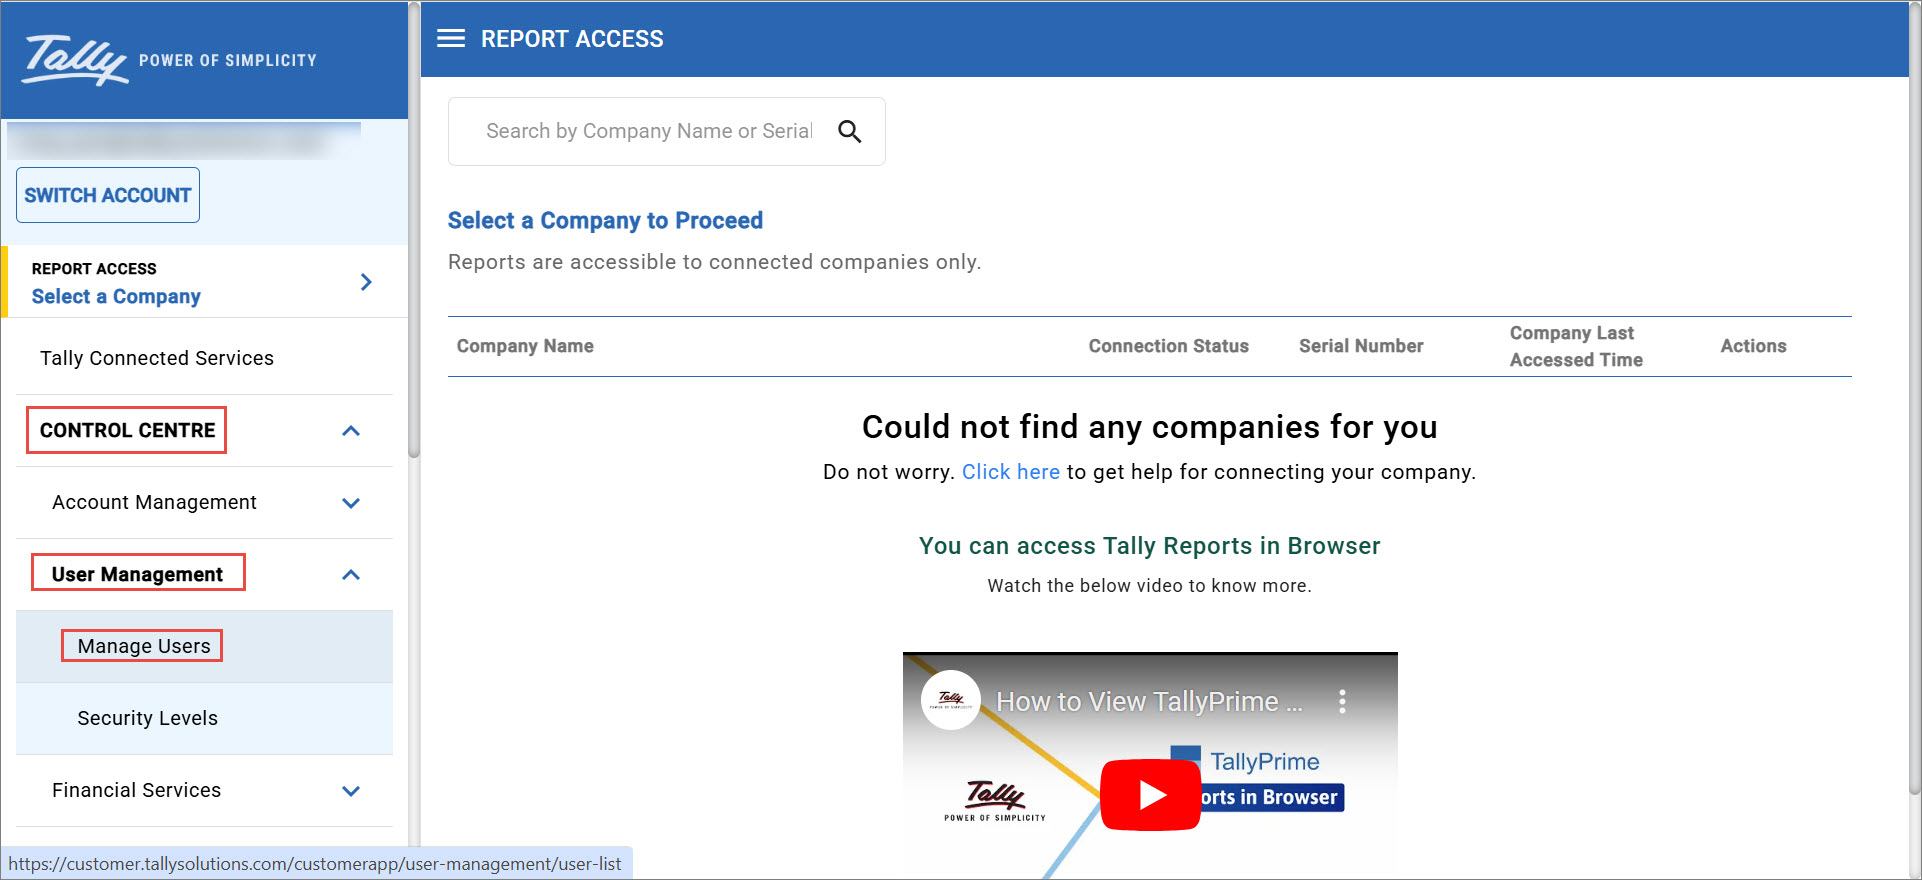
- Log in to the Tally Solutions Customer Portal.
- Click CONTROL CENTRE > User Management > Manage User.
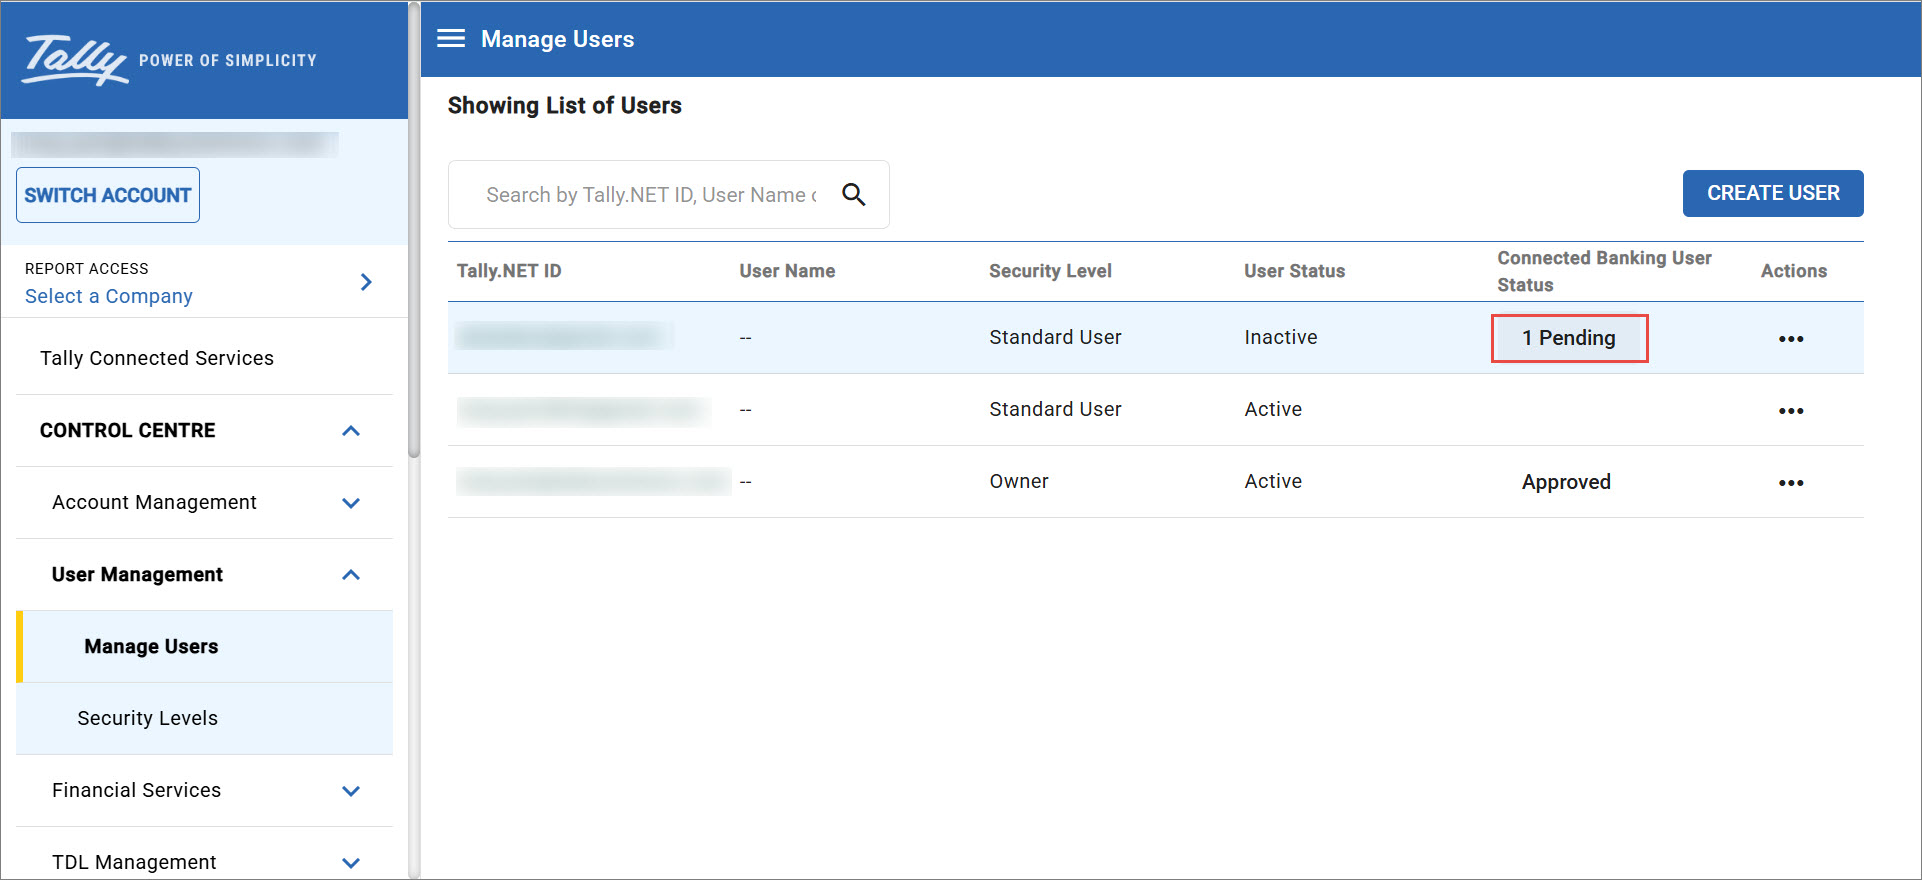
- Under Connected Banking User Status, click 1 Pending on the required user’s row.
- Click the tick mark icon (✓).
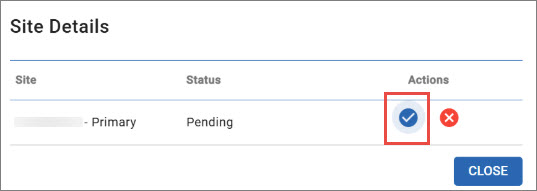
- Click OK.

The user gets approved to use the Connected Banking services in TallyPrime.
Create User and Approve Access to Connected Banking on the Portal
You can create a user and approve access to Connected Banking even on the portal. As a result, the user will be able to log in to Connected Banking in TallyPrime.
- Log in to the Tally Solutions Customer Portal.
- Click CONTROL CENTRE > User Management > Manage Users.
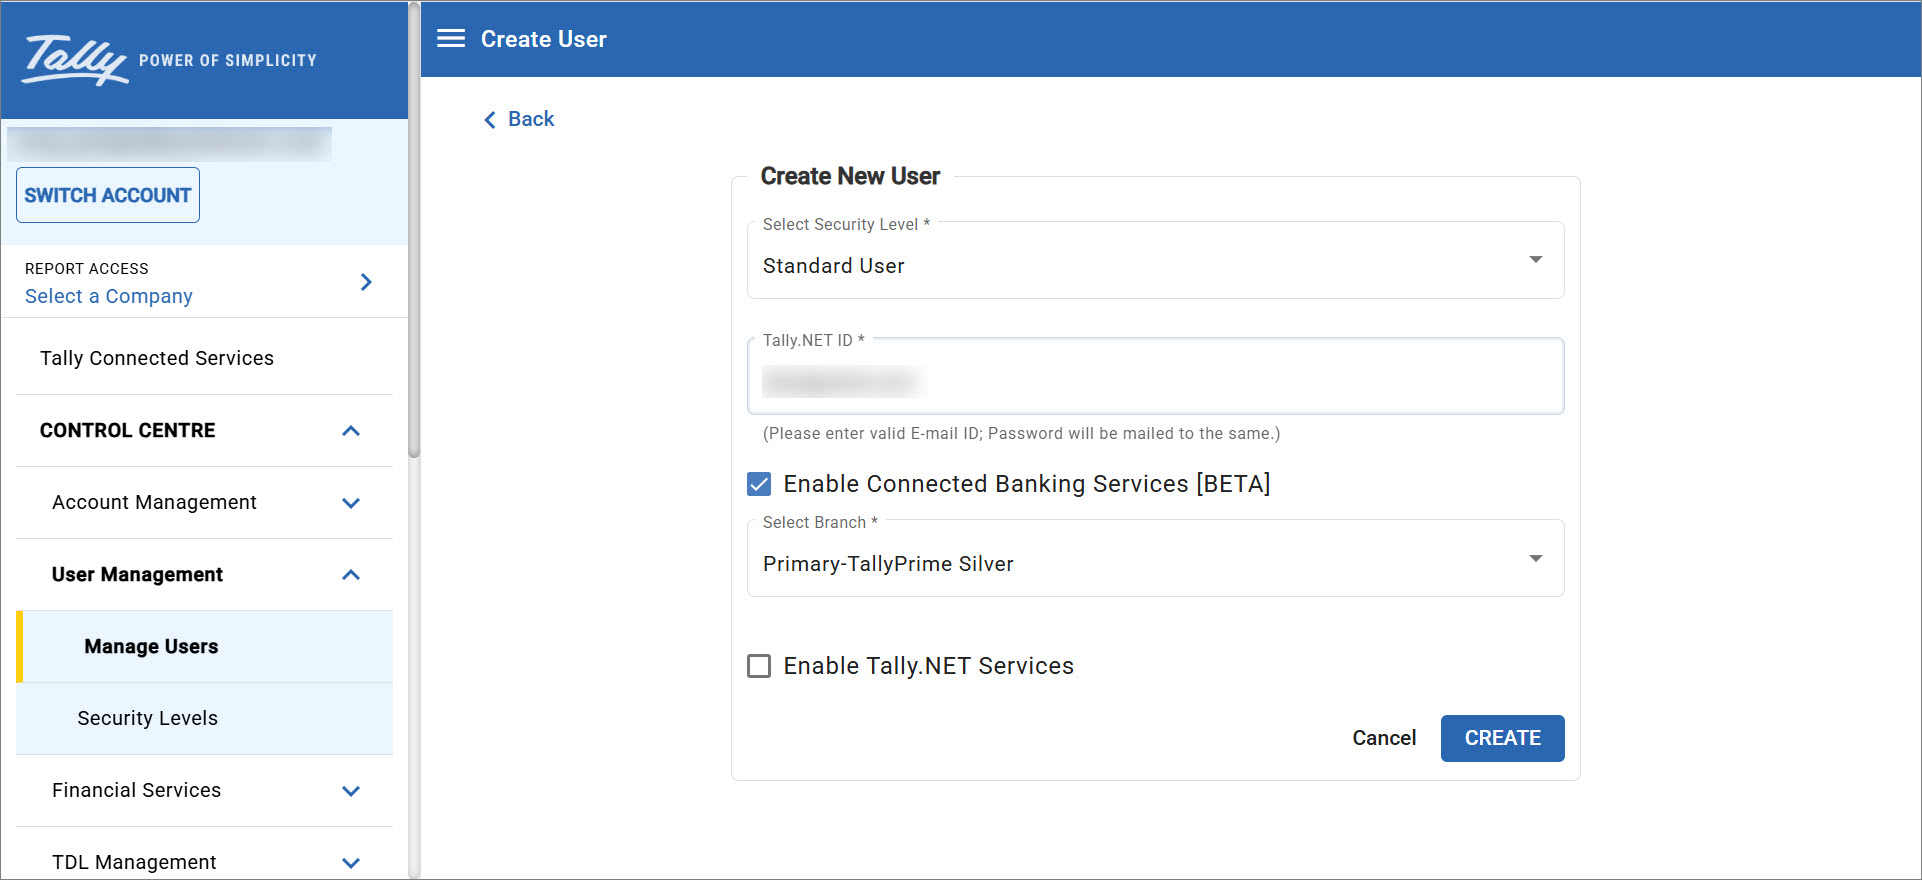
- Click CREATE USER.

- Select the Security Level, for example, Standard User.
- Enter the e-mail address of the user.
This will be the Tally.NET ID of the user, and the user will receive a temporary password in the same e-mail address. - Check the Enable Connected Banking Services box.
- Click CREATE.
- Click OK to confirm.
As a result, the user gets created with Connected Banking approval.


