Create, Configure & Manage Voucher Types in TallyPrime
TallyPrime provides 24 predefined voucher types to record different business transactions. You can create new voucher types or configure existing ones to customise transaction entry, automate business processes, and control how vouchers are numbered, recorded, shared, and printed.
Create and Manage Voucher Types
You can also create new voucher types that suit your business needs. Just like any other master in TallyPrime, you can also alter the existing voucher types and configure them, as needed.
Create voucher types

- Press Alt+G (Go To) > Create Master > Voucher Type.
- In the Voucher Type Creation screen, enter the Name of the voucher type.
- In Select type of voucher, select the required voucher type from the List of Voucher Types.
Based on your selection, the new voucher type will inherit all the properties of the selected voucher type. - Configure the voucher type as required, and press Ctrl+A to save.
Create POS voucher types
In the Voucher Type Creation screen:
- Enter the Name for the voucher type, for example, POS Invoice.
- In Select type of voucher, select Sales.
- Enter the voucher numbering details, as needed.
- Set the option Use for POS invoicing to Yes.
- Enter Message to print (1) and Message to print (2), if required, to print messages at the bottom of the POS invoice.
- Select the Default template to print as POS Templates.
- Enter the Default title to print, if required.
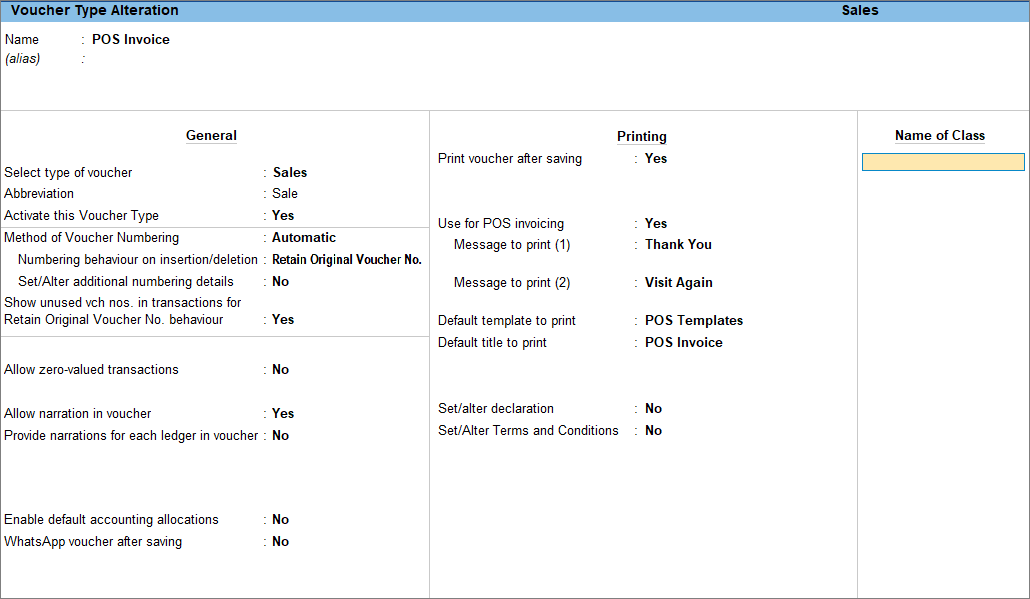
- Press Ctrl+A to save the Voucher Type.
Alter voucher types
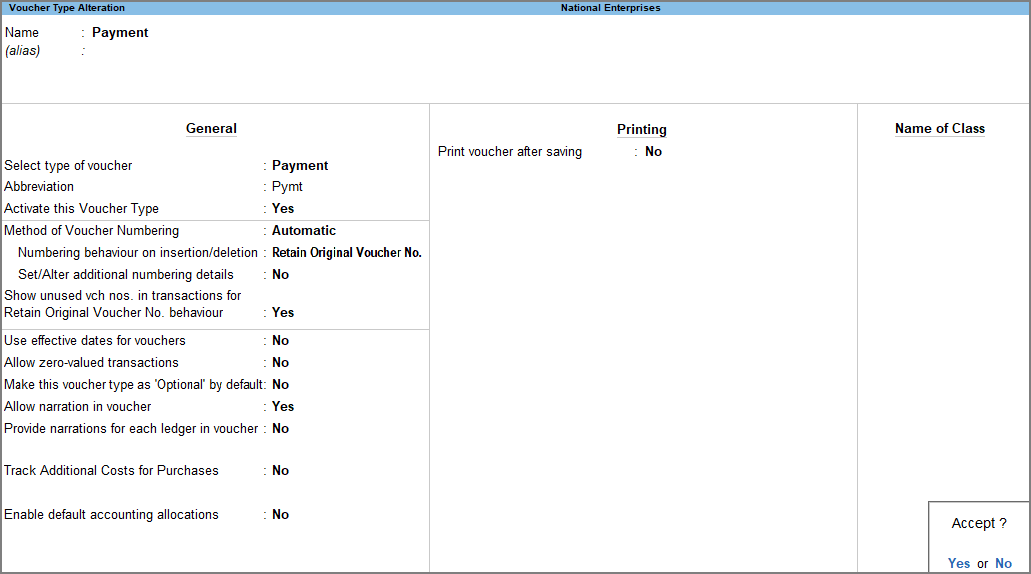
You can alter the existing voucher types to suit your requirements, such as activating a voucher type or changing its abbreviation and so on.
- Press Alt+G (Go To) > Alter Master > Voucher Type > select the voucher type and press Enter.
- In the Voucher Type Alteration screen, configure the options as required, and press Ctrl+A to save.
Configure Voucher Types
You can configure voucher types to set up for transactions, sharing and printing vouchers, and voucher classes.
Set up transaction options
In the Voucher Creation/Alteration screen,
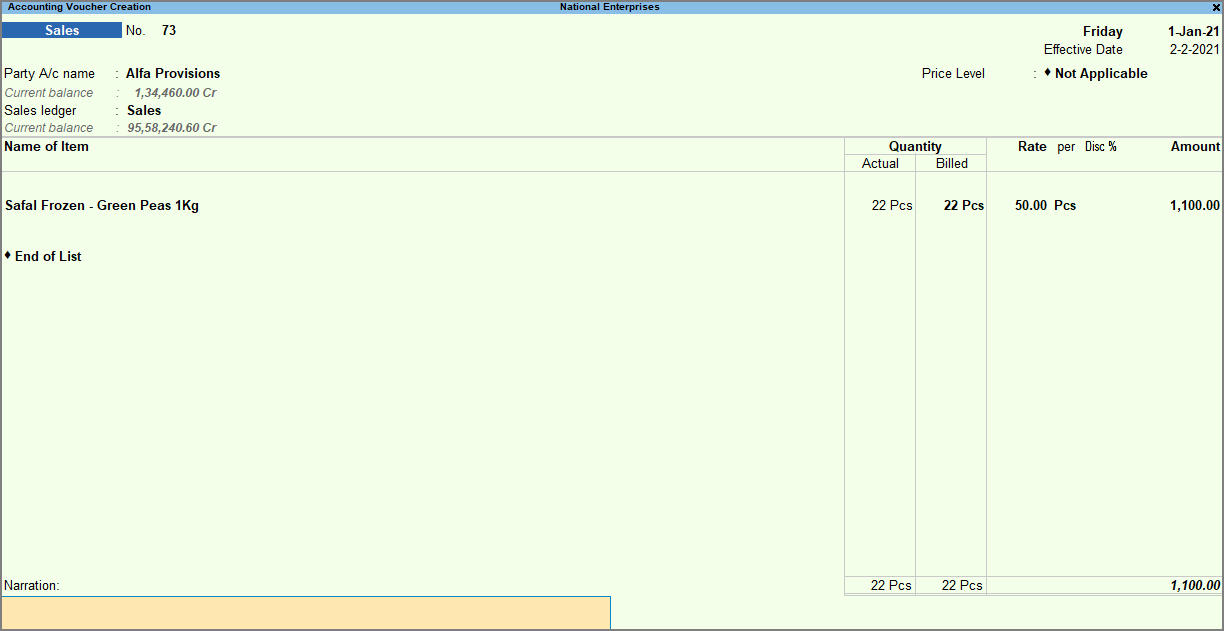
- Enable Use effective dates for vouchers to record vouchers with an effective date in the future.
Next time you record a voucher, the effective date appears in the top-right corner.
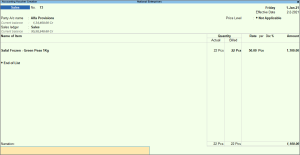
- Enable Allow zero-valued transactions to record free items or samples.
- Configure the voucher numbering.
- Select the Method of Voucher Numbering as Automatic, Automatic (Manual Override), Manual, or Multi-user Auto.
- To add a prefix or suffix to the voucher number, enable Set/Alter additional numbering details.
(Applicable to Automatic, Automatic (Manual Override), and Multi-user Auto) - To avoid duplicate voucher numbers, enable Prevent creating duplicate Voucher Nos.
(Applicable to Automatic (Manual Override), and Multi-user Auto)
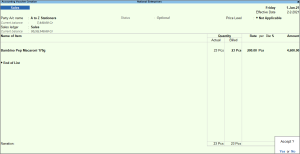
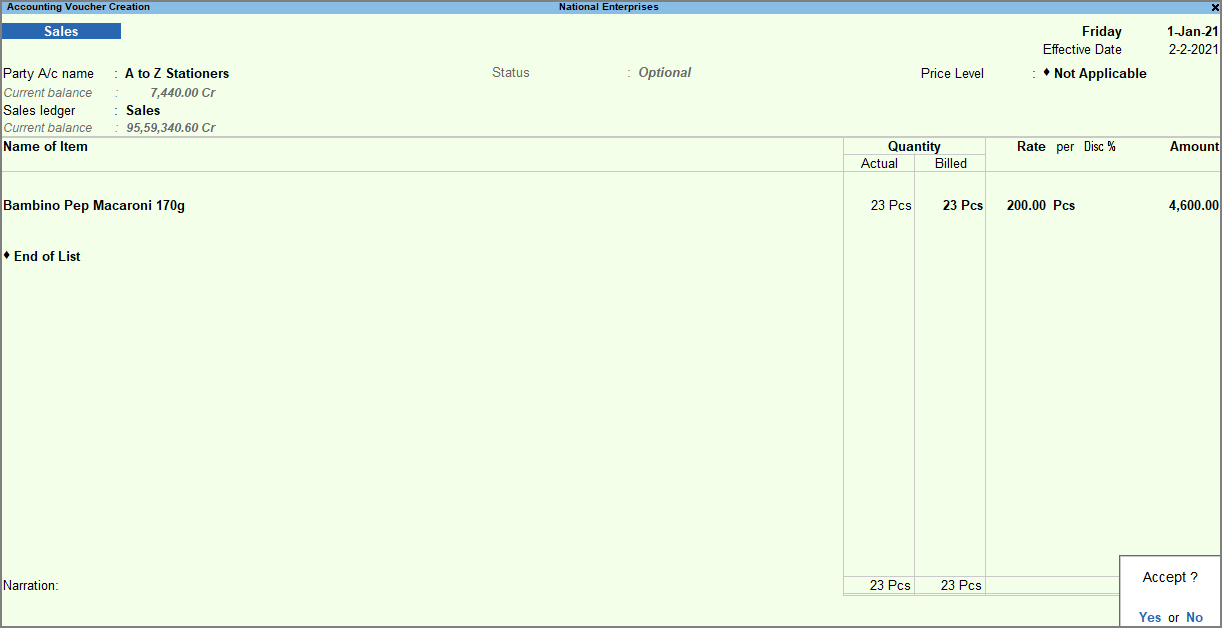
- Enable Make this voucher type as ‘Optional’ by default to record vouchers without impacting your books.
(Not applicable to Memorandum voucher and Reversing Journal voucher types)
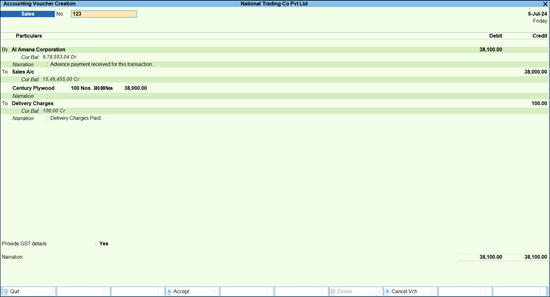
- Enable Provide narration for each ledger in voucher to add narration for individual ledgers based on the voucher mode, such as Accounting/Item Invoice or As Voucher.
(Not applicable to Delivery Note, Receipt Note, Sales Order, Purchase order, Physical Stock, Stock Journal, Rejection In and Rejection Out voucher types)
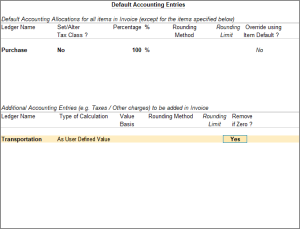
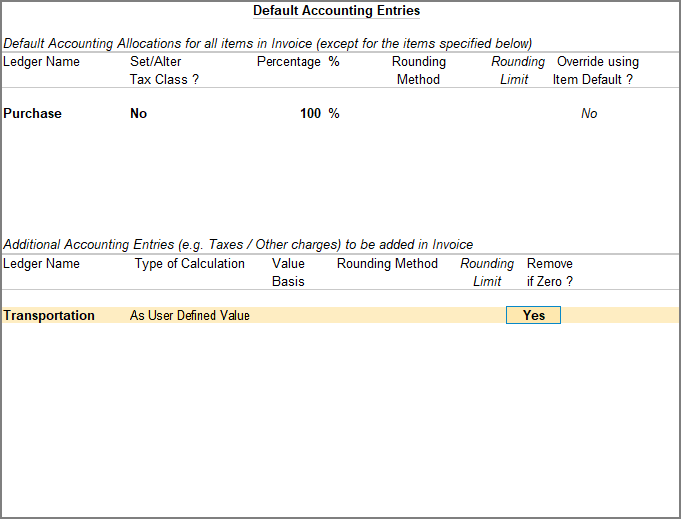
- Set Enable default accounting allocations to Yes to update the details in the Default Accounting Entries screen.
If you have recurring expenses or income, you can set up default accounting allocations to automatically assign each transaction to the appropriate accounts instead of entering the account details manually every time.
- Enable Track Additional Costs for Purchases to track additional costs of the stock items in the voucher.
(Applicable to Purchase, Journal, Memorandum, Payment, Physical Stock, Rejection Out, Reversing Journal voucher types)
Set up invoice sharing options
In the Voucher Creation/Alteration screen,
- Enable WhatsApp voucher after saving to share the voucher with the party through WhatsApp immediately after saving a voucher.
- Enable Print voucher after saving to automatically open the Voucher Printing screen for the voucher, once it is saved.
- Enable Generate Payment link/QR code after saving voucher to generate payment links or QR codes for digital payment.
(Applicable to Sales, Debit Note, Delivery Note, Journal, Point of Sales, and Sales Order voucher types)
Set up printing options
In the Voucher Creation/Alteration screen,
- Select a template in the Default template to print to set the default template for the voucher.
(Applicable to Sales, POS, Sales Order, Delivery Note, Credit Note, and Debit Note voucher types) - Set the Default title to print to print the same title across all the vouchers.
(Applicable to Sales voucher types) - Select a bank in Default bank to print its details on the vouchers.
(Applicable to Sales voucher types) - Set the Default jurisdiction to print the same jurisdiction on all the vouchers.
(Applicable to Sales voucher types) - Enable Set/alter declaration to print the specified declaration on all vouchers.
If your company is based in a GCC country, you can set/alter declaration in Arabic and print it on the vouchers. - Enable Set/Alter Terms and Conditions and update the List of Terms and Conditions to define and update Terms and Conditions.
(Applicable to Sales, POS, Sales Order, Delivery Note, Credit Note, and Debit Note voucher types)
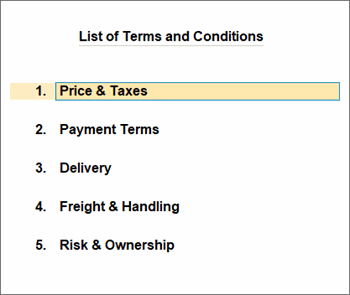
- In the Terms and Conditions for screen, update the details and save.

- Set the Default Terms and Conditions from the List of Terms and Conditions.
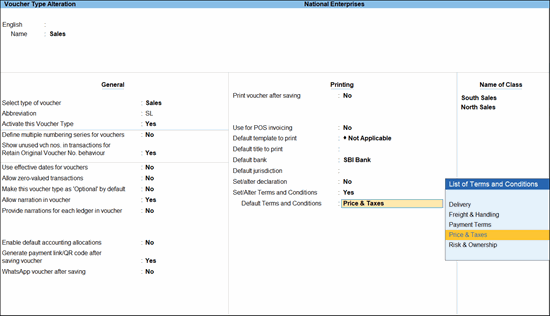
- In the Terms and Conditions for screen, update the details and save.
Create Voucher Class
Use a Voucher Class when you regularly record similar transactions and want to automate entries, apply predefined rules, and reduce manual errors.
- In the Voucher Type Creation/Alteration screen, enter the Name of Class.
- In the Class screen, configure the options based on the voucher type.
- For example, for a Sales voucher type, you can restrict the groups for which the class can be used. You can also specify the ledgers to be allocated automatically for inventory items under Default Accounting Allocations for all items in Invoice.
- For the POS voucher type, enable the required modes of payment and select the corresponding Ledger Name for each mode.
- Similarly, for a Stock Journal voucher type, you can enable Use Class for Inter-Godown Transfers to apply the voucher class when transferring stock between godowns.
- Press Ctrl+A to save.
Questions & Answers
How can I change the Abbreviation of a voucher type in TallyPrime?
In the Voucher Creation/Alteration field, you can update the Abbreviation field to change the default abbreviation assigned by TallyPrime, such as CN for Credit Note or Pymt for Payment.