
Configure for Print, Export, E-mail & WhatsApp
Before printing, exporting, or sharing documents, like your invoices, financial reports, payment reminder letters, dashboard tiles, and multi-account reports, you can configure them, as per your business needs.
Set no. of copies to for voucher types
(Applicable to Print & E-mail)
- For Print: Alt+P (Print) > Configurations > Set no. of copies for printing vouchers.
For E-mail: Alt+M (E-mail) > Configurations > Set no. of copies for e-mailing vouchers. - Specify the number of copies that you want to print for each voucher type, and save.
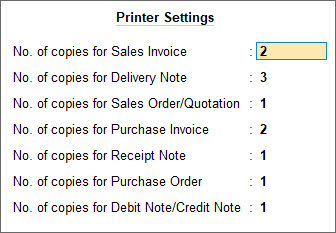
- Press Ctrl+A to save.
Next time you print an invoice, the printer will by default print the exact number of copies you have set in this screen.
Set preview as default
(Applicable to Print & WhatsApp)
- In the configuration screen, enable Set Preview as Default.
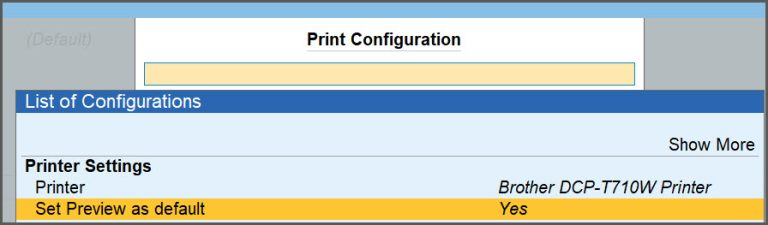
Next time you print a document, the Preview button on the Print screen is selected by default. On pressing Enter, you can preview the document for printing.
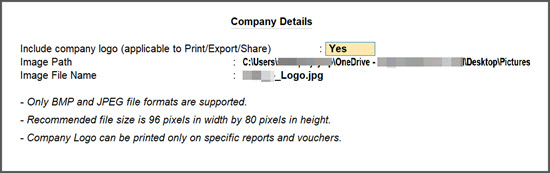
Include Company details in invoices/reports
In the configuration screen,
- Enable Show Company Name.
- Enable Show Company Address.
- If you have multiple addresses for the company, select Type of Address and save.

- If you have multiple addresses for the company, select Type of Address and save.
- Enable Include company logo.
- In the Company Details screen, update the Image File Name.
Browse to the image file location and select the file under Image File name.
- In the Company Details screen, update the Image File Name.
- Press Ctrl+A to save.
Auto Wrap Text
You can override this configuration while printing an invoice/report.
- In the configuration screen, set Auto wrap text in vouchers and report.
- Press Ctrl+A to save.
To know more, refer to Auto Wrap Text in Masters, Vouchers & Reports.
Set no. of copies for vouchers
This overrides the configuration set at the application level.
- In the sub-form, press F5 (No. of Copies).
- Enter a number for Number of copies.
- If it is a sales or purchase voucher, select the Type of Copy and save.
If you want to print only one type of copy – Original/Duplicate/Triplicate/Quadruplicate/Extra Copy, set the Number of copies to 1, and select the required Type of Copy.
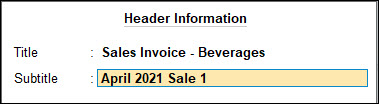
Titles/Subtitles
- In the sub-form, press F7 (Title).
- In the Header Information sub-screen, provide the required Title and Subtitle for the document and save.
Print Format
(Applicable only to Print)
- In the Print screen, press F8 (Print Format).
- In the Printer Settings screen, set up Print Format.
- Dot Matrix Format: In industrial, shipping, or banking environments, particularly for packing slips, invoices, or tickets where multiple copies need to be generated simultaneously, Dot Matrix Format is preferable.
- Neat Mode: It is the default setting for inkjet or laser printers and the recommended print format, as it ensures sharper texts and clear graphics.
- Quick/Draft Format: This mode prints significantly faster and uses much less ink for printing.

File Format
(Applicable only to E-mail and WhatsApp)
- In the E-mail or WhatsApp screen, press F8 (File Format).
- In the Settings screen, set up File Format.
- ASCII (Comma Delimited): To import invoice data into another accounting, ERP, or database system that accepts CSV/text files.
- Excel (Spreadsheet): To analyse, filter, sort, or consolidate invoice data, such as preparing sales summaries or MIS reports.
- HTML (Web-Publishing): To publish or share invoices through a website, portal, or browser-based application.
- JPEG (Image): To quickly share an invoice in an image format, as it is easier to view than a document.
- JSON (Data Exchange): When invoice data needs to be exchanged with web applications, APIs, e-commerce platforms, or custom integrations.
- PDF (Read-only Document): When you want to share a professional, non-editable invoice with customers, vendors, auditors, or banks. If you want to add digital signature to your invoices, you can also provide the Digital Signature details.
- XML (Data Interchange): When invoice data must be imported into government portals, ERP systems, or third-party business applications that support XML-based exchange.
Paper type
(Applicable only to Print)
- In the Print screen, press F9 to toggle between Plain Paper and Pre-Printed Paper formats.
Page range
(Applicable only to Print)
- In the Print screen, press F10 (Pages to Print).
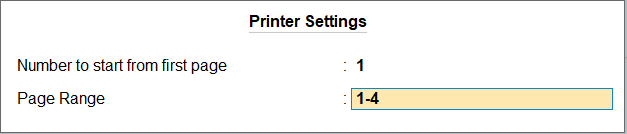
- In the Printer Settings screen, configure the page no. of the first page and the page range.
- Number to start from first page: Enter a number to appear on the first page and automatically increment on subsequent pages.
- Page Range: Enter a page range to print only those pages and skip the rest.
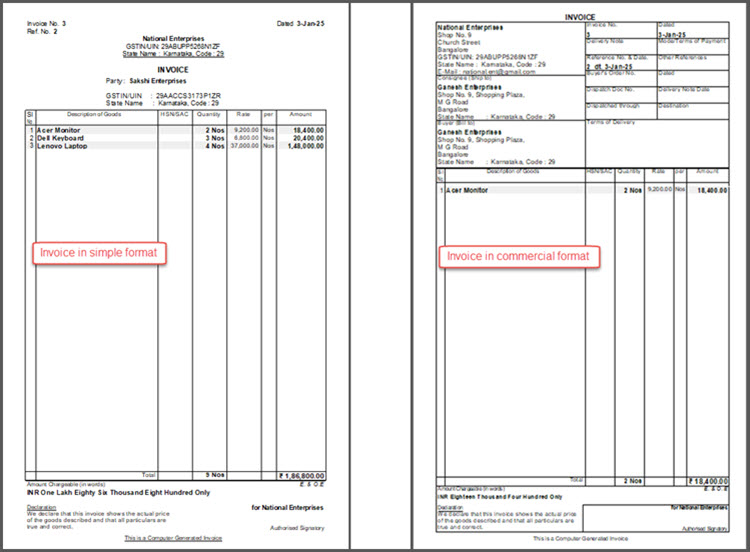
Invoices in Simple Format
(Applicable only for Print)
This option is applicable to outgoing documents like Sales Invoice, Receipt Voucher and so on and supported only on printers with Neat Mode print format.
- In the Print Configuration screen, enable Use Simple Invoice format.
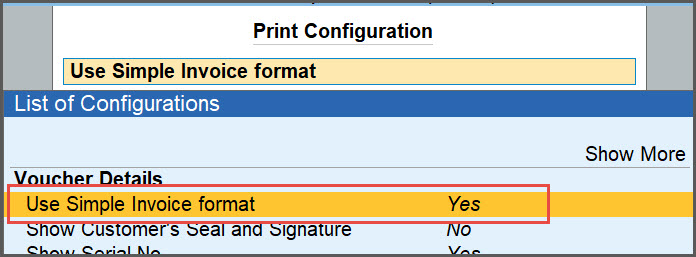
By default, this option is set to No to print the document in Commercial format.
Set invoice margin and height
- In the configuration screen, enter the value in inches for height, width, and margins for normal and simple invoices, as needed.
- If you are using any of the print invoice templates, you can enter the value only for the top, left, right, and bottom margin of the invoices. (Not applicable to TallyPrime 7.0 & earlier)
Optimise invoice printing to save paper
(Applicable only for Printing)
Ensure that the country for the Company is India, Excise and Service tax are disabled, and Paper Type is set to Plain Paper.
- In the Print Configuration screen, enable Optimise printing to save paper.
Company details
This will override the configuration set at the application level.
In the configuration screen, enable the following options.
- Show Company Name.
- Show Company Address.
- Include company logo.
Party details in invoices
In the configuration screen for the invoice,
- Enable Show Contact details.
- Include the party address:
- From the party ledger, enable Show Name and Address from Party Master.
- From the voucher, disable Show Name and Address from Party Master.
- To include the consignee details from the voucher, enable Show Consignee details.
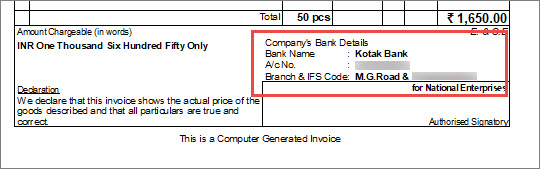
Company bank details
Ensure that the Company bank ledger has all the required bank details.
- In the configuration screen, enable Show Bank Details.
- Select Bank Name and press Enter to select the Bank Ledger.
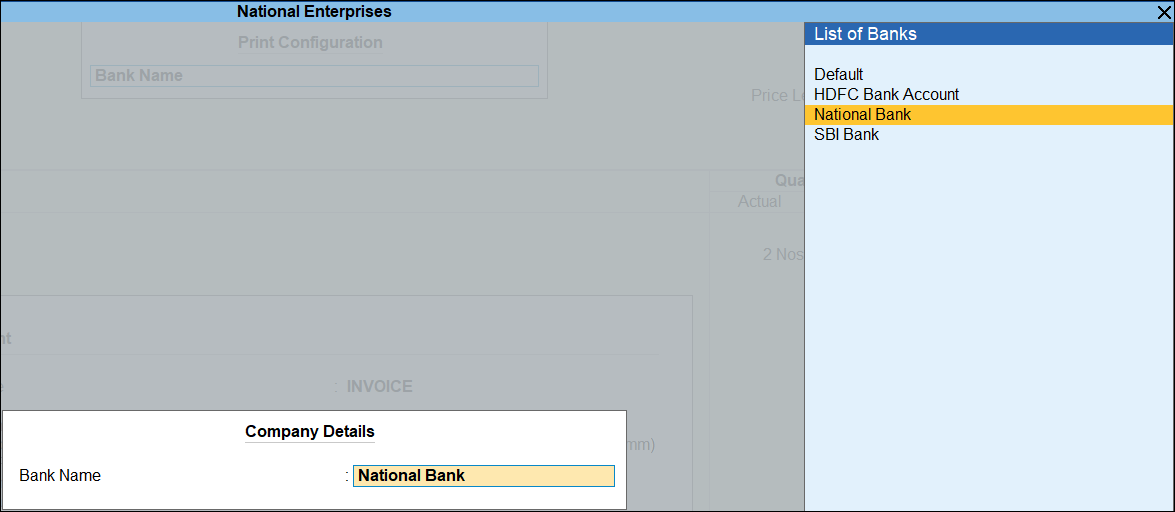
Now, the invoice includes the bank details while printing/exporting/sharing through E-mail or WhatsApp.
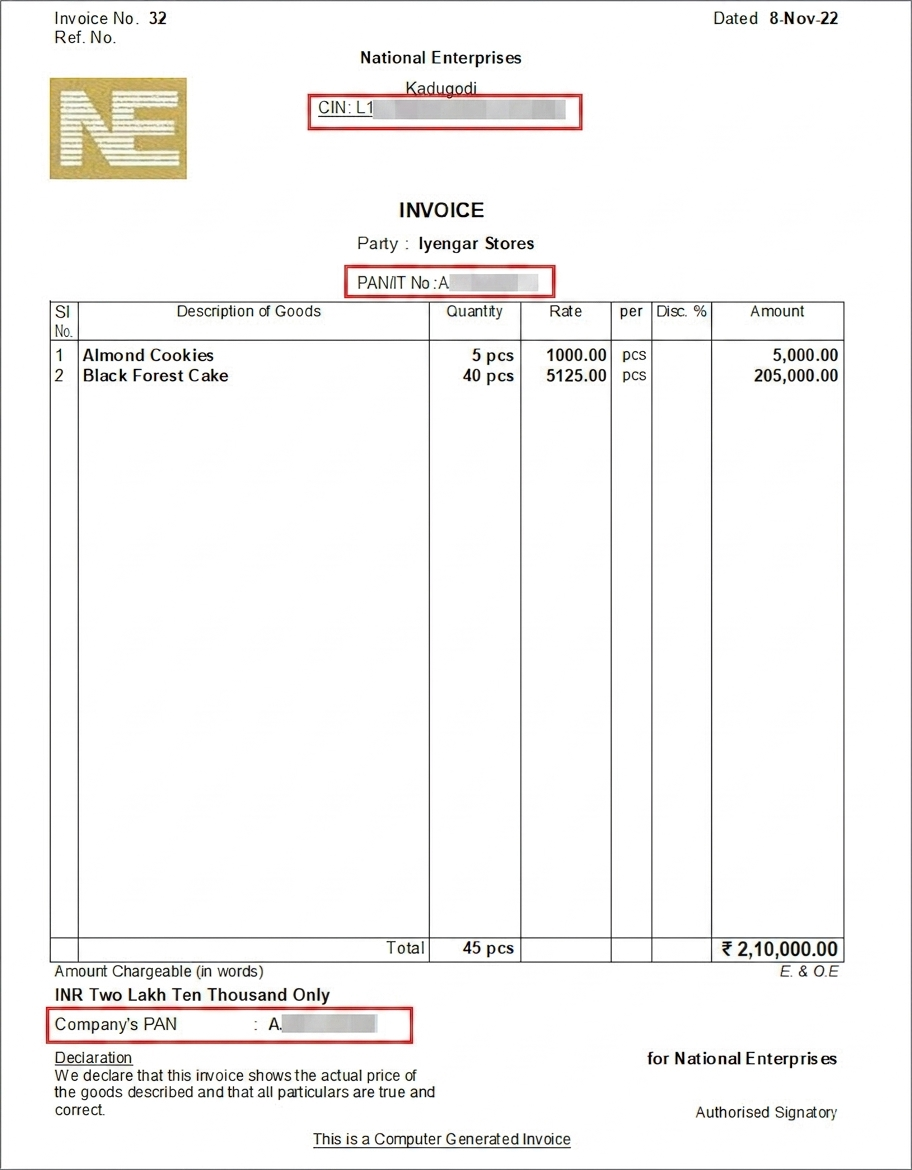
Statutory details | PAN and CIN
As per Section 139A(5)(c) of the Income Tax Act and Section 12(3)(c) of the Companies Act, it is mandatory to include the PAN and CIN along with other details in the business documents.
Ensure that the PAN/IT No and CIN are updated in the company and party master, as applicable.
- In the configuration screen, enable Show PAN / Income Tax No. and Show CIN.
Additional descriptions for items & ledgers
Ensure that you have enabled Provide Additional Descriptions for Stock Items and Provide Additional Descriptions for Ledgers for the sales ledger.
- In the configuration screen, enable Show Additional Descriptions for Stock Items and Show Additional Descriptions for Ledgers.
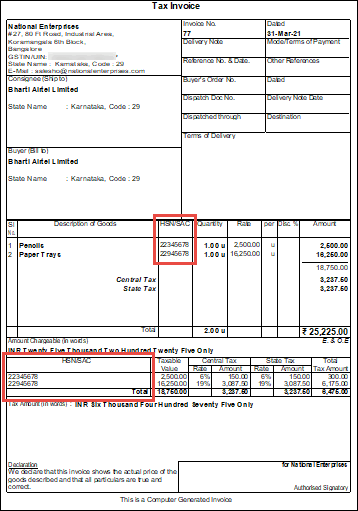
Print GST Rates and HSN/SAC Details in Invoice
Ensure that GST Rates and HSN/SAC details are updated in the masters.
In the configuration screen, enable the following GST options, as needed.
- Show Item-wise GST details
- Show GST Rate (in %)
- Show GST Analysis
- Show HSN/SAC
Previous & current balances in invoices
If you record multiple transactions with the same party on the same day, you can keep a track of your balances (previous and current) at the end of the day.
- In the configuration screen, enable Show Previous and Current Balances of Ledger.
Marks or Container No. & No. of Packages
Ensure that you have specified the export details in your voucher.
- In the configuration screen, enable Show Export details.
- If you are using any of the print invoice templates, enable Show Marks or Container No. and Show No. Packages. (Not applicable to TallyPrime 7.0 & earlier)
LR-RR number and Motor Vehicle Number
Ensure that you have specified the LR-RR No. and Vehicle No. in the Dispatch Details screen or Statutory Details screen during voucher entry.
- In the configuration screen, enable Show Dispatch Details.
Declaration/Terms & Conditions
Ensure that you have updated the declaration in the particular Voucher Type.
- In the configuration screen, enable Show Declaration.
Configure multi-account reports
For Print: Alt+P (Print) > Others > select a report from the List of Reports.
For Export: Alt+E (Export) > Others > select a report from the List of Reports.
For E-mail: Alt+M (Share) > Others under E-MAIL > select a report from the List of Reports.
For WhatsApp: Alt+M (Share) > Others under WHATSAPP > select a report from the List of Reports.
Sorting method
- In the configuration screen, select Sorting Method.
- In the Report Details screen, select the required Sorting Methods from the list of Sorting Methods.

- Select Default to print Ledgers in Alphabetical order.
- Select Group to print Ledgers in Alphabetical order under respective Groups.
Include/Exclude groups and ledgers
- In the configuration screen, enable Include/Exclude Groups & Ledgers.
- In the Selection of Groups/Ledgers screen, select the required groups or ledgers to either include or exclude them.
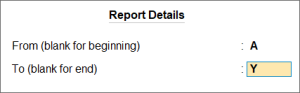
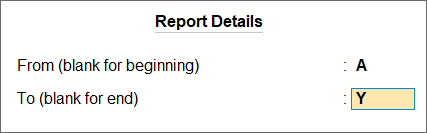
Alphabetical range
- In the configuration screen, enable Set alphabetical range to print.
- Select Range of Alphabets and press Enter to select the details for alphabet range.
- From (blank for beginning): Type the first alphabet in the range.
- To (blank for end): Type the last alphabet in the range.
If you are in TallyPrime Release 3.0.1 or earlier, you will not be able to see this option, if you have set Select Groups/Ledgers to Yes, while printing.
Questions & Answers
How can I configure Reminder Letters and Confirmation of Accounts for different reports in TallyPrime?
You can configure reminder letters for Bills Receivable, All Ledger Outstandings, Ledger Outstandings, Group of Account Outstandings, and Group Outstandings. You can configure Confirmation of Accounts for Cash Book, Bank Book, All Ledger Accounts, One Ledger Account, and Group of Accounts.
How can I print an invoice in a smaller size?
By default, the invoice height is set to 10 inches for A4-size paper. If your invoice requires only half the size, change the height to 5 inches. Also, replace the A4 sheets in the printer tray with a paper size suitable for printing. For example, if the invoice height is 5 inches, use A5-size paper.


