Create and Alter User Access in Tally e-Billing
Once you sign in to Tally e-Billing, your Tally.NET ID becomes the Super Admin ID. As a Super Admin, you can assign roles to users and control their access to specific rights. Tally e-Billing provides four predefined security levels, such as Owner, Auditor, Data Entry, and Sales Person with defined access rights, in addition to the Super Admin level. You can assign these predefined security levels when creating users or create custom security levels based on your requirements.
Create New User
- From Gateway > click Company > and then click User Access.
- In the User Management screen, click Create.
- In the Create New User screen, enter the user’s Tally.NET ID and Full Name.
If the user does not have a Tally.NET ID, you can enter their e-mail ID instead. - Select the required Security Level from the list of predefined roles.
- To create a new role, click Create one or Create Custom Profile.
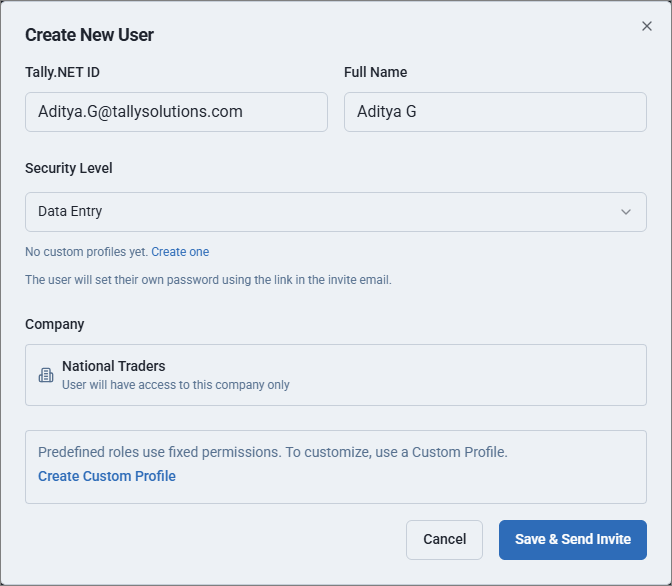
- Click Save & Send Invite.
Once the invitation is sent, the user receives an e-mail with a temporary password and can sign in to Tally e-Billing using the assigned credentials. The user can change the password after signing in.
Create Custom Profile
Predefined security levels come with fixed permissions. If you need to control user access based on your business requirements, create a custom profile and assign the required permissions.
- From Gateway > click Company > and then click User Access.
- In the User Management screen, click Custom Profiles.
Alternatively, you can create a custom profile from the Create New User screen. - In the Custom Profiles screen, click New Custom Profile or New Profile.
- In the New Custom Profile screen, enter the Profile Name and Description, if any.
- Select the required Permission Settings for the profile.
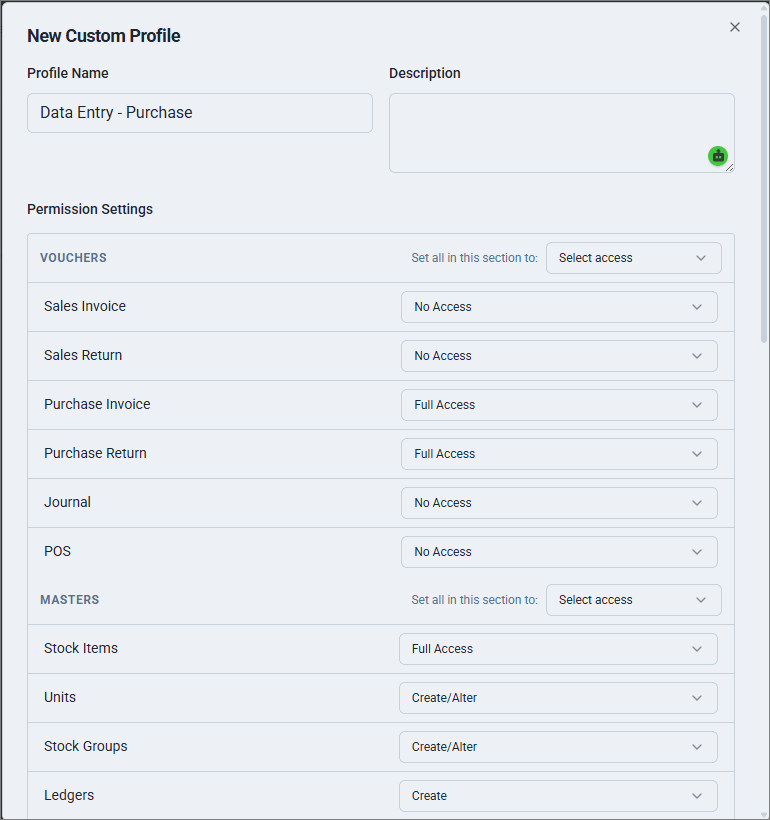
- Click Save.
Alter User
- From Gateway > click Company > and then click User Access.
- In the User Management screen, click the edit option for the user you want to alter.
- In the Edit User screen, make the necessary changes.
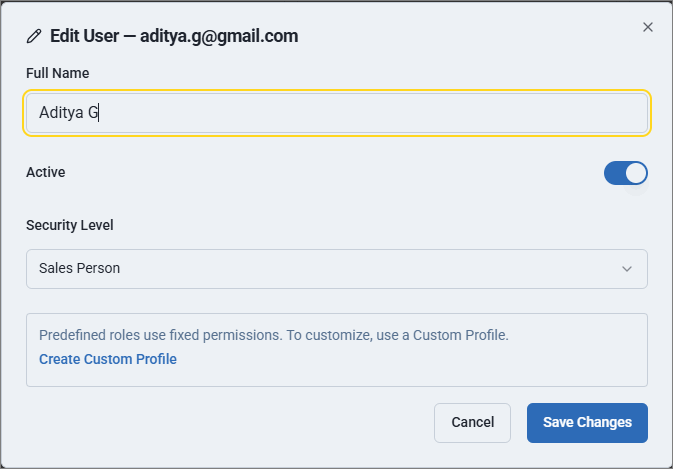
- Click Save Changes.
Alter Custom Profile
- From Gateway > click Company > and then click User Access.
- In the User Management screen, click Custom Profiles.
- In the Custom Profiles screen, click the edit option for the profile you want to alter.
- In the Edit Custom Profile screen, make the necessary changes.
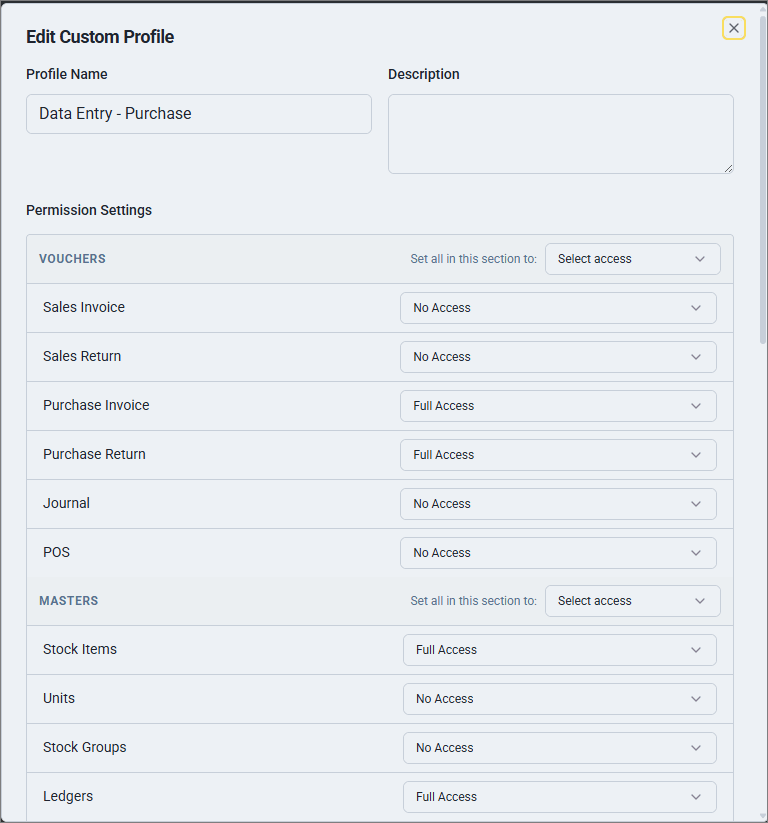
- Click Save.