
Customise and Print Your Templates
You can customise invoice templates in TallyPrime to match your business format and printing requirements. Once configured and saved, these templates help you generate consistent and professional invoices every time.
Add or Remove Fields in the Invoice Templates
You can easily add or remove the fields you want to print, export, or share in an invoice as per your business needs.
- Open the invoice, press Ctrl+P (Current) > Ctrl+H (Change Template).

- Press F4 (Add/Remove Field).

-
In the List of Configuration screen, add or remove the fields, as needed, such as Bank Details, Contact details, and so on.
This will allow you to print the required information as per your business needs. -
Press Ctrl+A to save.


Copy Configurations
- Open the invoice and press Ctrl+P (Current) > Ctrl+H (Change Template).
- Press Alt+S (Copy Configurations) to copy all the common functional configurations as per Tally classic format.
- In the query message, select Yes to copy the configurations.
Update Watermark in Template
Adding a watermark, whether text like “Paid”, “Duplicate”, “Cancelled”, “Confidential”, or an image like your company logo, instantly communicates an invoice’s status and reinforces professionalism.
- Open the invoice, press Ctrl+P (Current) > Ctrl+H (Change Template).

-
In the Invoice Template screen, press F5 (Watermark).
-
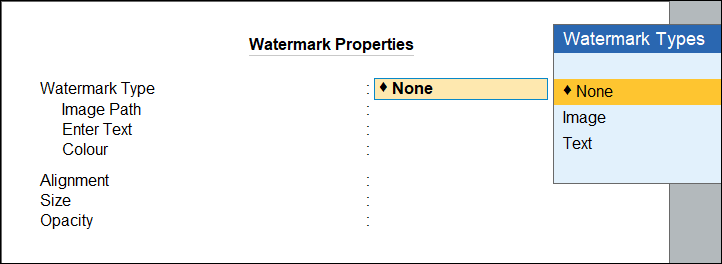
In the Watermark Properties screen, update the properties, as needed.
-
Watermark Type: Select Image or Text, as needed.
-
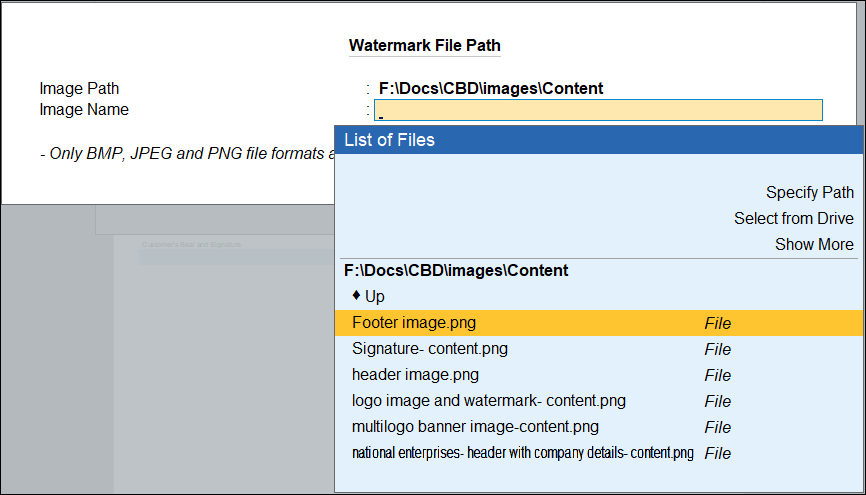
In case of an image as watermark, update the Image Path and select the required image file, the image name is pre-filled in the Image Name field.
- In case of a Text as watermark, enter the Text and select the colour from the List of Colours.

-
-
Alignment: Select Horizontal or Diagonal to adjust the alignment of the watermark, as needed.
-
Size: Select a size from the List of Sizes to set the watermark size.
-
Opacity: Select a level from the List of Opacity Levels to set the watermark’s visibility.

-
- Press Ctrl+A to save.
Update Font & Colour of Template
With TallyPrime, you can customise your invoice by changing the font style and colour to match your brand identity.
- Open the invoice, press Ctrl+P (Current) > Ctrl+H (Change Template).
- In the Invoice Templates screen, press F8 (Font & Colour).

-
In the Font & Colour Properties screen, update the properties, as needed.
- Font: Select the font from the List of Fonts, as needed.
Selecting No Change ensures that any settings already applied at the template level or field level are retained.
-
Theme Colour: You can use the Theme Colour to apply colour to the specific sections/headers, depending on the layout design.
-
Background Colour: You can use Page Background Colour to apply colour to the entire invoice page.
-
Font Colour: Select the font colour from the List of Colours, as needed.
- Font: Select the font from the List of Fonts, as needed.
- Press Ctrl+A to save.
No Change: Selecting No Change ensures that any settings already applied at the template level or field level are retained.
Custom: Selecting Custom allows you to create a custom colour by entering the RGB values.
Auto: TallyPrime automatically applies a font colour based on the background and theme colours to keep the text clear and readable in the invoice.
Use Image in Header
You can use images in the Header to enhance your invoices by adding background images, or company details, that reflect your business identity.
- Open the invoice, press Ctrl+P (Current) > Ctrl+H (Change Template).
- In the Invoice Templates screen, press F6 (Header Image).

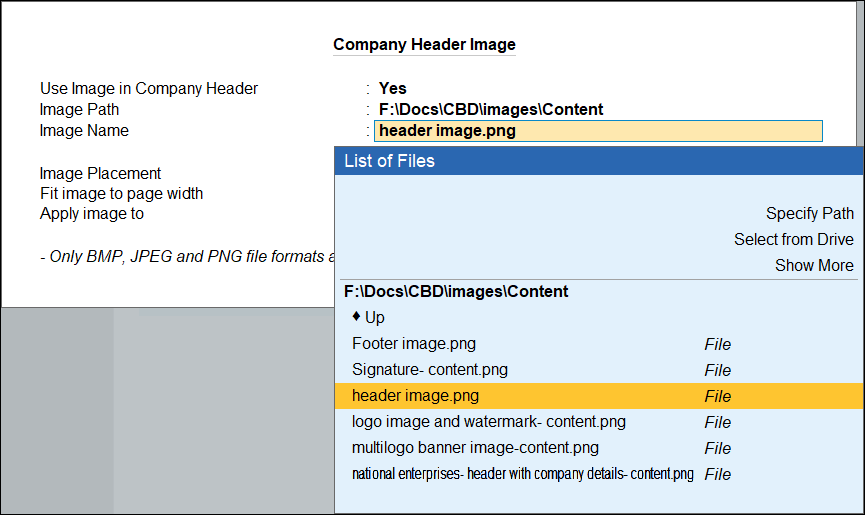
- In the Company Header Image screen, set Use Image in Company Header to Yes to display a specific image in the Company Header.
- Image Path: Specify the details such as Image Path and Image Name.
-
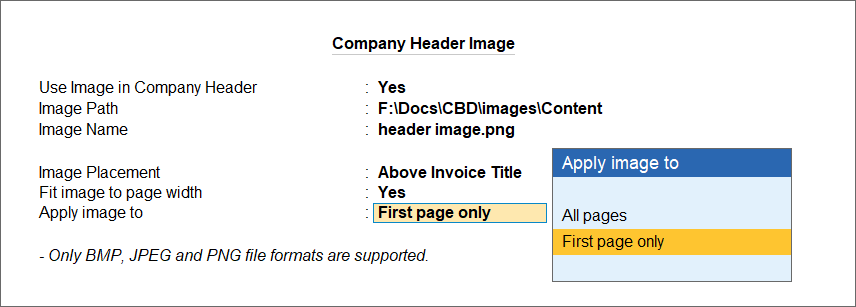
Image Placement: Select the placement of image either below or above the invoice title.
-
Fit Image to page width: Yes, to fit the image to page width, if the uploaded image is smaller than the width of the paper size.
-
Apply image to: Apply the image to the first page or all pages if the invoice has multiple pages.
-
Select First page only to apply the image only to the invoice’s first page.
-
Select All pages to apply the image to all invoice pages.
-
- Image Path: Specify the details such as Image Path and Image Name.
-
Press Ctrl+A to save.
You can also use image in Company Header of a template, using the F4 (Add/Remove Field) option in the Invoice Templates screen.
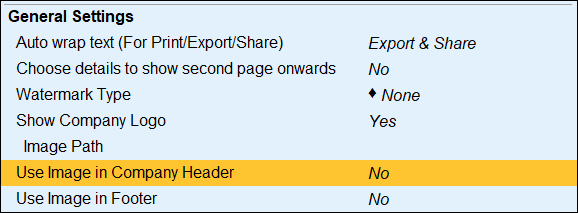
Use Image in Footer
Just like Header, you can also use images in the Company Footer to print business banners or add quotes that reflect your business values.
- Open the invoice, press Ctrl+P (Current) > Ctrl+H (Change Template).
- In the Invoice Templates screen, press Alt+F6 (Footer Image).
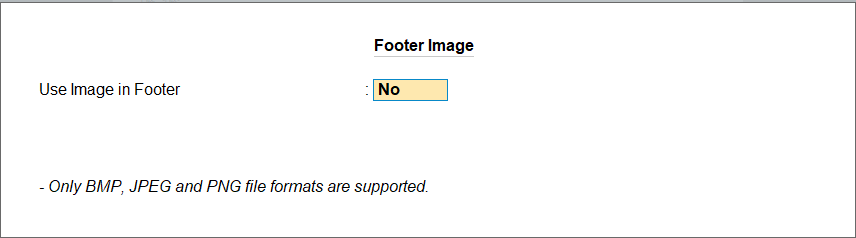
- In the Footer Image screen, set Use Image in Footer to Yes to display the selected image representing your business values in the Company Footer.
- Image Path: Update the details such as Image Path and Image Name.
- Fit image to page width: Yes, to fit the image to page width, if the uploaded image is smaller than the width of the paper size.
- Apply image to: Apply the image to the last first page or all pages if the invoice has multiple pages.
- Select Last page only to apply the image only to the invoice’s last page.
- Select All pages to apply the image to all invoice pages.
- Press Ctrl+A to save.
You can also use image in Footer of a template, using the F4 (Add/Remove Field) option in the Invoice Templates screen.
Edit Field Properties
You can customize the appearance and properties of fields in your invoice template to match your business preferences. Highlight critical details like Total Amount, Due Date, or Payment Terms with bold text, larger font size, or proper alignment.
- Open the invoice, press Ctrl+P (Current) > Ctrl+H (Change Template).
- In the Invoice Templates screen, press F9 (Edit Fields Properties).
- In the template, select a field and press F6 (Edit Properties) to edit the field properties, as needed.
- Change Title: Enter a new title to change the field title or continue with the existing field title, as needed. For example, you can change the title from Invoice No. to Bill No.
- Bold: Yes and Italic: Yes, to make the field title bold and italic, respectively.
- Show Advanced Field Options: Yes, to update the advance properties of the fields.
- Font: Select the font from the List of Fonts, as needed.
- Font Size: Select the font size from the Font Sizes, as needed.
- Font Colour: Select the font colour from the List of Colours, as needed.
- Alignment: Select the alignment of the field from Alignment Types, as needed.
- Field Background Colour: Select the colour for the background of the field from the List of Colours, as needed.
Press F8 (Reset Field) to remove all the changes made for the selected field and display the original settings of the field.
- Press Ctrl+A to save.
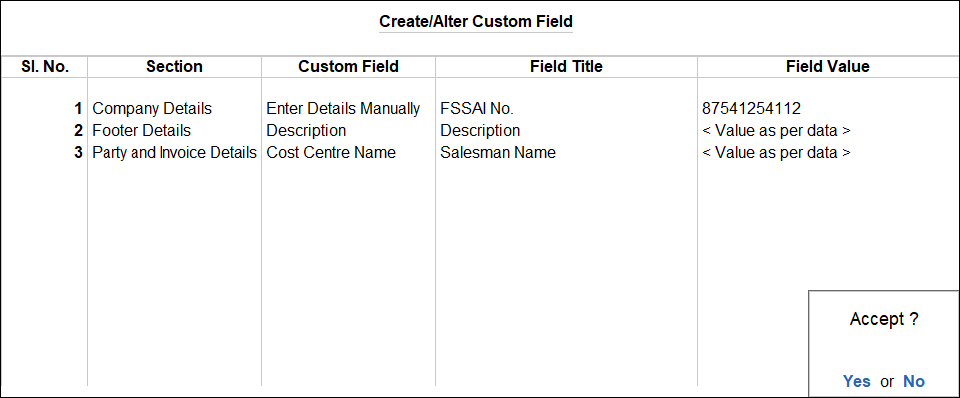
Add Custom Fields
Custom fields let you include additional information in the invoice which are specific to the business. Two types of custom fields can be added as below:
a) Company level information, that can be printed on all invoice such as FSSAI No., Drug License No., and so on.
b) Any party or invoice level information, that is captured during voucher entry such as Carrier/Agent Name, Cost centre name, and so on.
For example, food businesses can add their FSSAI No. in the Company section or add Carrier/Agent Name’ under Party and Invoice Details section.
- Open the invoice, press Ctrl+P (Current) > Ctrl+H (Change Template).
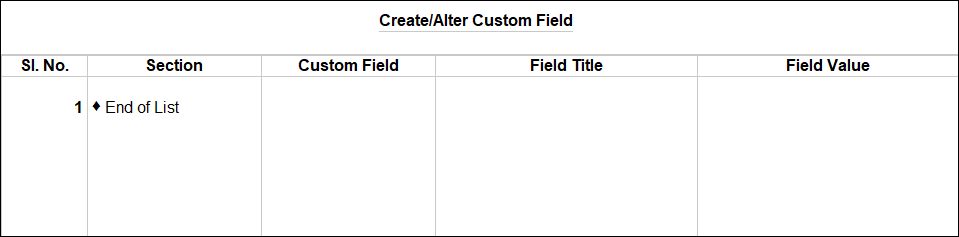
- In the Invoice Templates screen, press F7 (Custom Field).
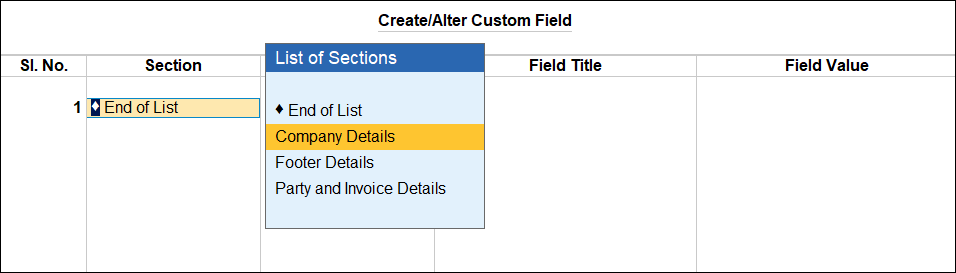
- In the Create/Alter Custom Field screen, update Section of the template, Custom Field, Field Title, and Field Value.
-
Section: Select Company Details, Footer Details, Party and Invoice Details, so that you can add the relevent fields in the respective section of the template.
- Custom Field: Select the field/fields related to the Section from the List of Fields. You can choose Enter Details Manually to enter the field name manually as needed.
After adding these fields, they will appear in the template under different sections.The List of Fields changes based on the section you select. In case you select Company, the list fields will display only those details that can be added to the company section of the invoice. And if for Party or Invoice Details, the list will contain the details that are entered during voucher entry.
-
Field Title: Change the title if needed, or keep it the same as the field. If you have entered the Field manually, you have to enter the Field Title manually.
-
Field Value: Gets updated automatically based on the existing value. If you have entered the Field manually, you have to enter the Field Value manually. For party and invoice level information, details will be automatically picked from the voucher entry.
-
-
Press Ctrl+A to save.
If you have created Companies with GCC Countries, the Field Title columns will appear in both English and Arabic.

The character limits for Custom fields are as follows:
Field Title: Up to 150 characters
Field Value: Up to 251 characters
Print Settings
You can use the Print Settings option to update configurations for all output options such as Print, e-mail, Export, and WhatsApp in one place.
- Open the invoice, press Ctrl+P (Current) > Ctrl+H (Change Template).
- In the Invoice Templates screen, press F10 (Print Settings) to open the List of Configurations for Print/Export/Share Settings.
- Set configurations as per your preference for the template.
- Press Ctrl+A to save.
Save a Template
- Open the invoice, press Ctrl+P (Current) > Ctrl+H (Change Template).
- In the Invoice Templates screen, press Ctrl+L (Save Template) the and in the Save Template screen, update the details, as needed.
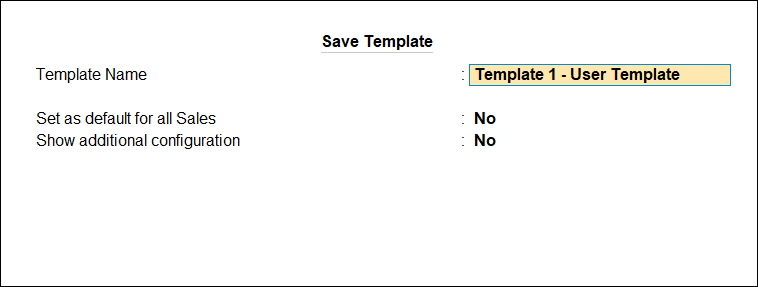
- Template Name: The template name with a suffix of ‘User Template’ will be displayed. Continue or change the name, as per your business needs.
Ensure that the template name is unique to distinguish it from others. - Set as default for all Sales: Yes, to set the template as default for all the Sales voucher types.
- Show additional configuration: Yes.
- Save template for: Select All Companies (On This Computer) to use it across companies or select This Company to use this template in any system the company is accessed from.
- Save Printer, Export To details: Yes, to save the name of the Printer and Export to details as part of the template.
- Press Ctrl+A to save.
Set Template as Default
To simplify printing and maintain a standard format in TallyPrime, you can set a template as default from the set of Predefined templates or Saved templates.
Set Template as Default for This Company/All Companies
- Open the invoice, press Ctrl+P (Current) > Ctrl+H (Change Template).

- In the Invoice Template screen, navigate to any template and press Alt+L to set it as default. At any given moment, if you feel that this template is no longer required as the default template, then you can press Alt+L again to remove the particular template as default.
After editing a template, if you are trying to set the template as default or removing the template as default, you will be prompted to save the template first and then either set it as default or remove from the default.
When you set a predefined template as default, you will be prompted to choose whether to apply it to the current company or all companies.
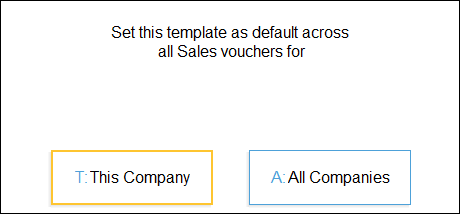

To set a template as default for either your current company or all companies, press Alt+P (Print) > Invoice Templates > Set/Alter Default Templates > Select from List of Templates (Set default separately for This Company and All Companies) and press Enter.
Set template as Default for Different Voucher Types
You can select a different template as default for each voucher type.
- Press Alt+G (Go To) > Alter Master > Voucher Type > select from the List of Voucher Types and press Enter.
- In the Voucher Alteration screen, set a template as Default template to print from the List of Templates.
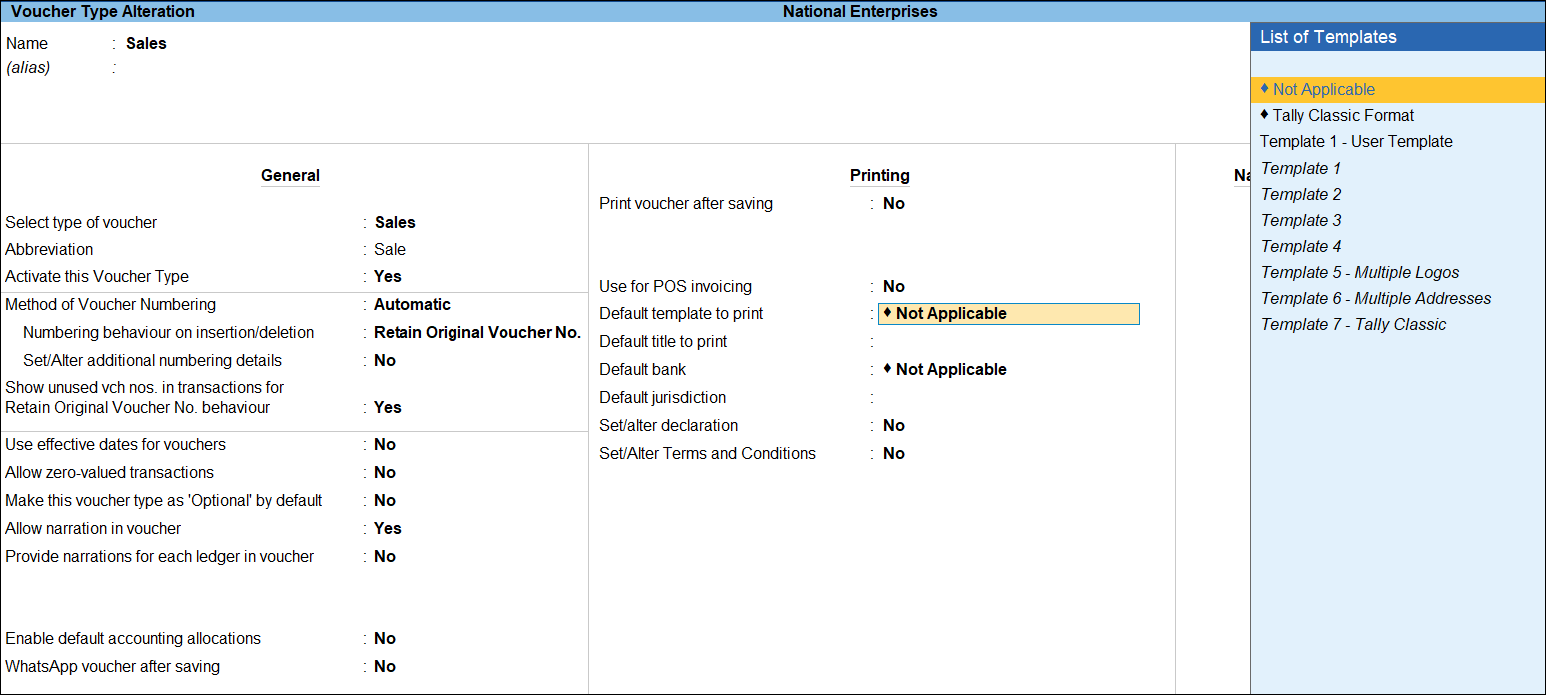
- Press Ctrl+A to save.
Similarly, you can explore and update other configurations for your templates before printing, sharing, or exporting.


