
File GSTR-3B Returns by Uploading JSON on GST Portal
For TallyPrime 2.1 & later
The JSON format is fully compatible with the GST portal, and uploading a JSON file ensures that you can easily fie GSTR‑3B.
You can avail GSTR-3B JSON file through one of the following methods:
Before you begin | Prerequisites
If you have exported GSTR‑3B JSON from TallyPrime or generated it using the offline tool, ensure that the values are correct and final. Once you file GSTR‑3B, it cannot be revised.
File GSTR-3B
- In the GSTR-3B report in TallyPrime, press Alt+V (Open GST Portal).
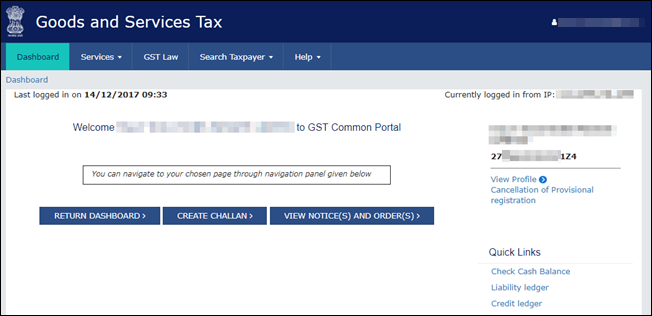
- Log in with your registered Username and Password.
- Click Dashboard > RETURN DASHBOARD.
- Select the Return Filing Period and click SEARCH.
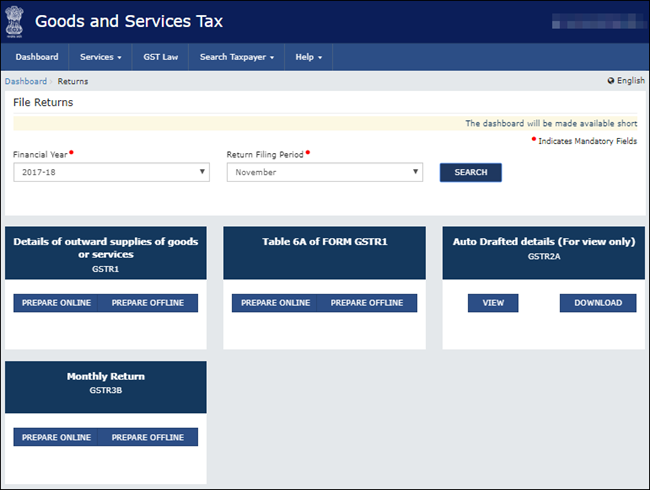
- Import GSTR-3B JSON generated either from TallyPrime or the Offline tool.
- Under Monthly Return GSTR3B, click PREPARE OFFLINE > Upload.
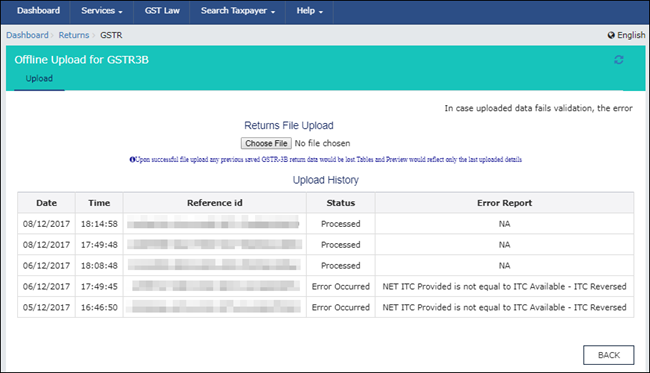
- Click Choose File.
- Once your JSON file is uploaded successfully, you will be notified with a message, and the value NA will appear in the Error Report column.
- Prepare GSTR-3B online.
- Click BACK > Monthly Return GSTR3B, and click PREPARE ONLINE.
The values will be recorded in the relevant sections of GSTR-3B, as shown below:
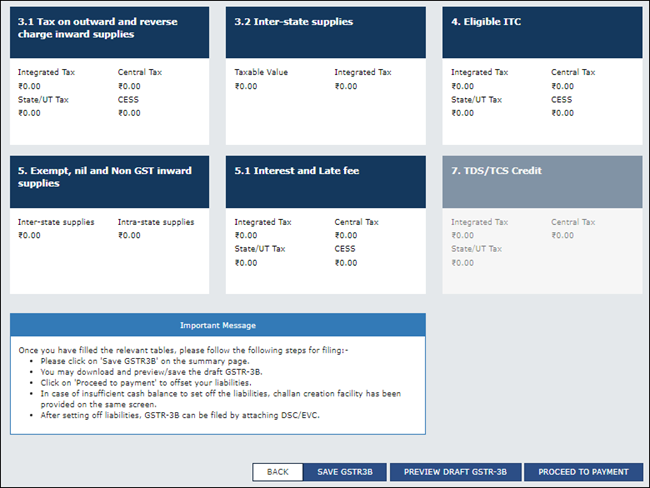
- Click SAVE GSTR3B to save the details.
- To download the preview form and check the details, click PREVIEW DRAFT GSTR-3B.
You can update any of the details as you see on the GST portal, if needed.You can retain the draft for 15 days and then go on to make the payment. It is important to note that the GSTR-3B gets filed only after a successful payment of your net liability, if applicable.
- Click BACK > Monthly Return GSTR3B, and click PREPARE ONLINE.
- Click PROCEED TO PAYMENT to view the available Input Tax Credit.
You can update the values, if needed. - Confirm the Input Tax Credit that has to be recorded against the payable value.
For the balance amount payable, a challan will be generated automatically with the relevant details, and the payment options will appear.
Once you make the online payment, the Payments table will appear. - Complete filing GSTR-3B.
- Click PROCEED TO FILE.
- Select the authorised signatory, and click SUBMIT using EVC or DSC verification, as needed.
Questions & Answers
What are the various ways by which I can file GSTR-3B?
You can file GSTR-3B by the following methods:
- File GSTR-3B After Uploading Directly TallyPrime | Download, Reconcile, Upload, and File.
- File GSTR-3B by Exporting JSON File from TallyPrime.
- File GSTR-3B Using GSTR Offline Tool.
- File GSTR-3B Manually on the GST Portal.
Is this information useful?
YesNo


