
Register and Manage your GSTIN with Bharat Connect for Business Platform
Bharat Connect for Business | FAQ
You can register one or more GSTINs with the Bharat Connect for Business platform to seamlessly transact with other businesses. Any time, you can deactivate your GSTIN if you don’t want to continue using Bharat Connect for Business. Deactivated GSTINs can be activated if required.
You can also manage Tally.NET user access by revoking permissions when required.
Register with Bharat Connect for Business Using GSTIN/UIN
- Press Alt+Z (Exchange) > All Bharat Connect Options > Manage Registrations.
Alternatively, from Gateway of Tally > select Bharat Connect and press Enter. On the Bharat Connect screen, press R (Register).
In the Manage Registration screen, you can see the PAN and GSTINs from your books.
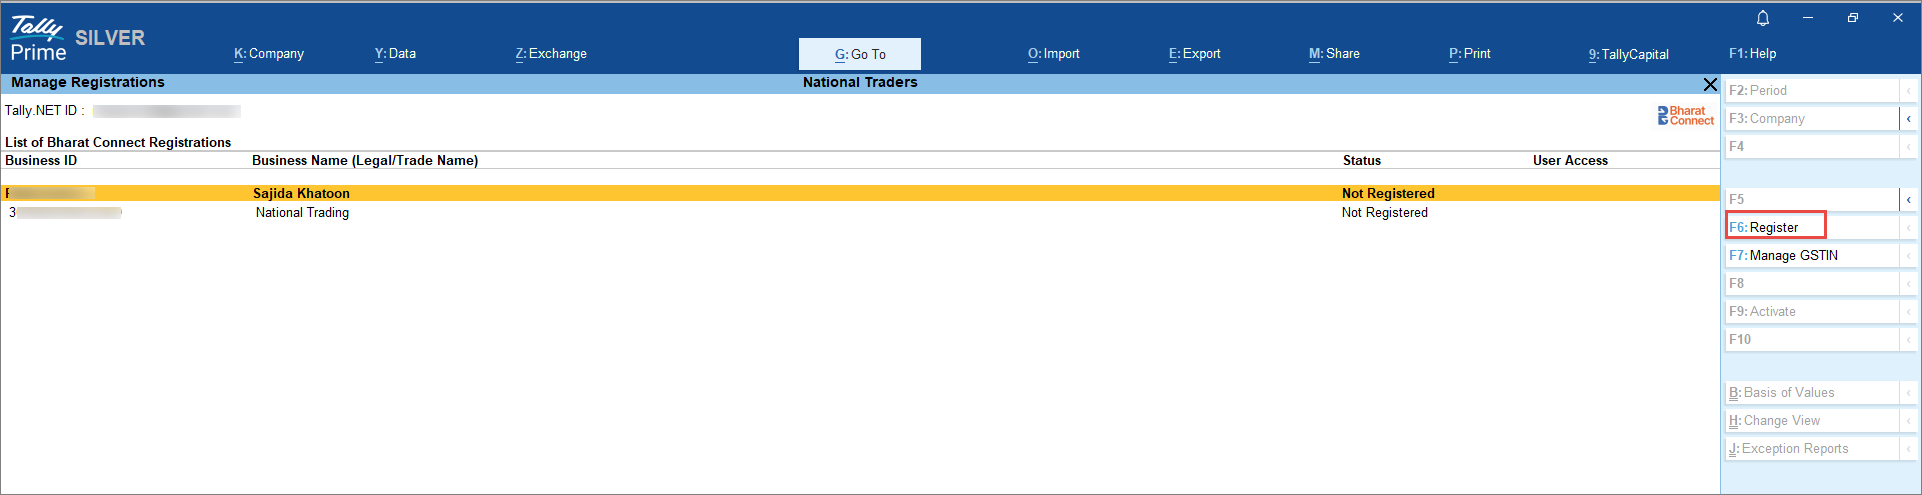
- Select the PAN or the required GSTIN and press F6 (Register).
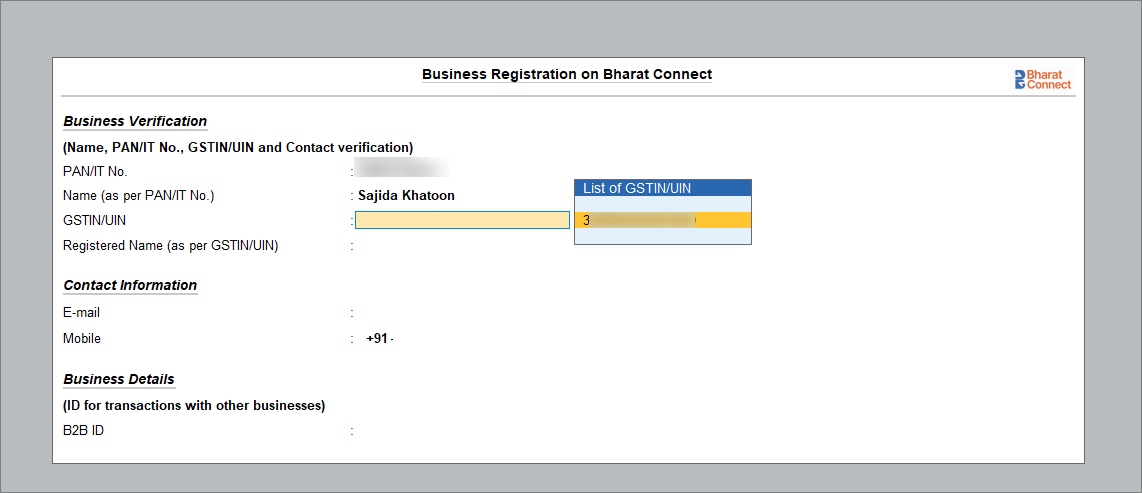
- In the Business Registration on Bharat Connect screen, select the GSTIN/UIN from the list.
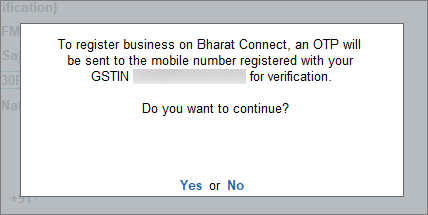
- Press Y to send the OTP.
-
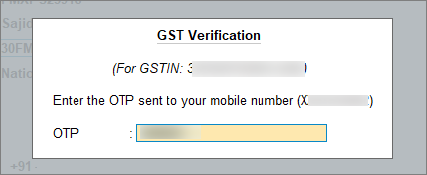
Verify your GSTIN/UIN using the OTP sent to your mobile number and e-mail registered with GSTN.
The details associated with your GSTIN/UIN are displayed on the screen. -
You may change your Contact Information if necessary and confirm with the OTP sent to the new e-mail ID or mobile number.
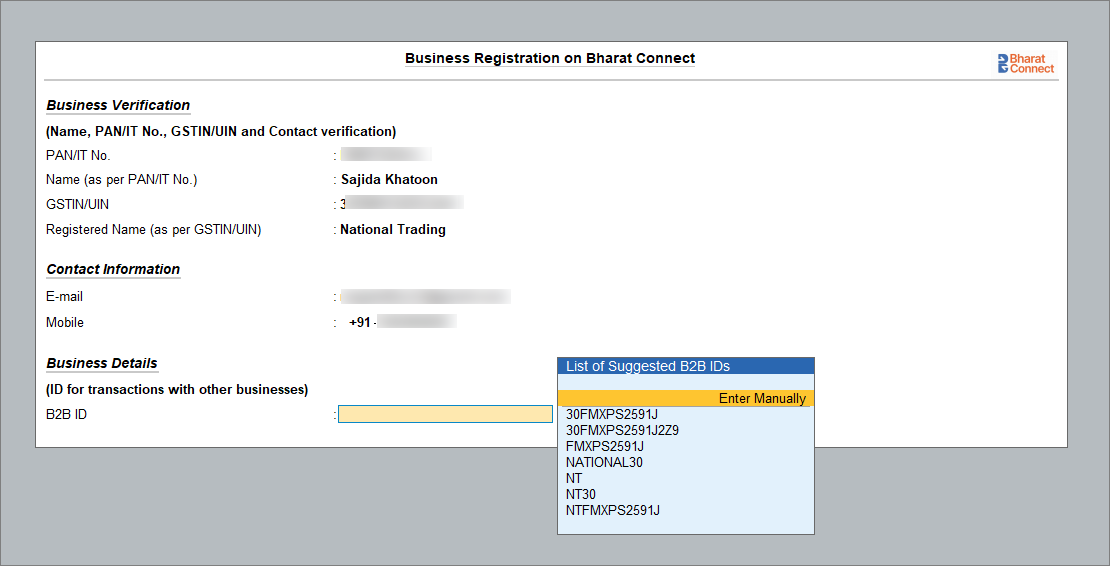
- Select the B2B ID from the List of suggested B2B ID. Alternatively, you can enter a B2B ID.
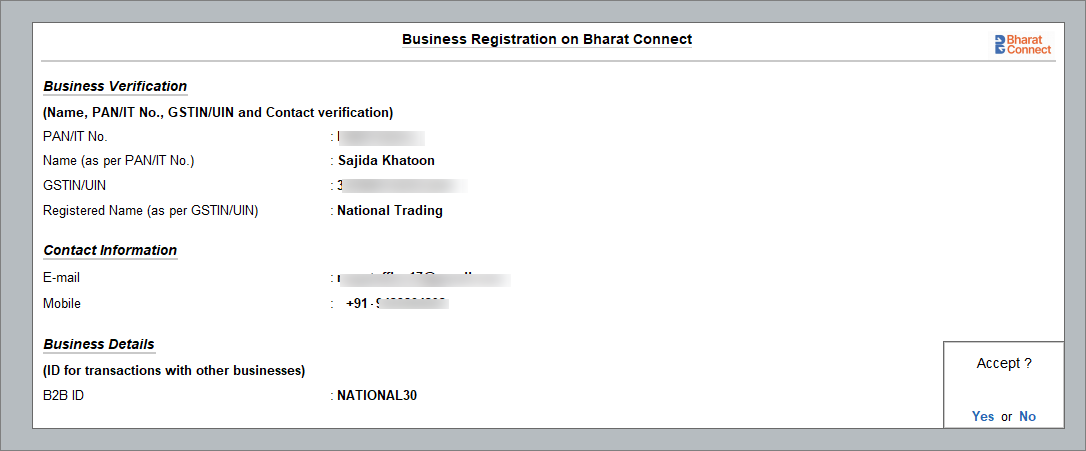
- Press Ctrl+A to register the GSTIN/UIN on the Bharat Connect for Business platform.
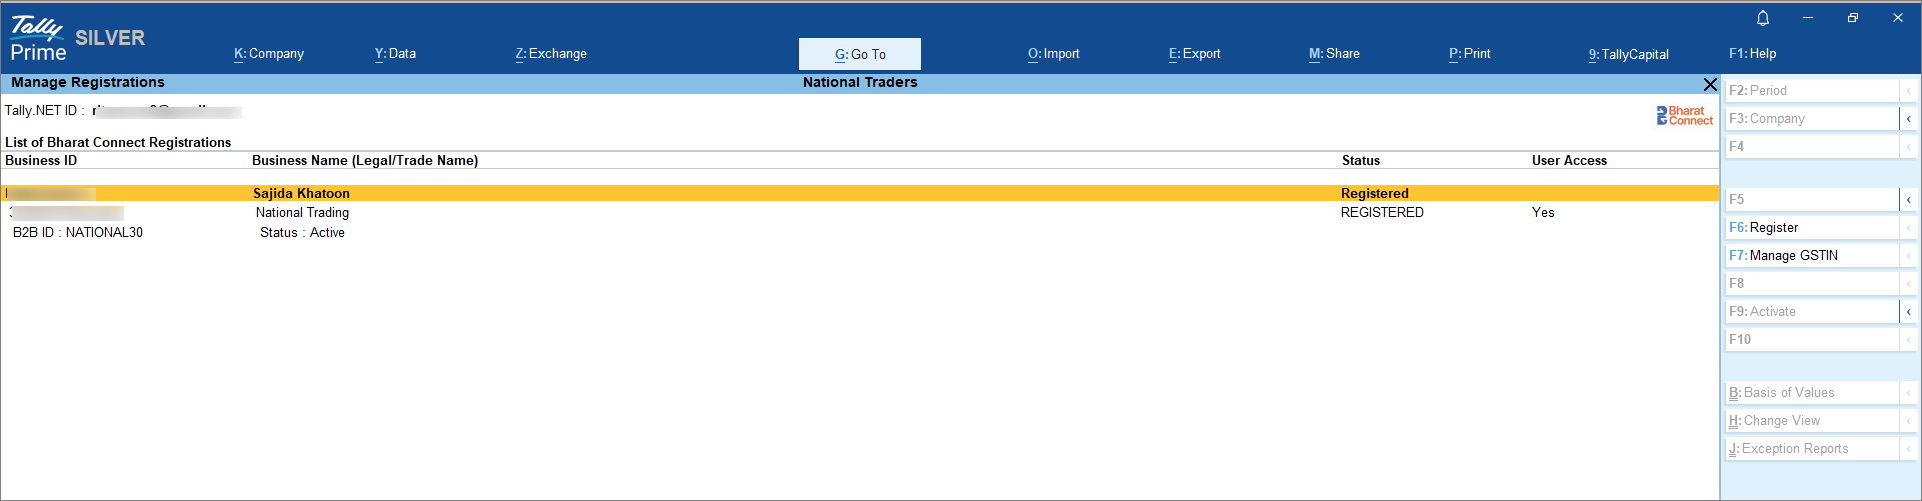
After you have successfully registered, you can see the status of the business as Registered, along with B2B ID.
If you have more than one GSTIN/UIN, you can register each of them in the same way.
Get Access for Sending/Viewing Invoices Using Bharat Connect for Business Platform
If you are a new Tally.NET user who requires access for a particular GSTIN registered with Bharat Connect for Business Platform, you have to complete the OTP verification process.
- Press Alt+Z (Exchange) > All Bharat Connect Options > Manage Registrations.
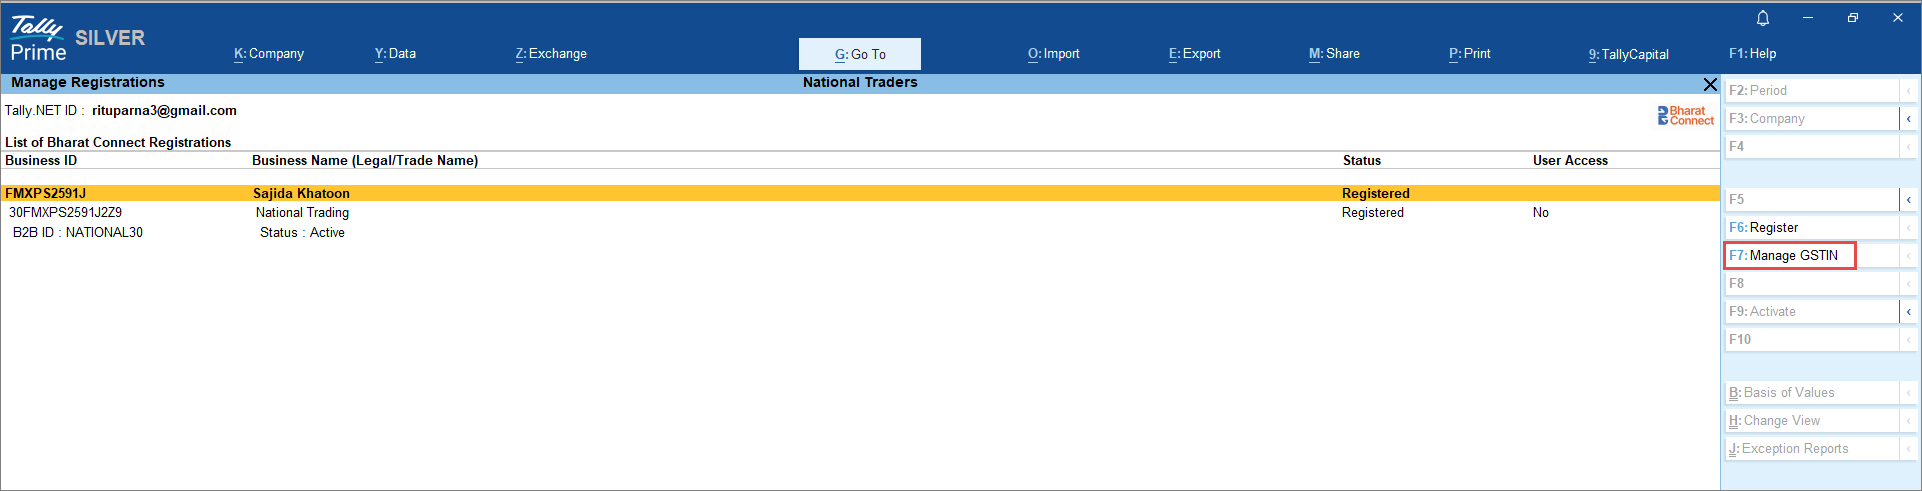
- Select the required GSTIN/UIN and press F7 (Manage GSTIN).
- Press Y, to get the OTP on the mobile number registered with GSTN.
-
Enter the OTP and accept.
You can see the User Access status marked as Yes.
Revoke User from Sending/Viewing Invoices Using Bharat Connect for Business Platform
You can revoke access for any user for a particular GSTIN/UIN (B2B ID). For this, you need not be a Tally.NET Admin user.
- Press Alt+Z (Exchange) > All Bharat Connect Options > Manage Registrations.

- Select the required GSTIN/UIN and press F7 (Manage GSTIN).
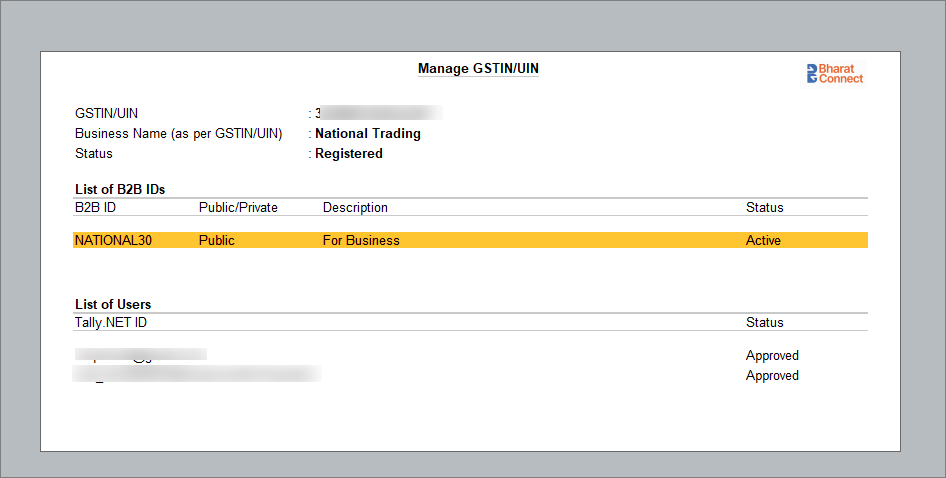
On the Manage GSTIN/UIN screen, you can view the:
- To revoke a user, select the user and press Alt+F8 (Revoke User).
-
An OTP will be sent to the mobile number registered with your GSTN verification.
After successful OTP verification, the user will be revoked from using the particular GSTIN/UIN (B2B ID).
Deactivate Business Registration on Bharat Connect for Business
- Press Alt+Z (Exchange) > All Bharat Connect Options > Manage Registrations.
- Select the PAN number and press Alt+F8 (De-activate).
-
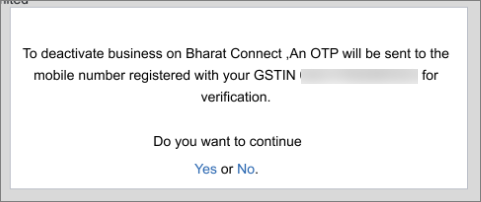
Press Yes to send OTP to your mobile number registered with GSTN to verify GSTIN/UIN.
- Enter the OTP to deactivate.
All GSTINs/UINs linked to the PAN will be deactivated.
Activate Business Registration on Bharat Connect for Business
- Press Alt+Z (Exchange) > All Bharat Connect Options > Manage Registrations.
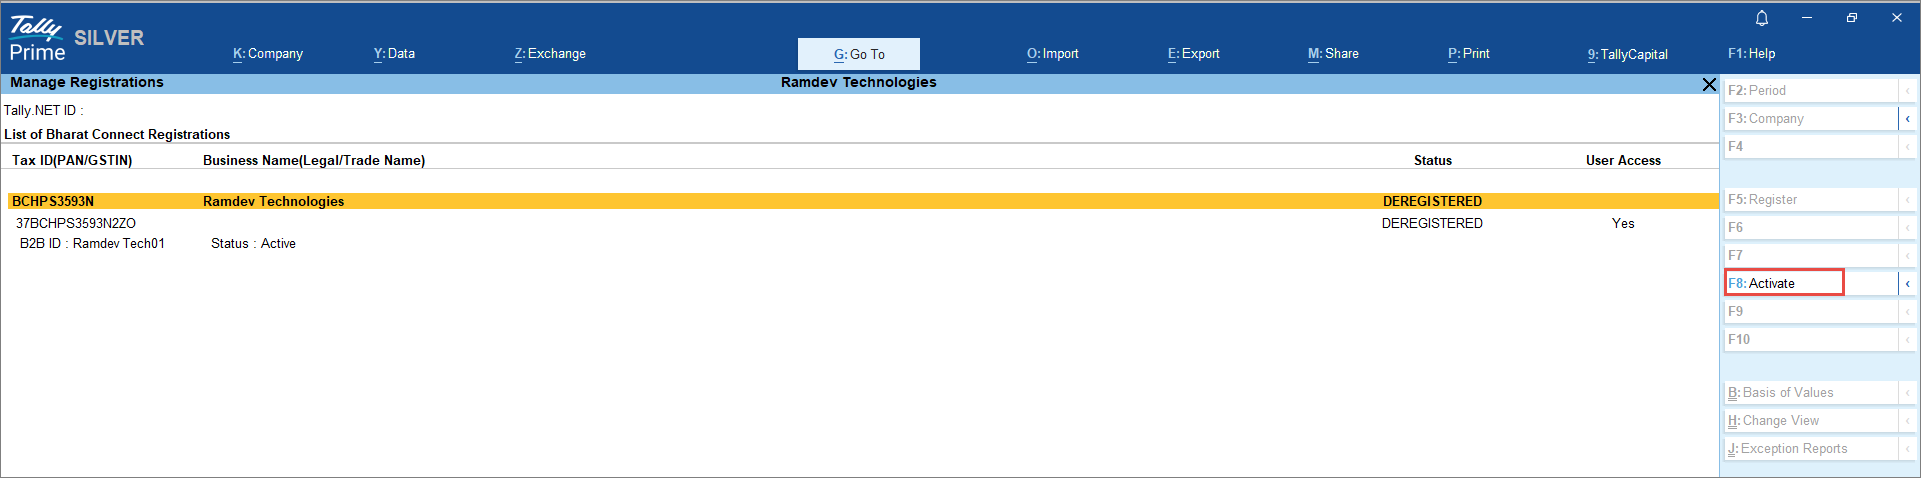
- Select the PAN number and press F8 (Activate).
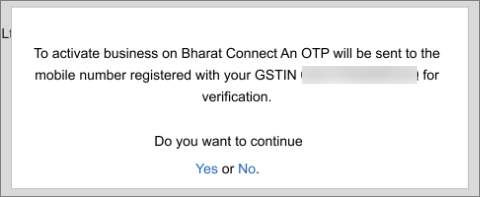
- Press Yes to send OTP to the mobile number registered with GSTN to verify GSTIN/UIN.
- Enter the OTP to activate.
All GSTINs/UINs linked to the PAN will be activated.
Once activated, continue to transact on the Bharat Connect for Business platform.


