
Issue Blank Cheques and Update Amount Later in TallyPrime
In your business, you might be signing blank cheques and hand it over to your suppliers before the exact amount is finalized. This especially helps for advance payments and urgent on-field purchases.
In TallyPrime, you can record the payments even when amount is not yet known and update it later once the transaction is finalized.
This avoids delays in cheque payments, thereby making the transactions efficient and building trust among your suppliers.
Moreover, if you record a cheque payment for a specific party with amount as blank, the cheque number gets recorded in the transaction. As a result, you are benefitted in the following ways:
- It won’t be reused accidentally.
- It appears in cheque registers and audit trails.
- You maintain control over cheque inventory.
![]()
-
Before you begin, in the Voucher Type Alteration screen for Payment, enable Allow zero-valued transactions.
Once you have issued a blank cheque, change the status of the cheque to Blank from Cheque Register and record a zero-valued payment transaction using the same cheque number.
- Press Alt+G (Go To) > type or select Cheque Register and press Enter.
- In the Cheque Register screen, select the total number of Available Cheques with respect to your bank ledger and drill down to the Instrument Wise screen.
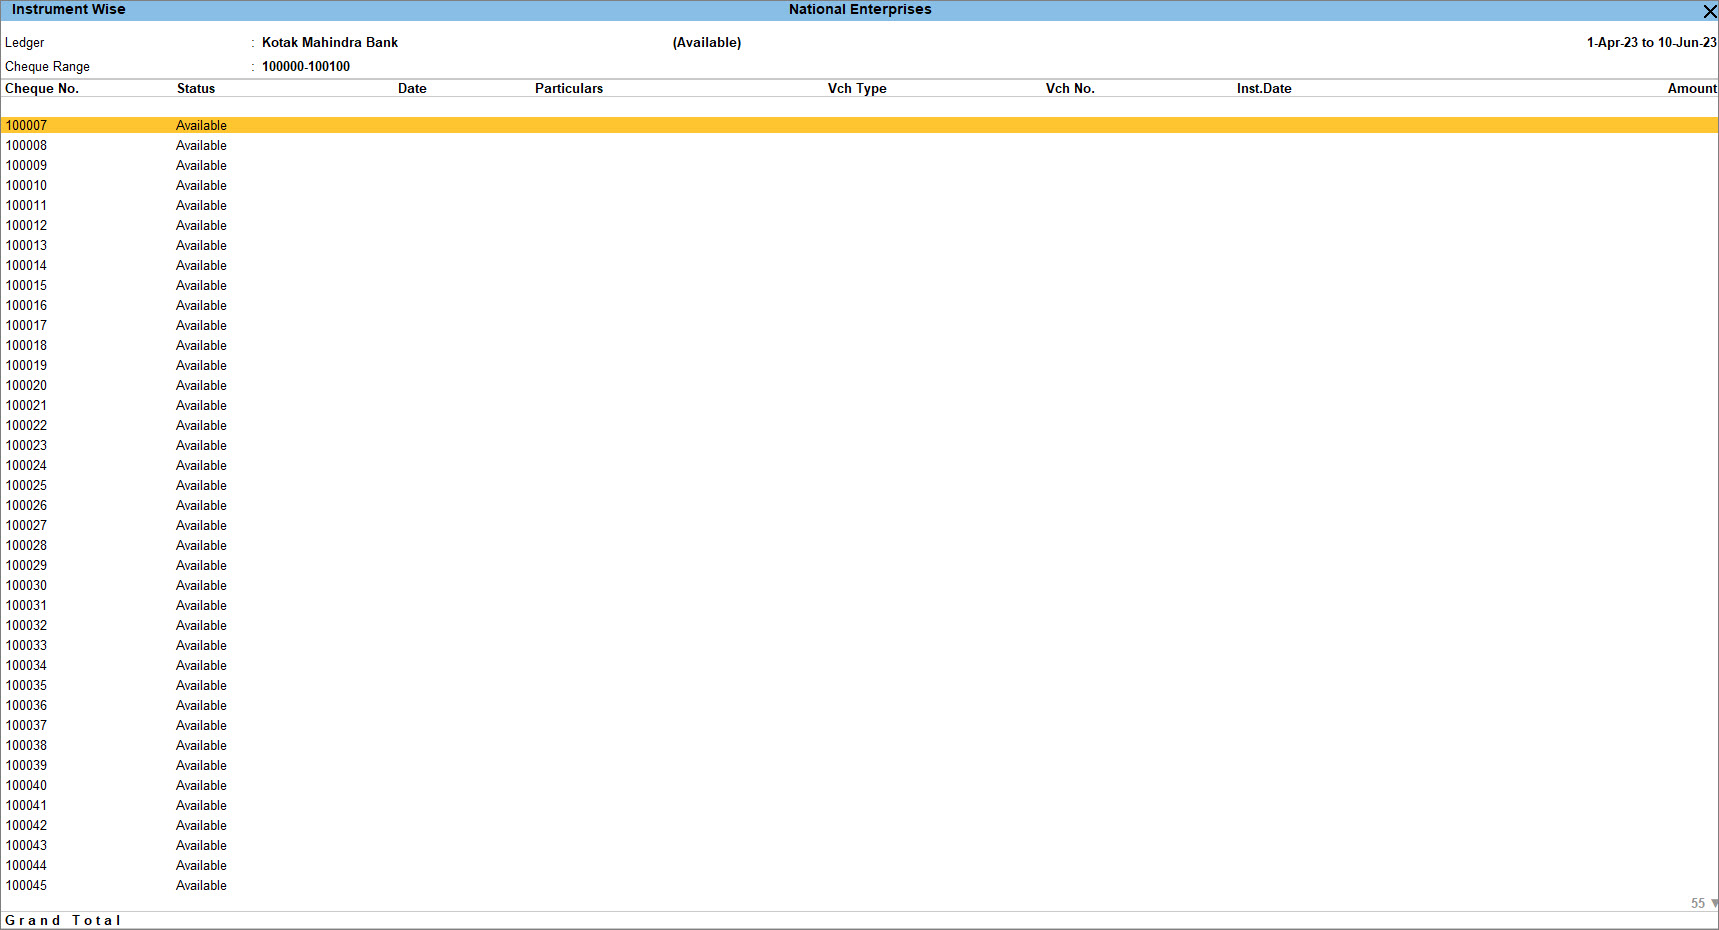
- Select any cheque by pressing Spacebar.
- Press Alt+S (Alter Status) to change the status of the cheque.
- Select Blank Cheque under Cheque Status to update the status of the cheque from Available to Blank.
After you alter the cheque status from Available to Blank, you will be redirected to the payment voucher.
Record a Payment Voucher for a Party with the Amount Field as Blank
Record the payment voucher with the party name and leave the amount column blank.
The Payment Voucher Creation screen appears with the Bank Name prefilled in the Account field and marked as Blank Cheque.
- Record the Payment voucher.
- Select the Ledger Account from the List of Ledgers Accounts under Particulars.
For example, National Traders. - Press Enter to skip all the fields. The Bank Allocations screen appears, with the Instruments details pre-filled.
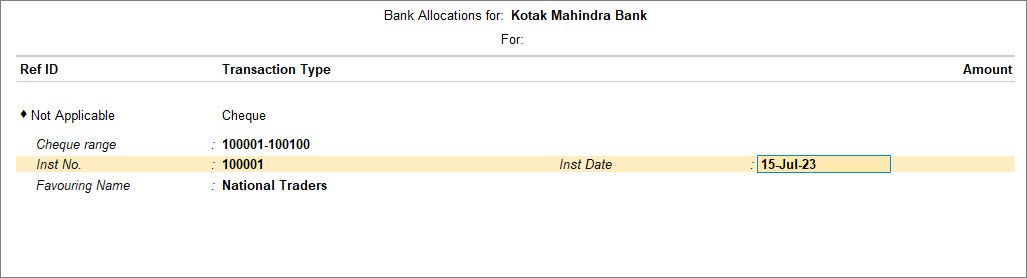
- Press Enter to accept all the details in the Bank Allocations screen. The Voucher Creation screen reappears.
- Press Enter or Y to accept the voucher. As always, you can press Ctrl+A to save.
- Select the Ledger Account from the List of Ledgers Accounts under Particulars.
- Print the cheque.
- In the Cheque Printing screen, Press I (Preview) to view the print preview of the blank cheque, if needed.
- Press Esc twice to come back to the Instrument Wise screen.
The status of the Cheque No. 100001 gets updated to Blank Cheque.
View Blank Cheque in Cheque Register
- Drill down from the Bank column to the Instrument Wise screen.
You can observe that the status of Cheque No. 100001 now appears as a Blank Cheque.

- Drill down further to make changes to the voucher, if needed.
You can then convert the Blank Cheque to a normal cheque by drilling down to the Amount field in the Voucher Alteration screen and entering the value.


