
Applies to: TallyPrime Release 6.0 and later
Bharat Connect for Business in TallyPrime
| FAQ |
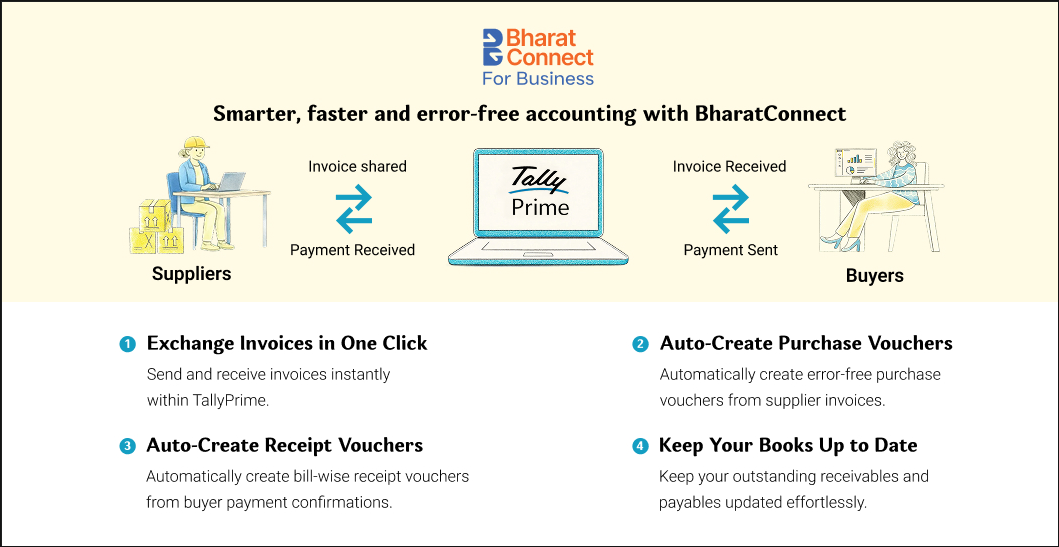
Bharat Connect for Business, by the NBBL (NPCI Bharat BillPay Limited), is a digital platform for B2B billing and payments. It works across multiple ERP systems. Businesses can send invoices, receive payment details, and accept or reject transactions within their business systems.
Refer to Bharat Connect by NPCI | Bharat Bill Payment System (BBPS) for more details.
Suppliers and buyers can use the Bharat Connect for Business plug-in on TallyPrime Release 6.0 or later. Currently, the plug-in handles the sales-purchase-payment-receipt cycle.
Step 1: Enable Bharat Connect Plug-In
To use Bharat Connect for Business, you need to download the Bharat Connect Plug-In and enable the plug-in with your Tally.NET admin credentials. To know more about the benefits of using Bharat Connect, click here.
Step 2: Log in to Bharat Connect Plug-In
After enabling the plug-in, log in to the plug-in by entering your Tally.NET ID and password.
If you do not have access to Bharat Connect or if your Tally.NET ID is inactive or unavailable, you can raise a request for admin approval.
The Tally.NET administrator can then take one of the following actions:
- Approve access request from the portal
- Approve access on the user system
If you are a new user, then the Tally.NET administrator can create user with access to Bharat Connect for Business.
After you have logged in, the session remains active for 24 hours or until you log out.
Step 3: Register your GSTIN
Once logged in, register your GSTIN through the plug-in.
After OTP verification (sent to the GSTN-linked mobile number), you will get a unique B2B ID for each GSTIN. The Tally.NET admin user gets automatic access, and other users can be added later.
You can deactivate or activate any linked GSTIN/UIN anytime.
Step 4: Search and Update Business
For you to avail services from Bharat Connect for Business platform, your counter-party should also be registered on Bharat Connect for Business.
You can:
- Directly update the B2B ID in the party ledger if already known
- Search for the B2B IDs of your parties registered on Bharat Connect and update their B2B IDs either individually or in bulk.
- Send an invitation if the party is not yet registered
Step 5: Supplier and Buyer Activities
As a supplier, you can:
- Create and send sales invoices to your buyers via Bharat Connect for Business.
- Once you receive the buyer’s payment details via the Bharat Connect for Business platform, create receipt voucher and accept the payment details.
You can accept payments first and then create a receipt voucher. - You can also review returned invoices and handle rejections as needed.
As a buyer, you can:
- Receive supplier invoices via Bharat Connect for Business, create purchase vouchers with auto-filled details and accept the invoice. You may accept the invoice first and then create a purchase voucher.
You can return or reject a sales voucher and make partial payments. - Create payment voucher and send payment details through Bharat Connect for Business after accepting the invoice.
Step 6: View Reports to Track Transactions
Bharat Connect for Business plug-in has reports for suppliers and buyers.
- Bharat Connect Activities – Supplier report: Shows Sales and Receipt transactions
- Bharat Connect Activities – Buyer report: Shows Purchase and Payment transactions
Transactions are categorised into different sections in the reports based on their current status and any action required from you. Once the necessary action is completed, the invoice automatically moves to the appropriate section.
Step 7: Log Out from Bharat Connect Plug-In
The session stays active for 24 hours and is automatically disconnected after that. You can also choose to log out of the Bharat Connect plug-in at any time.


