Upload GSTR-1 from TallyPrime
UPLOAD | Reconcile | File
You can upload GSTR-1 directly to the GST portal from TallyPrime, without any manual effort.
Based on your requirements, you can upload selected or all transactions and summaries for the return period. If any transactions are rejected, you can identify and resolve them easily within TallyPrime without downloading data from the portal.

-
Ensure that you have enabled API access on the GST portal.
-
Log in to the GST Portal and connect via TallyPrime.
-
Resolve all exceptions and conflicts in GSTR-1.
-
Validate & update party GSTIN/UIN to avoid rejections from the portal. In the GSTR-1 report:
-
Press F6 (Validate Party GSTIN/UIN).
-
Press Alt+L (Fetch Details Using GSTIN/UIN).
-
- Press Alt+G (Go To) > GSTR-1.
- Select the required Return Period.
If you have multiple registrations, select the required GST Registration. - In Ready for Upload, review the transactions pending for upload.
- Press Alt+Z (Exchange) >All GST Options > Upload GST Returns > GSTR-1.
For TallyPrime 5.0 & lower versions, press Alt+Z (Exchange) > Upload GST Returns > GSTR-1. - In the Upload GST Returns screen, press F12 (Configure), and enable Party GSTIN/UIN, GST Status, and Sections, as needed.
- Press Ctrl+B (Basis of Values) to configure further options, as per your business needs.
- Include transactions mismatching with GST data: Displays transactions that do not match the data available on the GST portal. After updating the transactions in your books, re-upload them to the GST portal.
- Include transactions where Upload is in progress: Displays transactions for which the upload to the GST portal is currently in progress.
- Include transactions Rejected by GST Portal: Displays transactions rejected by the GST portal. After updating the transactions in your books, re-upload them to the GST portal.
- Include Delete Requests: Displays transactions that have been deleted in your books. Delete these transactions from the GST portal to keep both records in sync.
- To upload invoices along with e-Invoice details, if applicable, press F12 (Configure), and enable Include e-Invoices (with IRN information).
- Press Spacebar to select the vouchers you want to upload.
If you want to upload all the vouchers, then you do not have to select any of the vouchers.
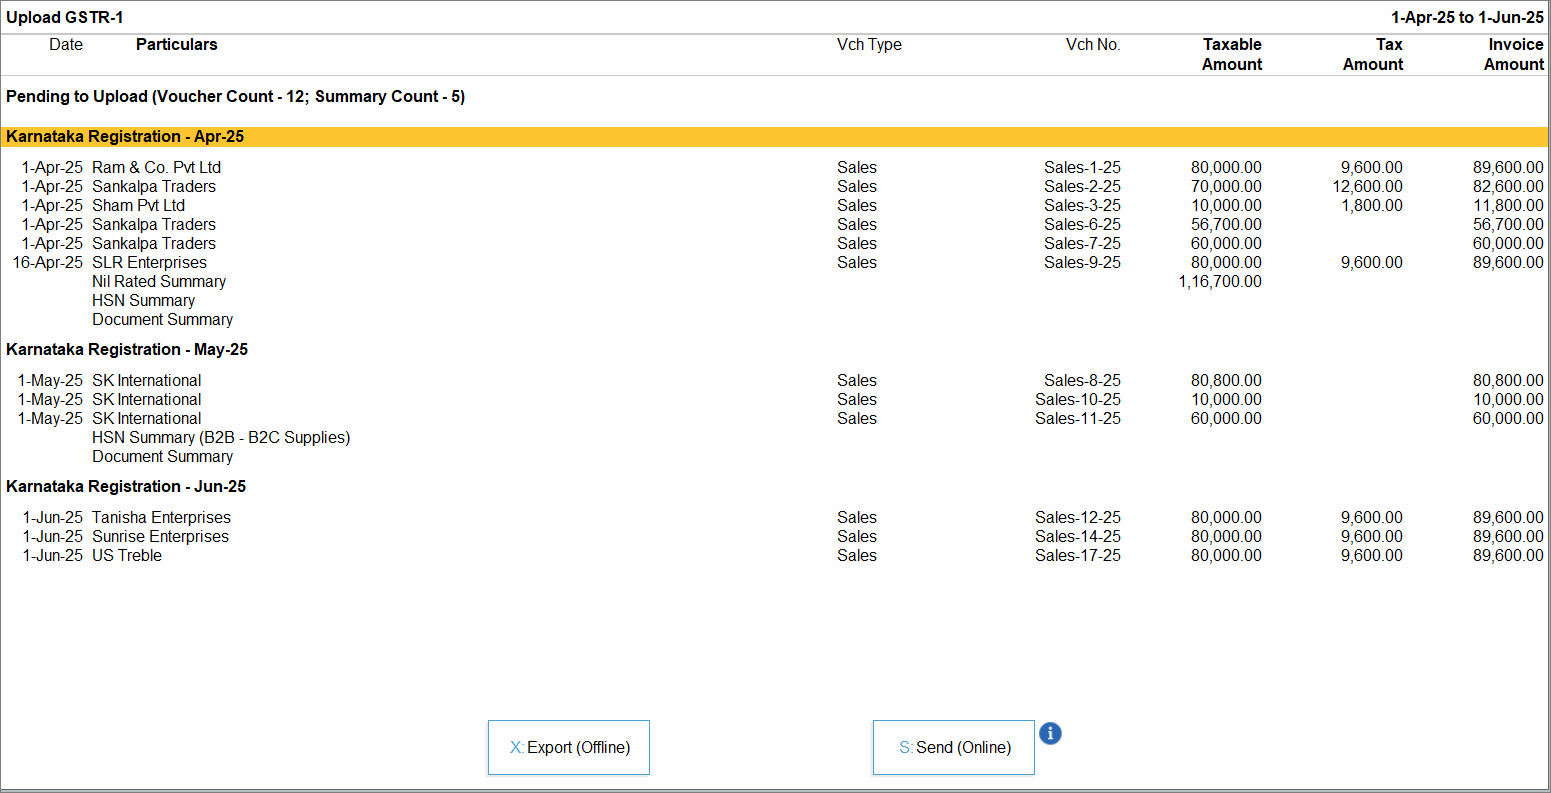
- Press S (Send Online) to upload.
- Log in to the GST portal, if needed.
- Enter your GST Username.
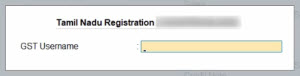
- Enter the OTP sent to the mobile number registered on the portal.
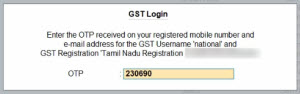
Once you have logged in, the session will be valid for six hours, which ensures the safety and security of your activities.
- Enter your GST Username.
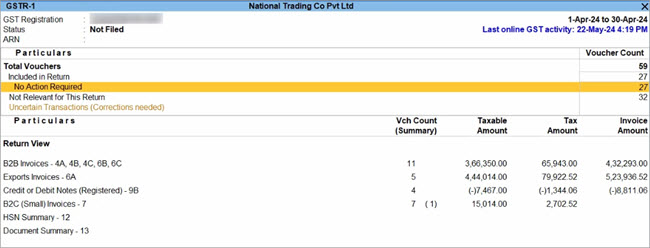
Once uploaded, a confirmation message appears.
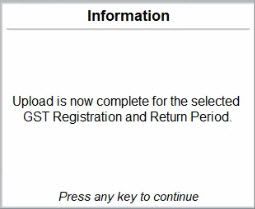
The uploaded vouchers move to the No Action Required section.
Questions & Answers
- How do I track the upload status of the Return?
You can track the status of your transactions using the GST Status column. Common statuses include:
- Uploaded: Successfully uploaded to the portal.
- Mismatched: Differences found between your books and portal data. Re-upload the data by including the mismatched transactions.
- Rejected by GST Portal: Rejected due to validation errors. Re-upload the data by resolving the mismatched transactions.
- Upload in Progress: Currently being processed on the portal. In such cases, you can easily refresh the GST status of the vouchers after some time.