
Share Data from Your Computer | Using Microsoft Windows
One of the simplest ways to share your company data is by giving user access to the data folder right from your computer. In this guide, we’ll show you how—just keep in mind that the steps to sharing data folder varies depending on your version of Microsoft Windows you are using. Let’s get started!
Share Data in Windows 10
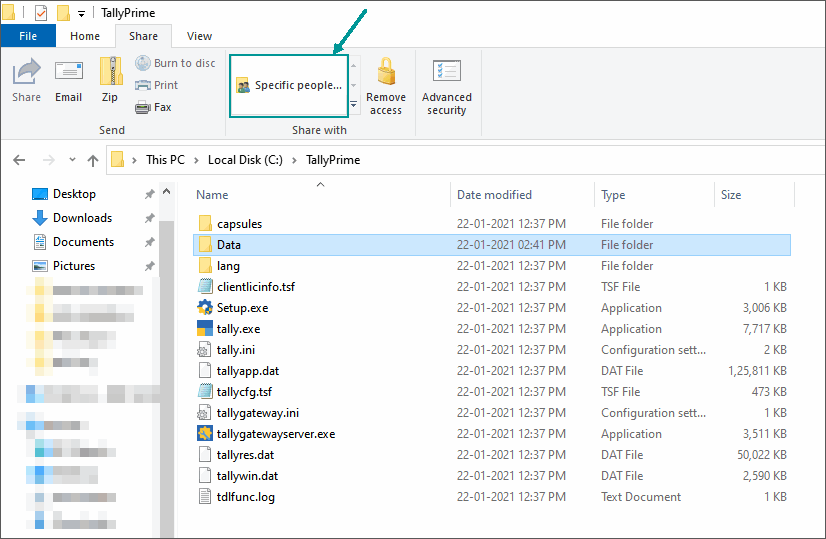
- Open the folder on your computer where data is stored.
- Click Share > Specific people.
- In the File Sharing window, enter the name of the user and click Add.
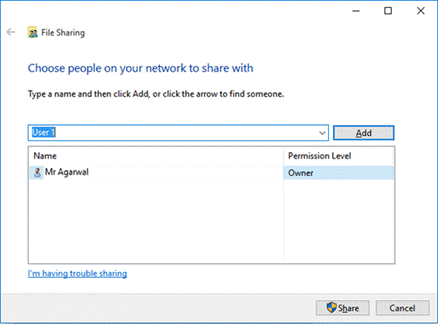
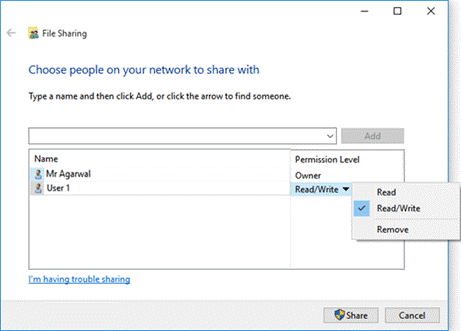
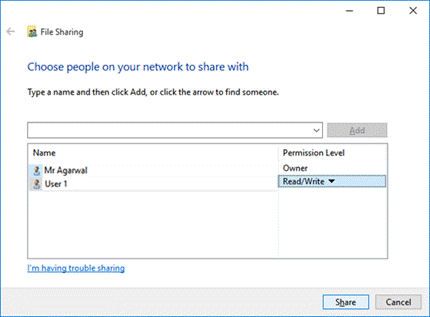
- Set the Permission Level. For sharing company data, it is recommended that you provide Read/Write access.
- Click Share.
- Click Done.
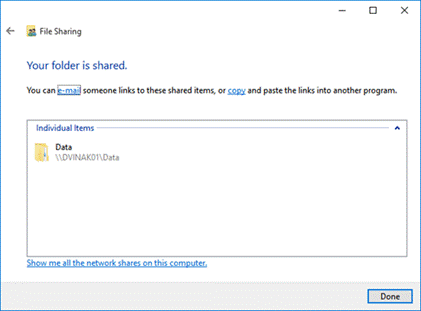
- Click Done.
Share Data in Windows 8
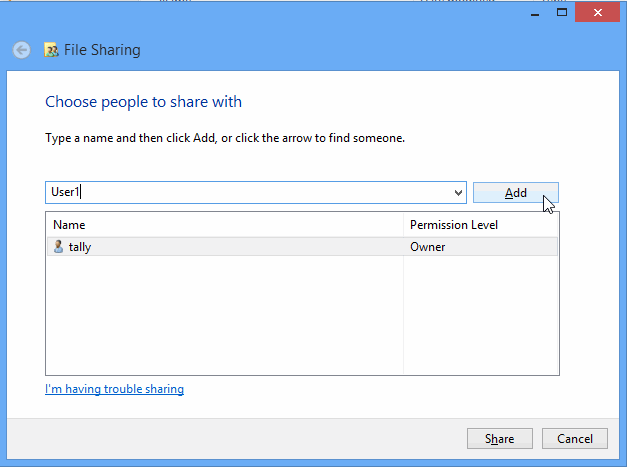
- Navigate to the data folder and double-click it.
- Click the Share tab, and click Specific People.

- In the file sharing window that opens, enter the name of the user and click Add.
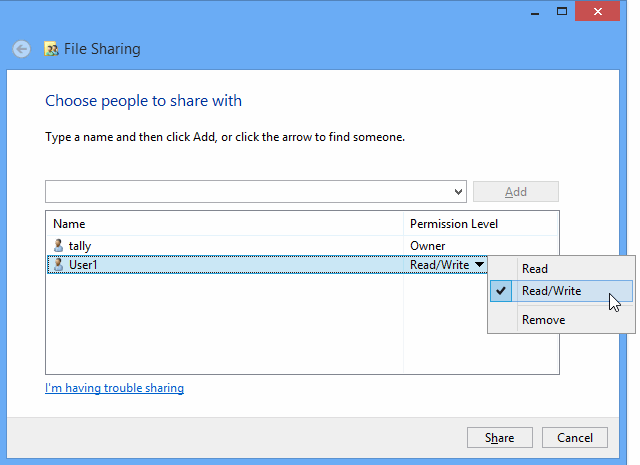
- Select the level of access, usually for Tally, the data folder has to be given Read/Write access.
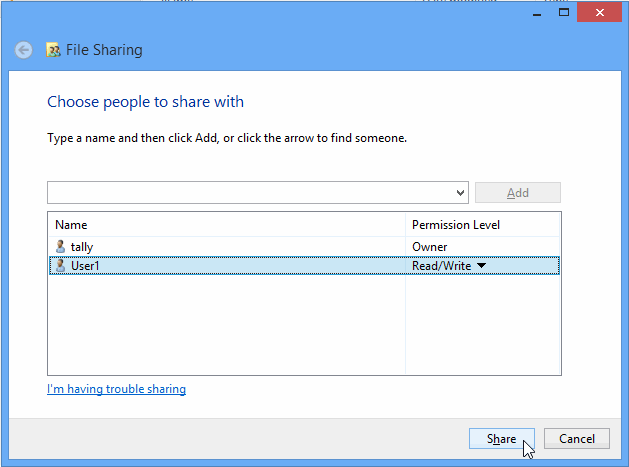
- Click Share.
- Click Done.

- Click Done.
Share Data in Windows 7
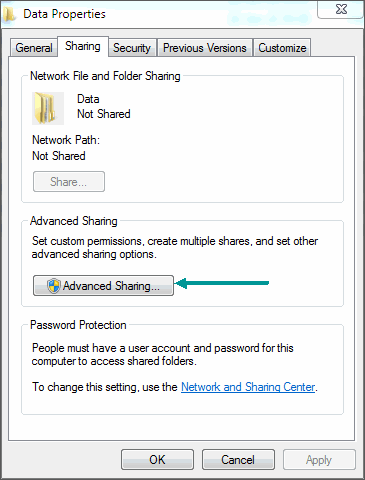
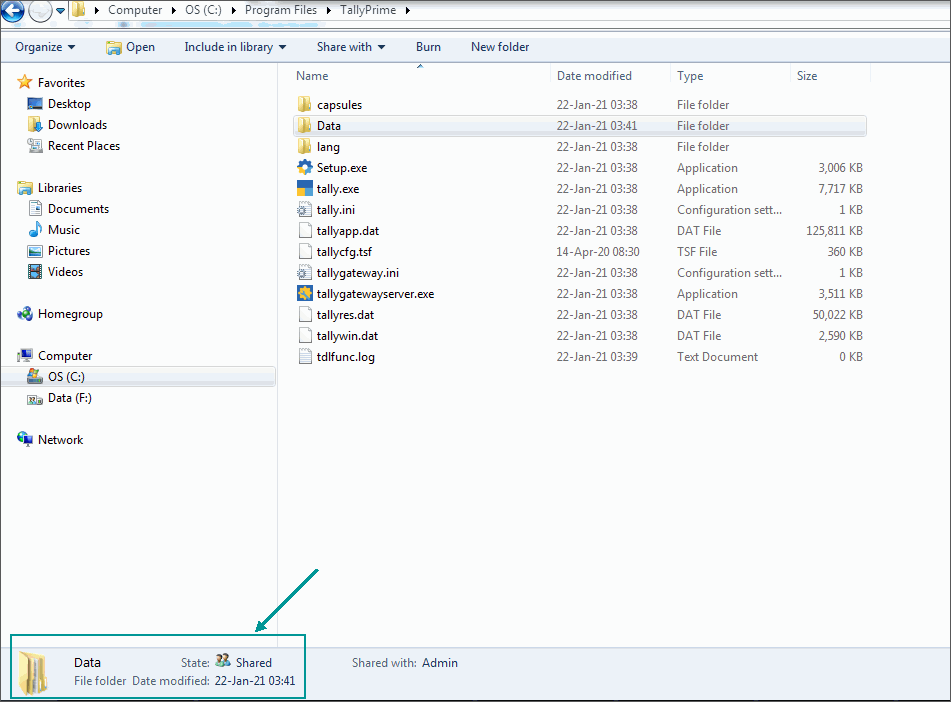
- Select the required folder. For example, the Data folder available in the default application folder (C:\Program Files\TallyPrime).

- Right-click and select Properties.
- The Data Properties window opens.
- Click Sharing tab.
- Click Advanced Sharing.
- The Advanced Sharing window opens and check the option Share this folder.
- Click Permissions.

- Permission for Data window opens.
- Select the group or user name from the Group or user names list under Share Permissions.
- Set the required permission for the selected Group or user names by checking Allow or Deny various accesses displayed:

- Click OK.
- The Advanced Sharing window appears.
- Click OK to share the selected folder.
- In the Data Properties window click Close.
- On clicking the data folder in explorer window the detailed information related to the folder appears.
Note: Click Add to include groups or users to the list of Groups or user names.
Security Settings
In order to secure a computer and its resources, you must consider the rights that users will have. You can secure a computer or multiple computers by granting users or groups with specific permissions. You can help secure a file or folder, by assigning permissions to allow users or groups to perform specific actions.
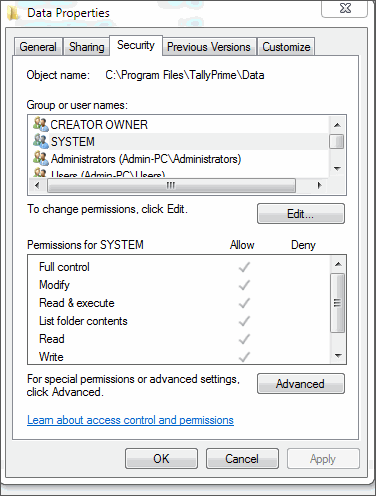
- Right-click the folder, and select Properties.
- The Data Properties window opens.
- Click Security tab.
- Select the required Group/User Name from the list of Group or user names and click OK.
- In case, you want to change permissions for the selected Group/User Name, click Edit.
- Click Add.
- Click Check Names to confirm the availability of the object name.
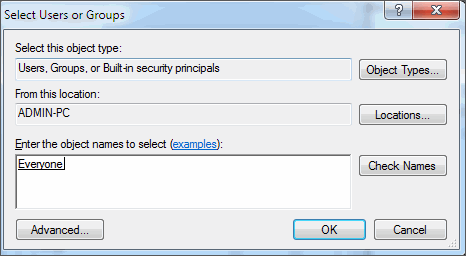
- Click OK.
- Permissions for Data window appears listing the newly added object.
- Set the Permissions.
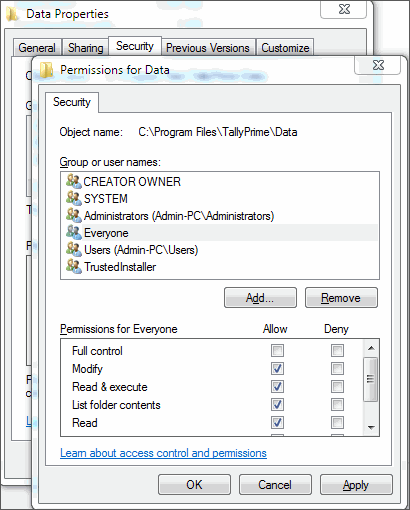
- Click Apply.
- Click OK to set the Security for a selected folder.
Is this information useful?
YesNo


