
Extract Data Through Pivot Table
You may maintain data of your sales, purchases, inventory and financial transactions in TallyPrime and need to present a holistic view of your business to stakeholders or business partners. By using pivot tables, you can create visual representations of such data in form of charts or graphs and make complex information of your business easier to understand and interpret. With TallyPrime, you can seamlessly export data like Sales or Purchase Register to Excel, making it compatible with generating Pivot tables. This will allow you to create reports tailored to your specific business needs by combining different data sets.
By exporting your business data from TallyPrime to Excel and utilising pivot tables, you can analyse sales/purchase data in various ways without the hassle of customising existing reports. This saves time and effort, as you can quickly generate insightful reports without the need for manual adjustments.
- Press Alt+G (Go To) > type or select Sales Register > press Enter.
Alternatively, Gateway of Tally > Display More Reports > Account Books > Sales Register.
The Sales Register screen appears as shown below:
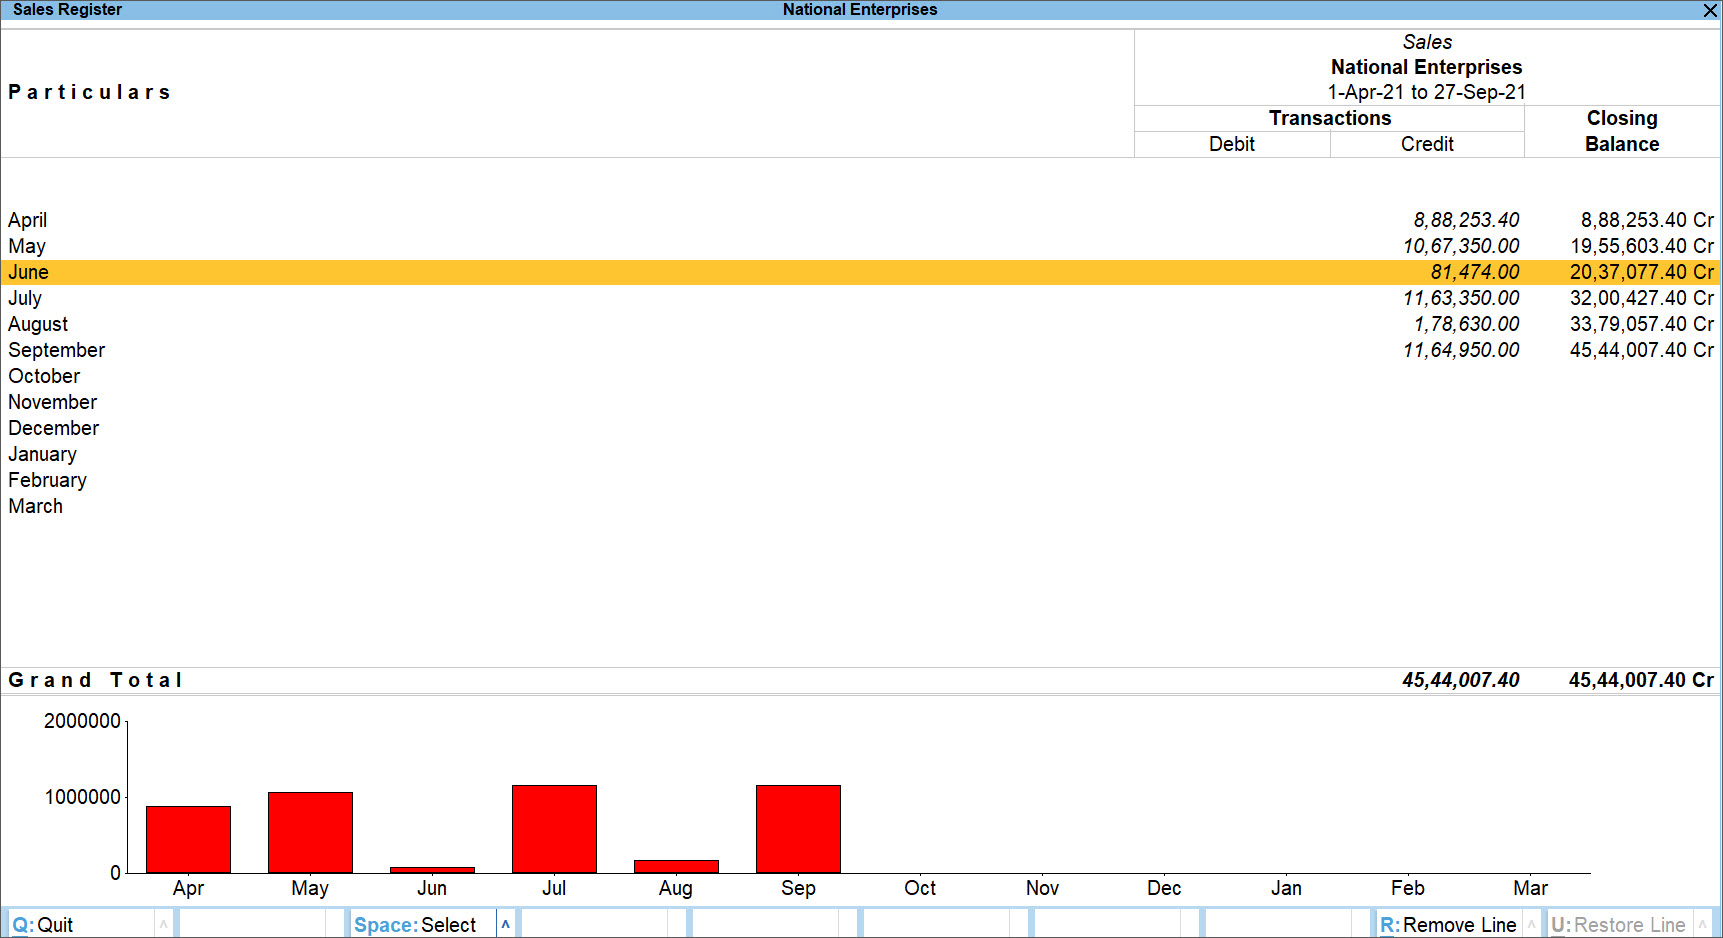
By default, all registers display the monthly summary with transactions and closing balances. - Select a month and press Enter to open the Voucher Register screen, where a List of All Sales Vouchers is displayed.
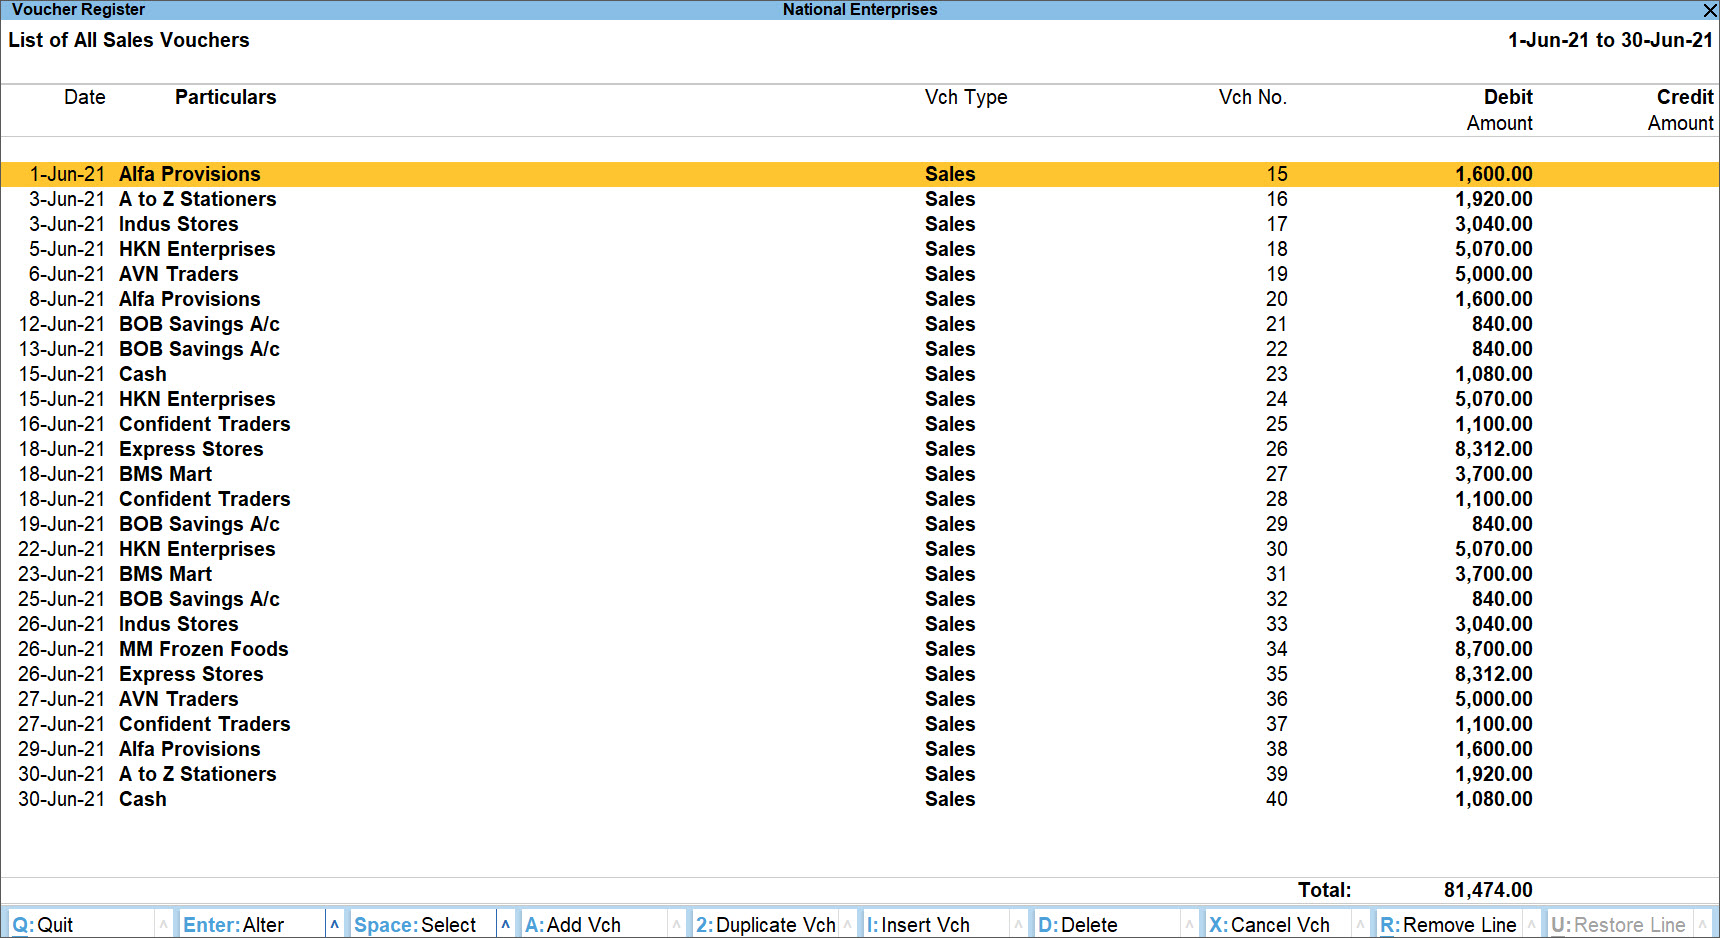
- Press Alt+E (Export) > press Enter on Current to export the Sales Register for Pivot Table from the Sales Voucher Register screen.
- Press C (Configure) and set the options given below under Export Settings:
- Ensure that the Encoding Language is set to Default (All Languages).
If you do not see this option, then click Show More.

- Set Excel (Spreadsheet) in the File Format from the List of File Formats displayed.
- Press Enter to change the Worksheet Name, if required. Sales Register appears as the default Worksheet Name.
- Set Yes for Export for Pivot table to generate the Pivot Table once the report has been exported to excel.
Note: This option appears only when the Sales/Purchase Voucher Register/Extract is exported, and when the Company is maintaining Accounts with Inventory.
Following are the options that appear only when Export to Pivot Table is enabled, so that you can configure them when generating pivot table reports.- Set Yes to Show Stock Item properties to show the item properties, such as Alias, Part No., Description, Remarks, and so on.
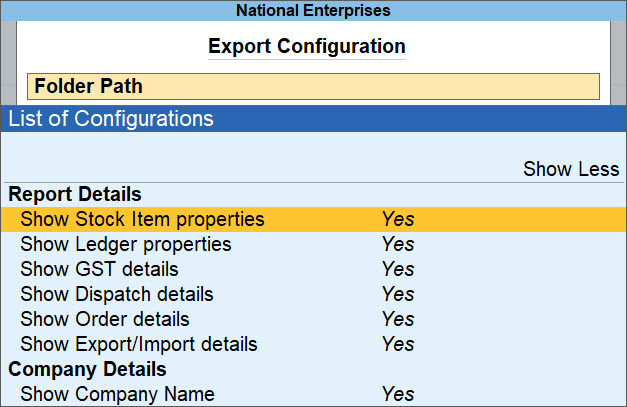
- Set Yes to Show Ledger properties to show the ledger properties such as Alias, Group, Notes, and so on.
- Set Yes to Show GST details to show the GST details such as GST, HSN, and so on.
- Set Yes to Show Dispatch details such as Dispatch DOC No., Dispatch through, and so on.
- Set Yes to Show Order details such as Order No., Terms of Delivery, and so on as needed.
- Set Yes to Show Export/Import details to display export-related details in the Pivot table.
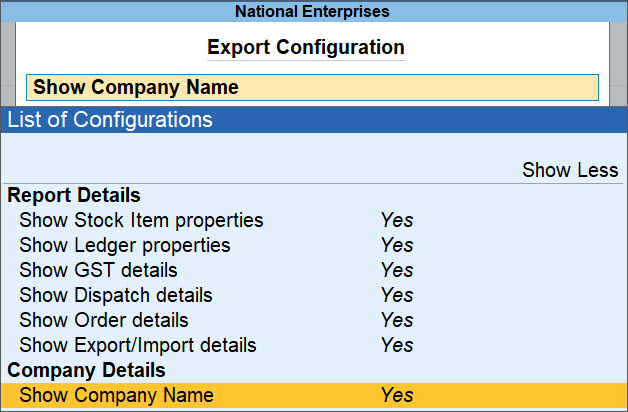
- Set Yes to Show Company Name in case you want the Company Name column to be used.
- Set Yes to Show Stock Item properties to show the item properties, such as Alias, Part No., Description, Remarks, and so on.
- Set Yes in Update existing file to update the existing file.
- Set Yes for Show formatted excel to format the content of the file.
- Set the destination for Export to By default, the destination is set to Local drive.
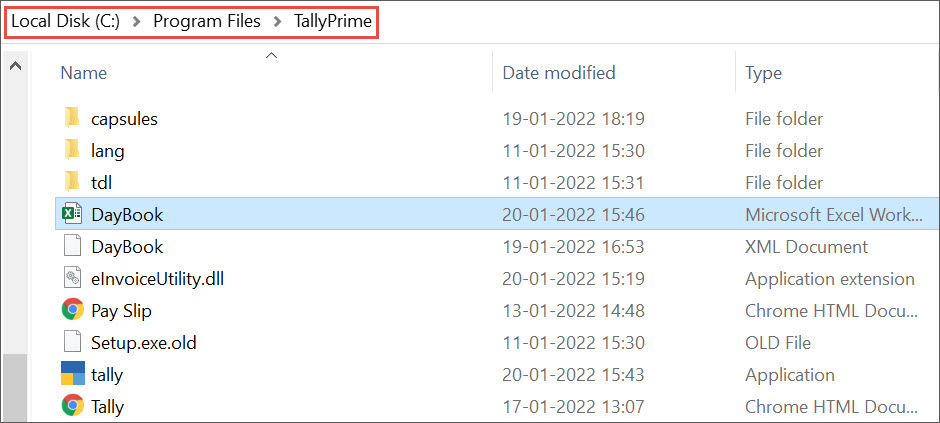
- Specify the Folder Path. By default, the exported fill will be stored in C:\Program Files\TallyPrime.
- Press Enter to change the File Name, if required. xlsx appears as the default File Name.
- Ensure that Open file after Export is set to Yes to open the excel file once it is exported.
- Ensure that the Encoding Language is set to Default (All Languages).
- Press Ctrl+A to save the Export Configuration settings.
- Press E (Send) to export Sales Register vouchers to an excel file for Pivot Table.
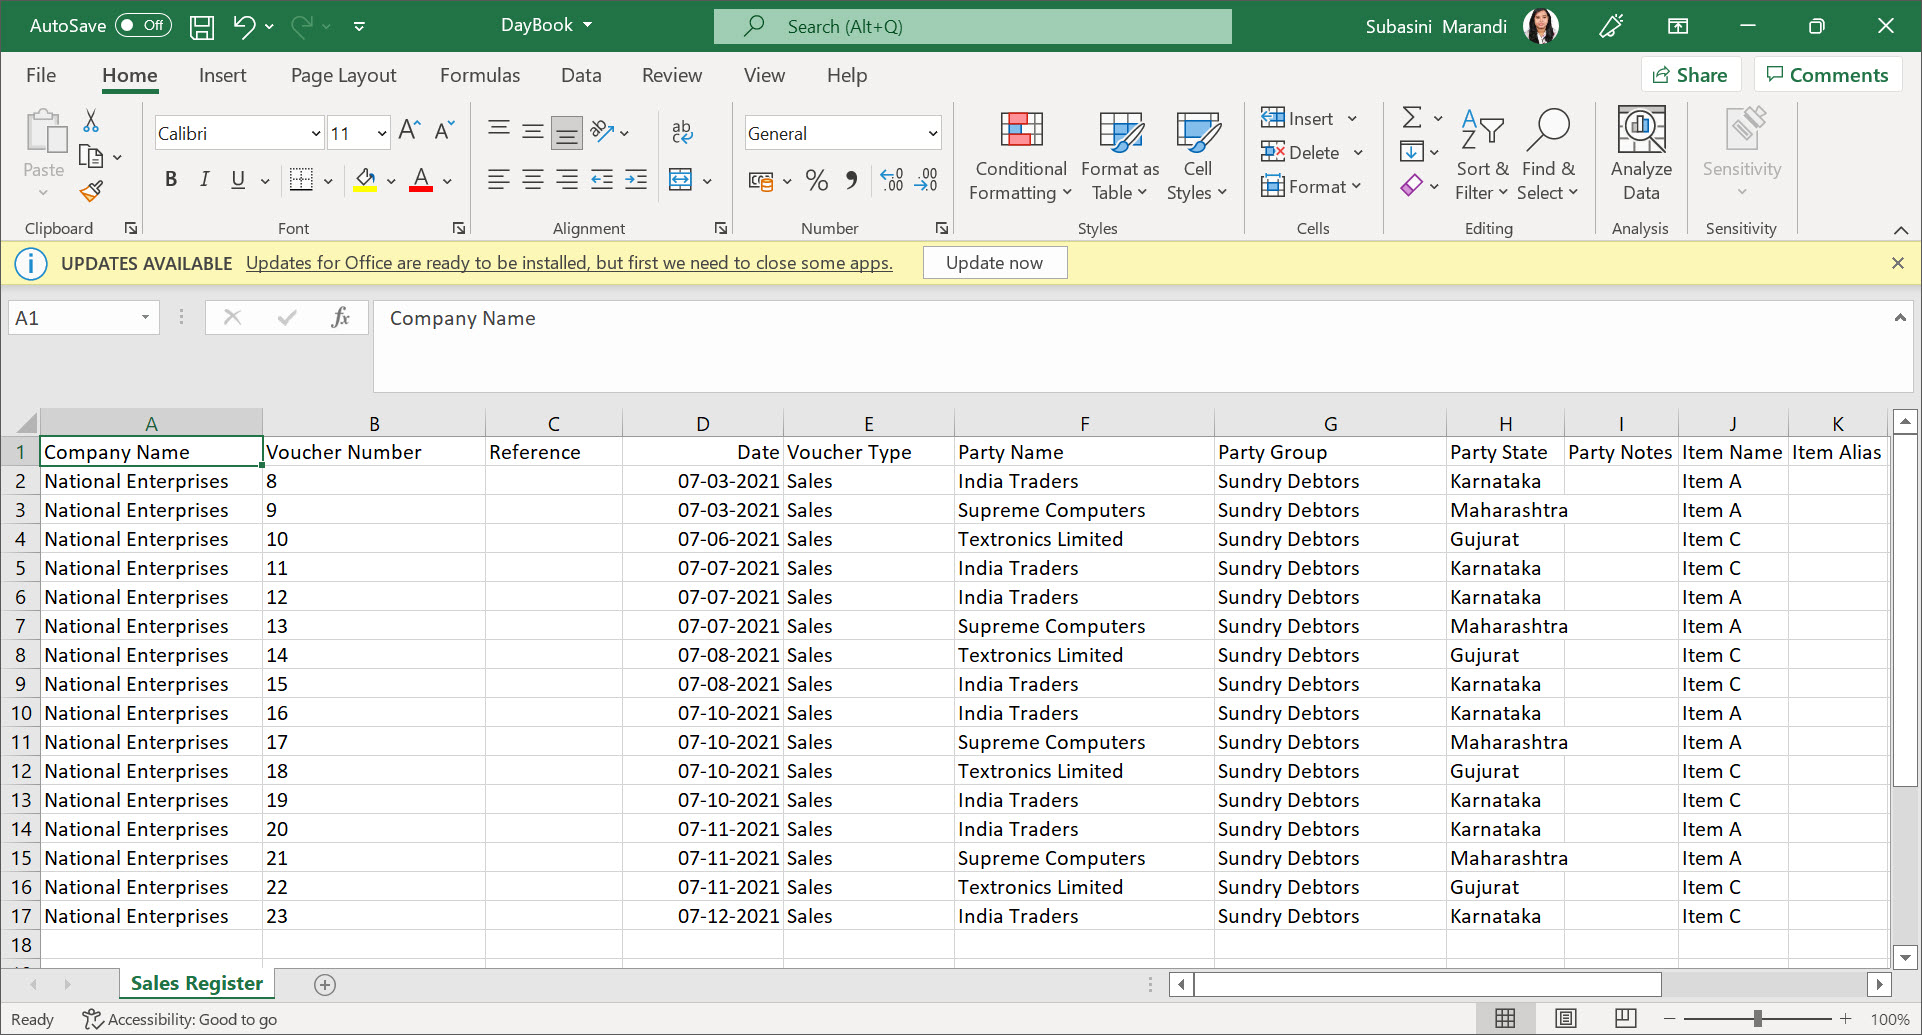
- Open the exported file from the specified folder.
The excel sheet opens as shown below:
- Create a Pivot Table and set the Report filter, Row labels, Column labels and Values based on your requirement to generate a customised report.
Note: The steps to Create Pivot Table varies between the different versions of Microsoft Excel. Refer to the help file of respective MS Excel versions for the procedure.
The report generated from Pivot table Item-wise, Godown-wise, Batch-wise, Party-wise is displayed as shown:
Note: The Export for Pivot Table will extract the data of only those Sales vouchers having Inventory allocated.
The procedure to Export Purchase Register in Excel to generate Pivot Table is similar to that of Export Sales Register in Excel to generate Pivot Table as explained above.


