
Tally Connector
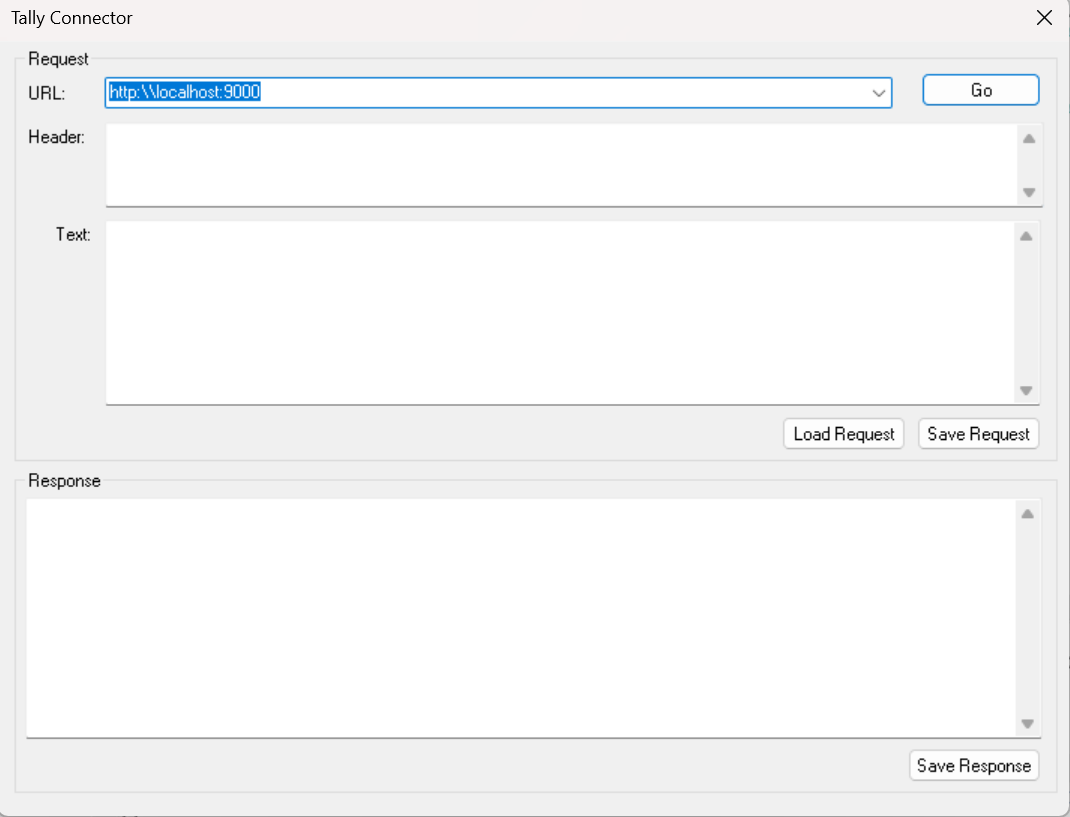
Tally Connector allows to send the JSON/XML request to TallyPrime or any application, and display the response received in the Response window. It allows to save and load the JSON or XML request from a file. The response received is saved in another file.
To use Tally Connector
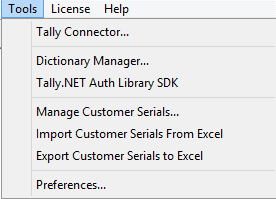
- Go to Tools > Tally Connector .
The Tally Connector user interface window appears as shown below:
- Now we will see the details to be entered for:
- XML Requests
- URL – Enter the URL of TallyPrime or any other application which processes the request here. For example , if the XML request is sent to TallyPrime on the port 9000 on the local system, the URL “http://localhost:9000” is specified. Click on the GO button. In the response box you will be able to see if the server is running or not.
- Headers – Specify the standard HTTP headers.
- Text – Enter the request to be sent here. After specifying the request, click GO! button.
For example , the request to export the Balance Sheet can be specified as shown below:
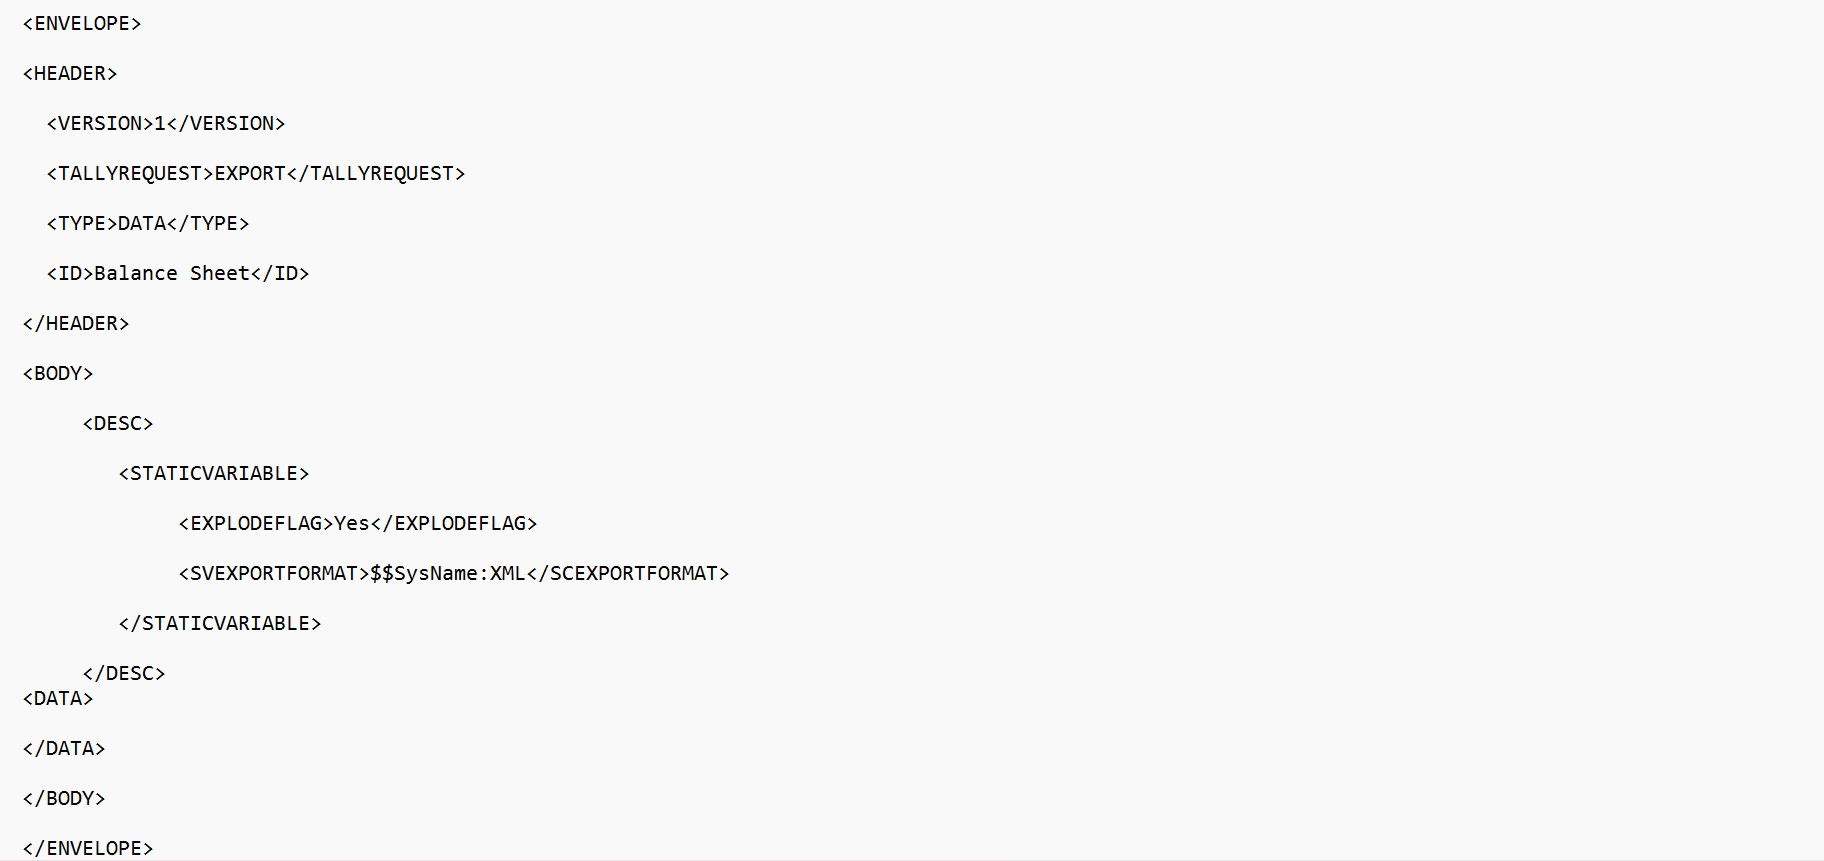
The above XML code is specified in the Text box as shown below:

- JSON Requests
- URL – Enter the URL of TallyPrime or any other application that processes the request here. For example, if the JSON request is sent to TallyPrime on port 9000 on the local system, the URL “http:\\localhost:9000” is specified. Click on the GO button. In the response box you will be able to see if the server is running or not.
- Headers – Specify the standard HTTP headers separately in the header section of Tally Connector.
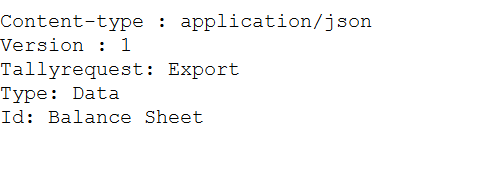
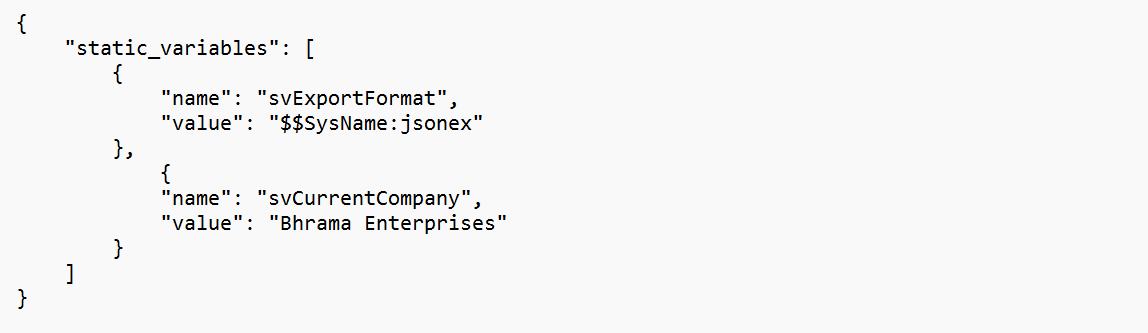
For example, the headers required to export a Balance Sheet can be specified as shown below:
- Text – Enter the request to be sent here. After specifying the request, click GO! button.
For example, the request to export the Balance Sheet can be specified as shown below:
- XML Requests
To know more about the JSON formats, click here.
Alternatively, the request JSON/XML can be loaded from a file using the Load Request button.
The JSON/XML present in the field Text can be saved in a file using the Save Request button.
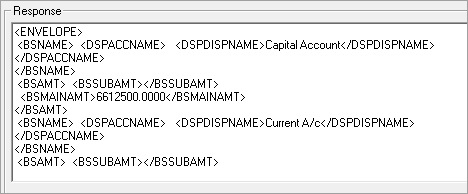
- The XML response received is displayed in the Response box, as shown below:
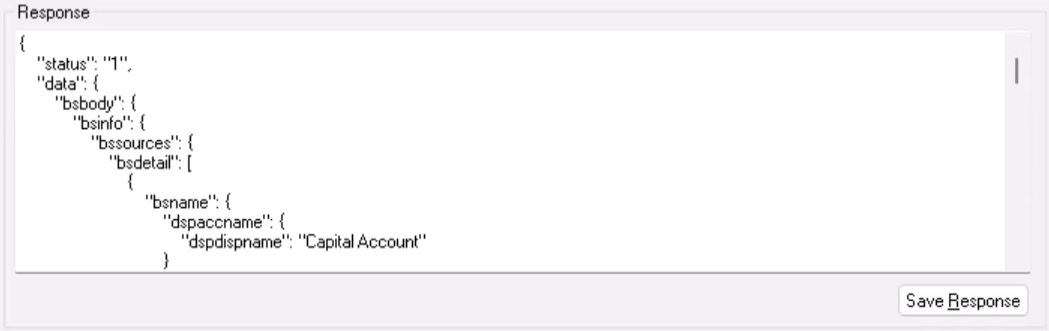
- The JSON response received is displayed in the Response box, as shown below:
The response received can be saved in a file using the Save Response button.
Is this information useful?
YesNo


