
Migrate Data to the Latest Release | From Tally.ERP 9 Release 5.0 – TallyPrime 2.1
To migrate data to the latest release, you need to follow the best practices for a seamless data migration experience.
While migrating, you will experience the following:
- The original 5-digit company is retained. You can rename the CmpSave_Migrated.900 file as cmpsave.900 to access data in the previous version of TallyPrime, if needed.
- Data gets migrated to a new 6-digit company in the latest release.
- A Migration Summary Report shows the count of migrated masters and vouchers for easy verification.
If migration takes hours due to large data volume, you have the option to:
-
Stop migration now and resume the process anytime later.
-
Continue working on the date in the earlier release during migration. Any changes made there will be automatically migrated to the latest release.
In the latest release of TallyPrime,
-
Press F1 (Help) > Troubleshooting > Migrate > select the company that you want to migrate.
Alternatively, press Alt+Y (Data) > Migrate > select a company.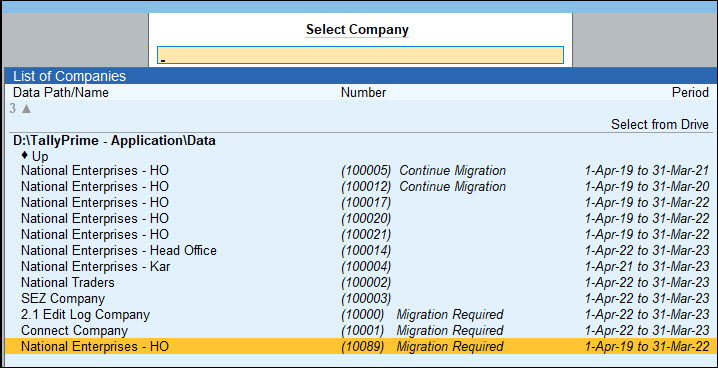
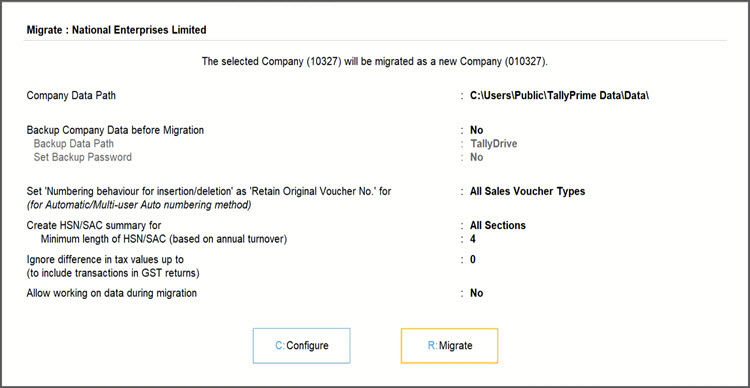
- Backup Company Data before Migration: Yes.
You are recommended to take Data backup before migration.- Set Backup Data path: Select one of the following:
- Specify Path or Select from Drive: To update folder/data location and take data backup in the local drive of your system.
- TallyDrive: To store data in cloud storage. You can update the password and Recovery Key to password-protect the backup.
To know more about data backup, refer to Backup Company Data to TallyPrime.
If you are migrating to TallyPrime Release 6.2 or earlier versions, you will be able to take data backup only in the local drive of your system.
- Set Backup Data path: Select one of the following:
-
Numbering behaviour for insertion/deletion as Retain Original Voucher No.: Select one of the following:
-
All Sales Voucher Types: To retain your original Voucher number only for All Sales Voucher Types.
-
All Voucher Types: To retain your original Voucher number for All Voucher Types.
-
None: To retain Renumber Vouchers as the Voucher numbering.
-
-
Set Create HSN/SAC summary for:
-
Select All Sections or All Sections Except B2C, as needed. Select None, if you do not need to create the HSN/SAC summary.
-
Set Minimum length of HSN/SAC (based on annual turnover) to 4, 6, or 8 based on your stock items.
-
-
Set Ignore difference in tax value up to: Default value is 0. Change the value, if needed.
If you are on Release 2.0 or earlier, this is not applicable.
Read more. . .If you’ve set a value for “Ignore difference in tax value up to” in GST settings, ensure the same value is applied during migration. This ensures transactions are correctly included in GST Returns. If there is a mismatch, vouchers may appear under Uncertain Transactions post-migration. You can update this value later in the GST Details of the migrated company.
-
Set Allow working on data during migration: Yes to continue working on the previous compatible version when the migration is in progress.
-
Press R to migrate the data.
Migration may take a while, according to the size of your company data.
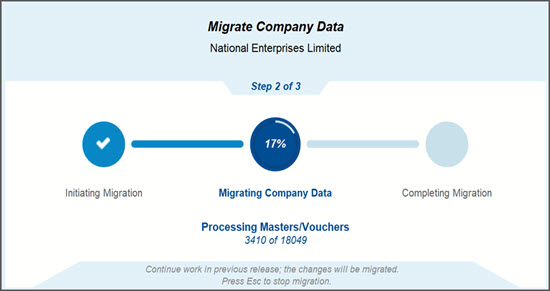
During migration, you can see the progress bar with three stages, Initiate Migration, Migrating Company Data, and Completing Migration.
After you migrate data to the latest release, the Migration Summary appears, showing your company data with a unique 6-digit Company Number, key migration details, and the number of vouchers and masters migrated, along with any exceptions.
Stop and Resume Migration
As migration reaches the Migrating Company Data stage, you can stop the migration, and resume it later exactly from that point onwards.
-
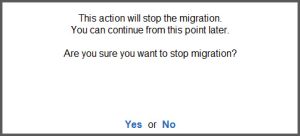
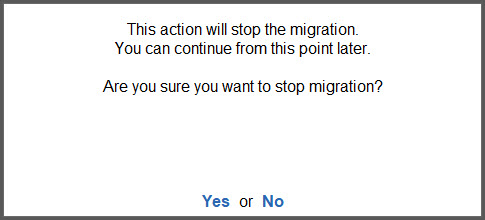
When the migration is in progress, press Esc in the Migrating Company Data stage to stop the migration.
A message appears prompting you to confirm.
-
Press Y or Enter to stop migration.
The migration stops and in the List of Companies screen, the Company will appear with the status Continue Migration. Later, whenever you are ready to migrate, you can resume migration.
To resume migration:
-
Later, whenever you are ready to migrate, select the same company with the status shown as Continue Migration and press Enter.
-
Press Y or Enter to start migration from the point you had stopped last.
Continue Working in the Previous Release While Migration is in Progress
You can continue to work on your existing data without the need to stop the migration process.
Before starting the migration, ensure that you have enabled the option Allow working on data during migration.
When the migration reaches the second stage, i.e. Migrating Company Data, you can start continue working in the previous compatible version of TallyPrime.
When the migration is in progress,
-
Open the previous compatible version for your data.
-
Continue to work on your data as per your requirement and save the data.
Once migration is completed, notice that the data you recorded in the previous version, got migrated to the latest TallyPrime release.
Q & A
- Can I continue working on my data in the previous compatible version while migration is in progress?
- What happens if I try to save a transaction in the previous version after migration is completed?
- What operations can I perform in the older version while migration is in progress?
- What happens the migration process gets cancelled or interrupted?


