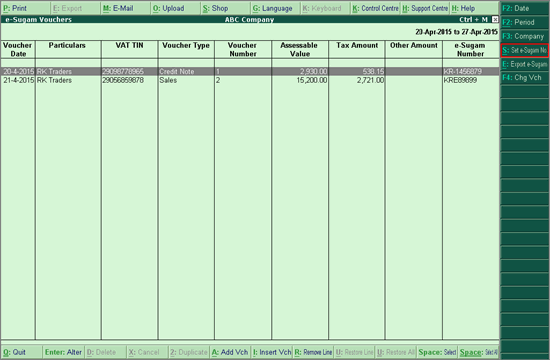
Viewing vouchers with e-Sugam details
Exporting transaction details in XML and Excel format
The Commercial Taxes Department of Karnataka has introduced e-Sugam to upload the transportation details of notified goods before the movement of such goods. The dealer has to first upload the transportation details of despatch/receipt of goods to obtain an acknowledgement called eSUGAM. For each transaction, the eSUGAM acknowledgement is generated with a unique number, and is a valid document for transportation of goods. This number can be quoted at the check post, for quick clearance of goods.
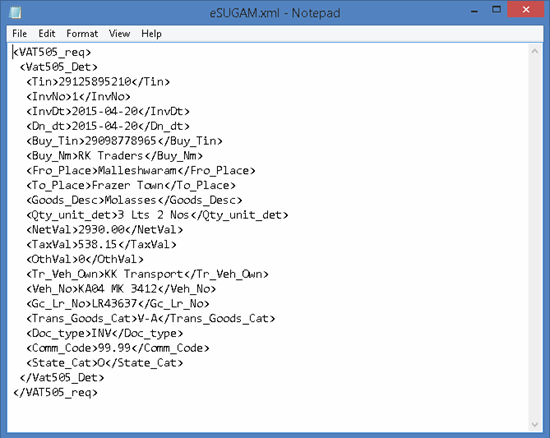
In Tally.ERP 9, using the e-Sugam feature, you can enter transportation details in the invoice, and then generate the XML file, eSUGAM.xml for uploading to the Commercial Taxes Department website.
In sales invoice, purchase invoice, delivery note, receipt note, debit note and credit note, the option Is e-Sugam Applicable? is introduced. After selecting the stock item, sales/purchase ledger and VAT ledger, set the option Is e-Sugam Applicable to Yes. In the VAT e-Sugam Details screen, enter the transportation details with the unique e-Sugam number obtained in the acknowledgement while uploading the details to the department website. The details of this transaction can be exported in XML format to eSUGAM.xml file.
For passing transactions with e-Sugam details, refer to this link.
To view vouchers having e-Sugam Details
Go to Gateway of Tally > Display > Statutory Reports > VAT > e-Sugam.
Select the period using F2: Period.
Select the voucher. equired, click enter the e-Sugam number using the S: Set e-Sugam No

The details of the selected voucher can be exported in Excel and XML format to e-Sugam.xls and eSUGAM.xml files respectively.
To export the transaction details in XML and Excel Format
Select the required voucher and click E:Export
Select the required options
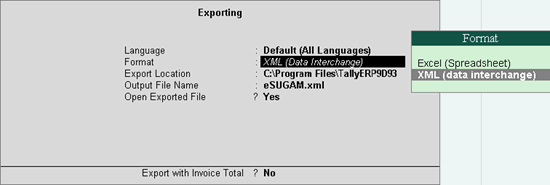
Press Enter to export
The exported XML file appears as shown below:
Similarly, by choosing Excel format in the Exporting screen, eSugam file can be exported in Excel format.
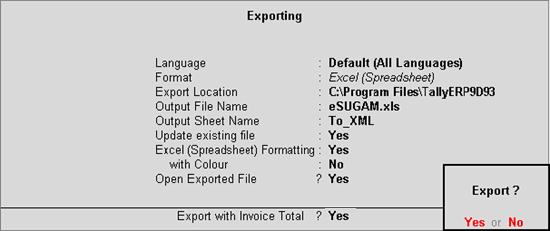
The exported eSUGAM file appears as shown below:

Click Convert to XML
The XML Conversion screen displays the file path. This path can be changed if required.

Click Start to convert
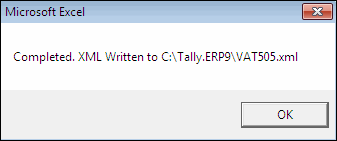
Click OK to start validation process
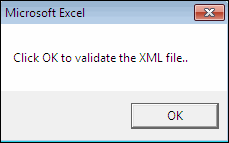
Click OK to validate the XML file
When the validation is successful, a confirmation message will appear.
If there are errors during validation, an error log eSUGAM_errlog.txt will be created and it will have all the list of errors. Once the errors are corrected, the file can be validated again. The validated file needs to be uploaded to the department website.
To upload the validated file to the department website
Login to the website with valid user ID and password.
Click the link Upload XML/ZIP file in e-SUGAM Forms section.
Click Browse and select the XML file.
Click Upload.
Click Validate XML file to validate the XML file after upload.
On successful validation, click Save to accept the details.