
This article details the procedure of upgrading from an earlier release to the latest release in a multi-user environment.
There are three ways of upgrading to the latest release.
Method 1 - Installing Tally in a new folder
In Server system:
1. Ensure you have backed up the data.
2. Surrender the license of old release.
3. Uninstall License Server and Program (Tally) of old release.
4. Download the latest release from Download Centre.
5. Install it in a new folder, by default Tally Gateway Server will get installed.
6. Reactivate the license, then Tally Gateway Server will start functioning on Server.
7. Restore the data backup.
8. Execute the application, now it is ready to operate in Server.
Note: After reactivating license in the latest release, GatewayServer will start functioning with Port Number. The same will be shown in Configuration Panel:

In Client system:
1. Uninstall Program (Tally) of old release.
2. Install the latest release using the same installer in a new folder.
3. Execute Tally > Go to Licensing > Configure Existing License. Here you have two options (Gateway Server and License File). Select GatewayServer, Specify IP and Port of Server system:

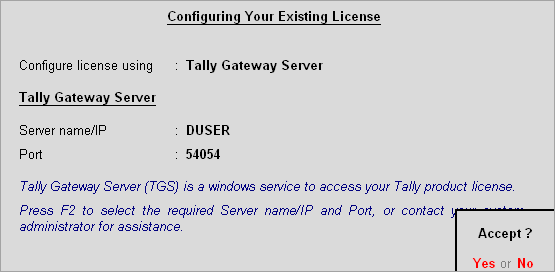
4. From Gateway Tally, F12 > Data Configuration. Specify server data path in Location of Data Files:

Ensure you have shared the Data folder in Server
5. Execute the application, now it is ready to operate in Client.
Method 2 - Installing Tally in an existing folder
In Server system:
1. Ensure you have backed up the data.
2. Download the latest release from Download Centre.
3. During installation, specify the existing Tally.ERP 9 folder path.
4. Accept the same and continue installing application.
5. By default, Gateway Server will get installed with existing (same) port number.
6. Execute the application, now it is ready to operate Tally at Server.
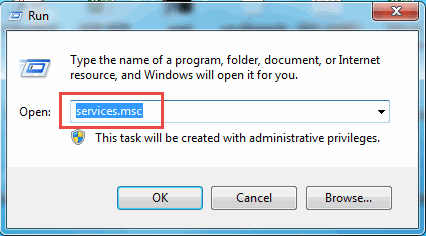
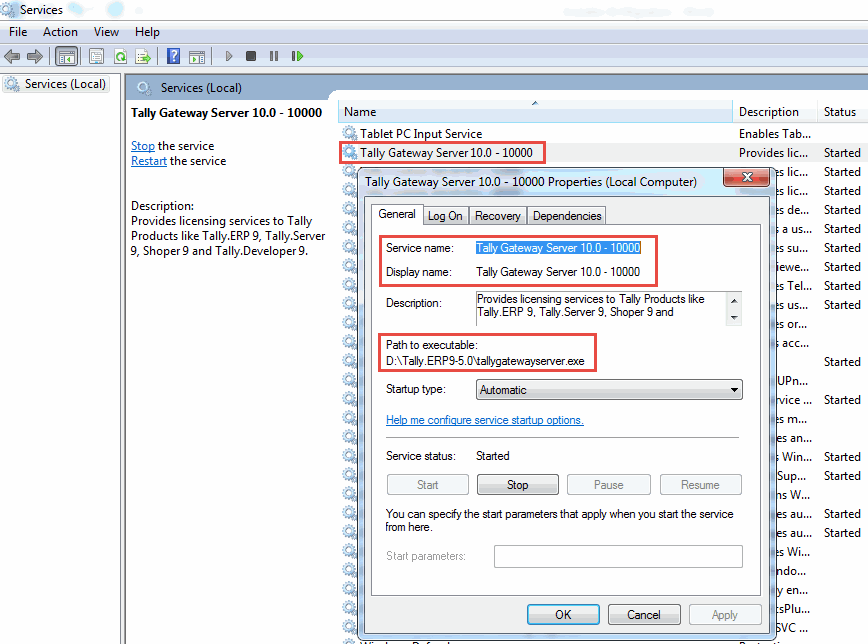
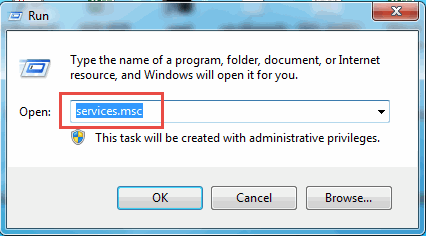
The detail of Tally Gateway Server can be viewed from services.msc. Go to Run Command > type Services.msc and press Enter. Here search for Tally Gateway Server as shown below:
In Client system:
1. Install the latest release using the same installer.
2. During installation, specify the existing Tally.ERP 9 folder path.
3. Accept the same and continue installing application
4. Execute the application, license will be served through Tally Gateway Server with existing port number.
Method 3 - Accessing existing (old) License in the latest release:
In Server system:
1. Ensure you have backed up the data.
2. Download the latest release from Download Centre.
3. During installation, specify the existing Tally.ERP 9 folder path, change the path to a new folder and install it.
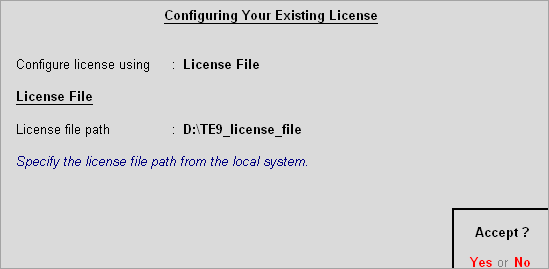
4. Execute the application. Tally will open with StartUp screen > Select Configure Existing Licensing > Here you have two options (Gateway Server and License File) > Select License File, cursor goes to License File Path > here specify the License File Path of older release (e.g. if Tally old release is installed in C:/Tally.ERP9), then specify path as shown below and accept the changes.

§ Note:
§ Once you accept the changes, immediately GatewayServer will start functioning with new port number (new port 10000), if old License Server is running with 9999
§ Lower releases license also can be accessed by specifying License path of the latest release in Server.
The detail of TallyGatewayServer can be viewed from Services.msc. Go to Run Command > type Services.msc and press Enter. Here search for Tally Gateway Server as shown below. (Here, you can see both Tally License and Gateway Servers):

In Client system:
1. Install the latest release of Tally.ERP 9 using the same installer in a new folder.
2. During installation, specify the existing Tally.ERP 9 folder path. Change the path to a new folder and install it.
3. Execute the application. Tally will open with StartUp screen > Select Configure Existing Licensing > Here you have two options (Gateway Server and License File) > Select Gateway Server. The cursor goes to Server Name/IP > here, specify the Server IP or Name with Port number as shown below:

Note: To find GatewayServer Port, go to Server Tally and check in Configuration Panel:
