Tally.ERP 9 provides the option to export VAT return details for a specific period to the excel template provided by the revenue department. The VAT Form - 3 excel template provided for filing returns has provision to capture details of all VAT annexures in specific sheets of the excel file. When VAT Form - 3 is saved and exported, information related to all annexures is also exported to the same file.
To generate e-Returns
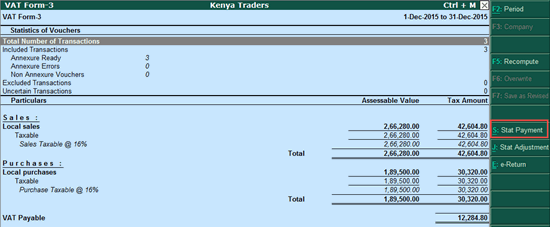
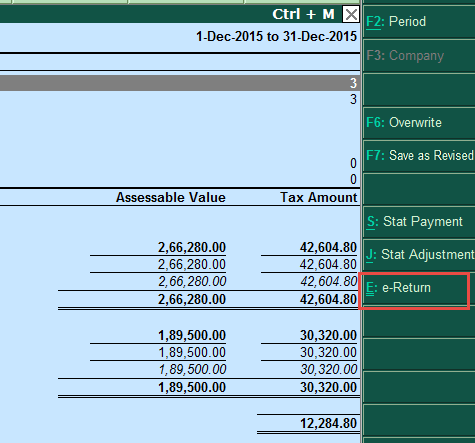
1. Go to Triangulation Report - From Gateway of Tally > Display > Statutory Reports > VAT > VAT Form-3 > from this report > Alt+S to make Stat Payment.
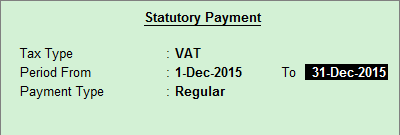
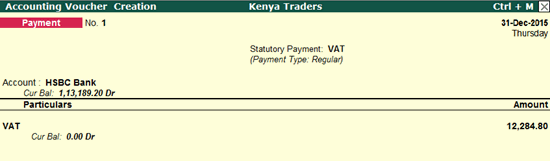
2. Provide details to make VAT payment and save the Payment transaction.
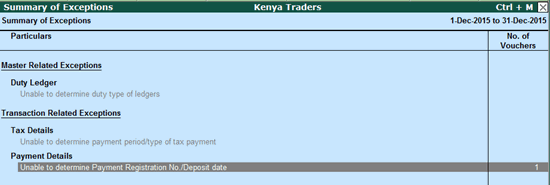
3. Once after making payment, transaction will be captured under Payment Details menu > Enter on Tax Payment (not include/uncertain) > Clear the exception by providing other details as shown.

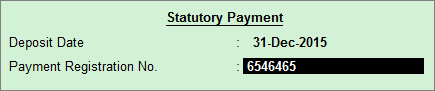
4. Here click on Alt+S to Set Details.

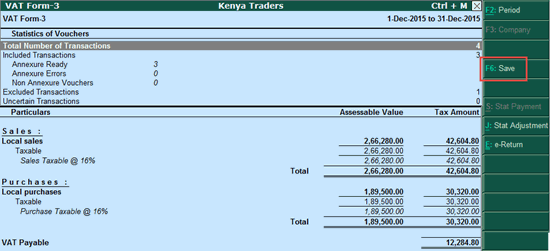
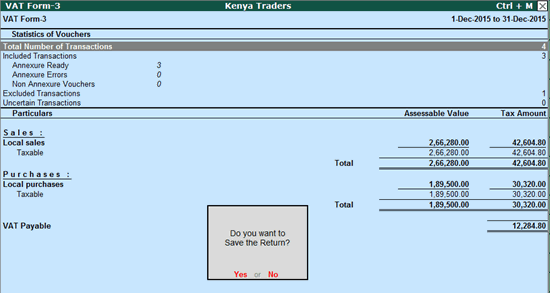
5. Now click on F6-Save.
Note: User need to export the details to Excel Templates once after saving the Returns.
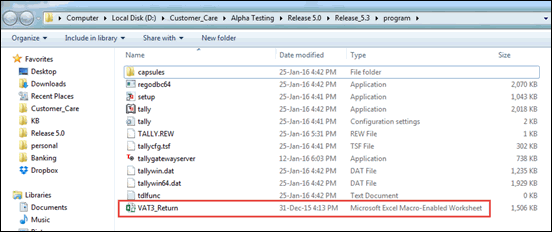
6. Ensure that the Template - VAT3_Return.xlsm (Microsoft Excel Macro-enabled worksheet) file is available in Tally.ERP 9 folder. (this need to be downloaded from http://www.kra.go.ke/ )
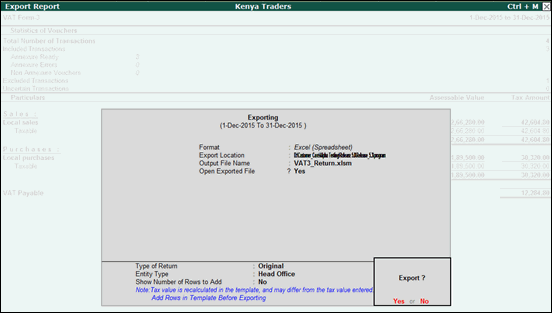
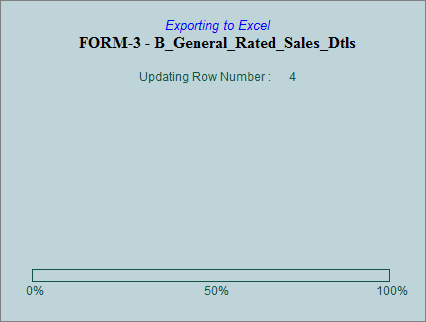
7. Go to Triangulation report and click on Ctrl + E e-Returns. Then it will ask for Export (Add Rows in Templates before exporting).
8. You will be asked to Export (Add Rows in Templates before exporting).
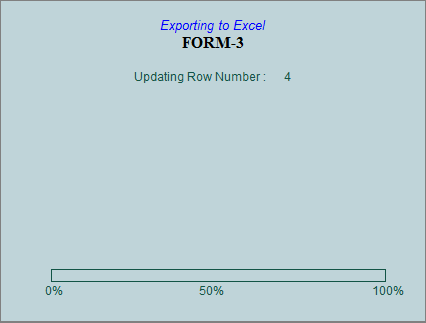
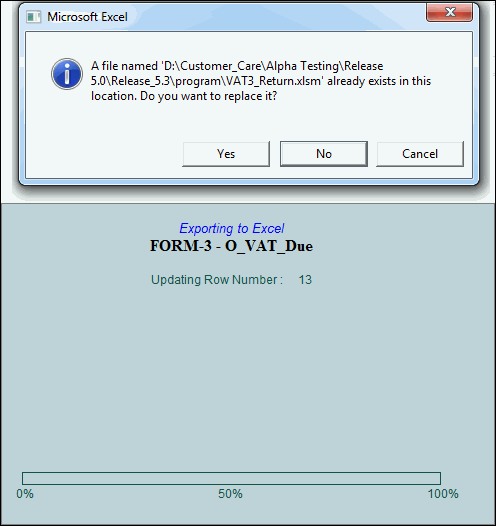
9. After export, data will be updated in respective sheets.
10. After successful export, click on YES to replace value to the existing Template.
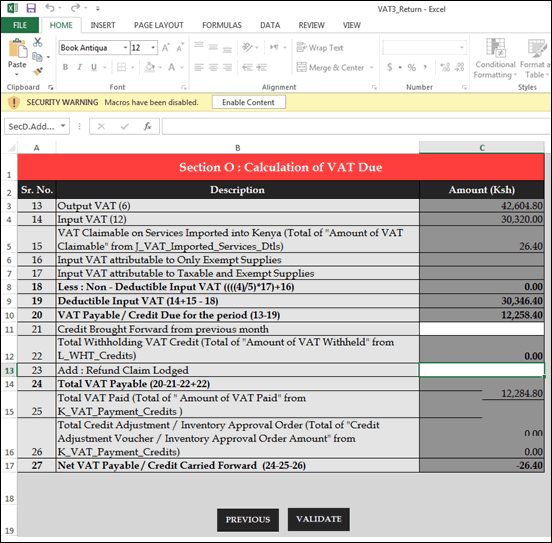
11. Then automatically VAT3_Return.xlsm file will be opened and user need to click Enable Content to validate.
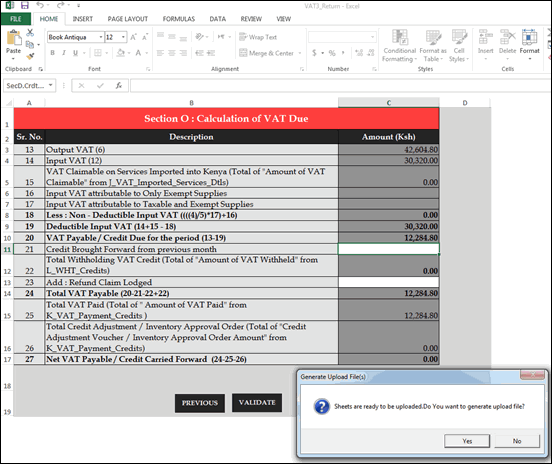
12. After successful validation, the message Generating Upload File? appears. Click Yes to process further.
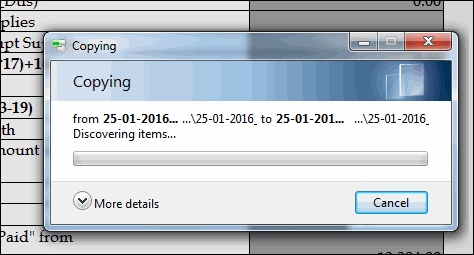
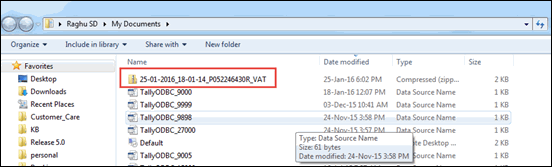
13. The file is converted to compressed format (ZIP) and shows the path where it is saved.
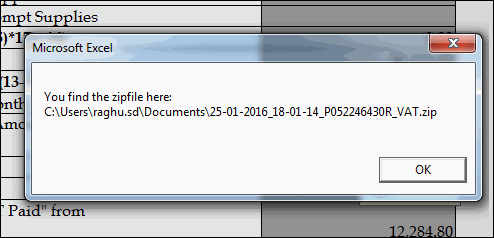
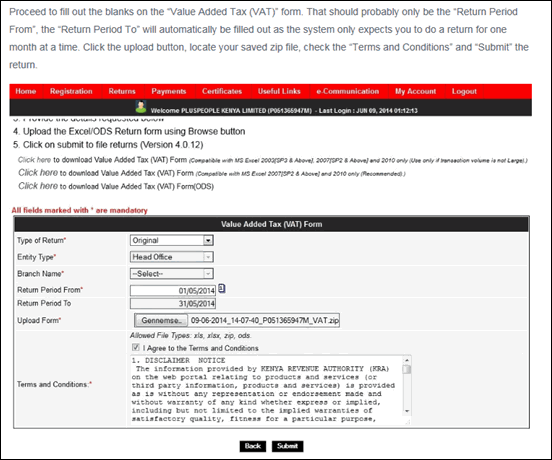
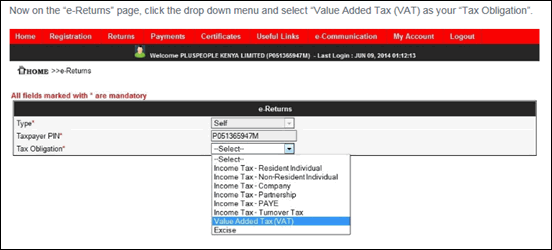
14. Upload this ZIP file to the portal - http://www.kra.go.ke/.
15. After this, follow the instructions on the portal.
16. Click on Submit to complete the process.