This voucher type is used for recording goods received from the supplier.
To enter the Receipt Note Voucher,
From F11: Inventory Features, Enable the option Use Tracking Numbers (Delivery / Receipt Notes).
Go to Gateway of Tally > Inventory Vouchers
Press the button Alt+F9 or Select the button F9: Rcpt Note from the button bar.
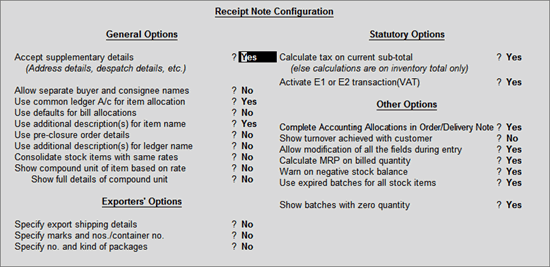
Under F12: Configure (Receipt Note Configuration) set the option Accept Supplementary Details to Yes.

For more details on Receipt Note configurations refer Voucher Entry Configuration
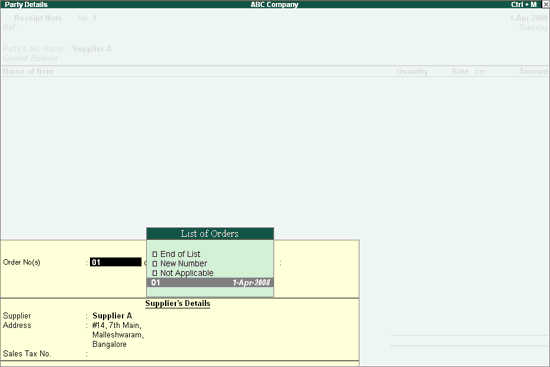
For example, consider the situation where a company receives Item A from a supplier B, if a Purchase Order exists for that Supplier B, select the Order Number from the List of Orders pop up menu to bring up the order particulars automatically.

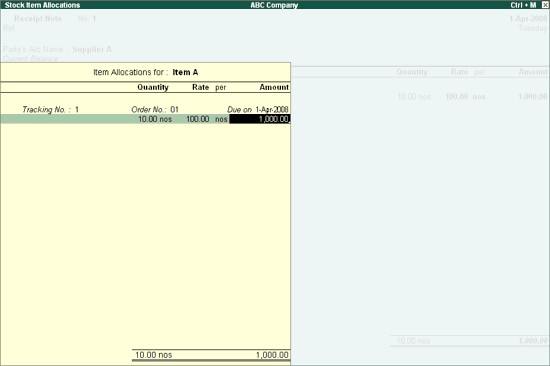
Once you accept the Order details, the cursor will move to the column Name of Item. On pressing Enter, the Item Allocations screen is displayed.
You can select existing Tracking number or create a new Tracking Number. Tracking number is the reference to have a link between transactions. For eg: if Tracking Number is selected in the Receipt Note, the details of the items are automatically displayed in the Purchase Invoice.

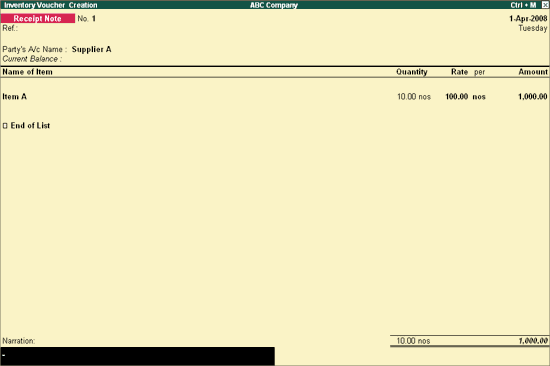
The Receipt Note after completion will appear as shown :

Select the Party Ledger from the List of Ledger Accounts from whom the goods have been received.
Once you select the Order Number from the List of Orders, the item name will be displayed automatically.
Since the Order number is selected from the List of Orders, quantities, rate and amount will be displayed automatically.
For more details on F12 configurations refer Invoice/Order Entry Configuration.